Odoo Website Order Tracking User Guide
INTRODUCTION
Odoo Website Order Tracking lets customers monitor their orders from purchase to delivery. This transparency builds trust in your platform and enhances the shopping experience.
It provides real-time updates at every stage, keeping customers informed about their order status, from confirmation to packing, shipping, and delivery.
Odoo Website Order Tracking module enhances order status management for customers and admins, ensuring smooth operations and stronger customer relationships through clear and timely information.
Check the video mentioned below for a brief overview of the workflow of Odoo Website Order Tracking:
FEATURES
- Admin can update statuses directly from the backend.
- Track the order status directly on the Odoo website.
- Update order statuses in bulk.
- Show or hide order statuses on the website.
- Add custom messages to order status updates.
- Enable validation for each order state separately.
- Manage order statuses across different websites.
- Display expected order delivery dates.
- Publish/Unpublish specific order status states.
- Support multiple websites with different order status configurations.
INSTALLATION
- Once you purchase the app from the Webkul store, you will receive the link to download the module zip file.
- Extract the file on your system after the download finishes. As a result, you will be able to see a folder named- ‘Odoo Website Order Tracking.’
- Copy and paste this folder inside your Odoo Add-Ons path.
- Now, open the Odoo App and click on the Settings menu. Here, click on Activate the Developer Mode.
- Then, open the Apps menu and click On ‘Update Modules List.’
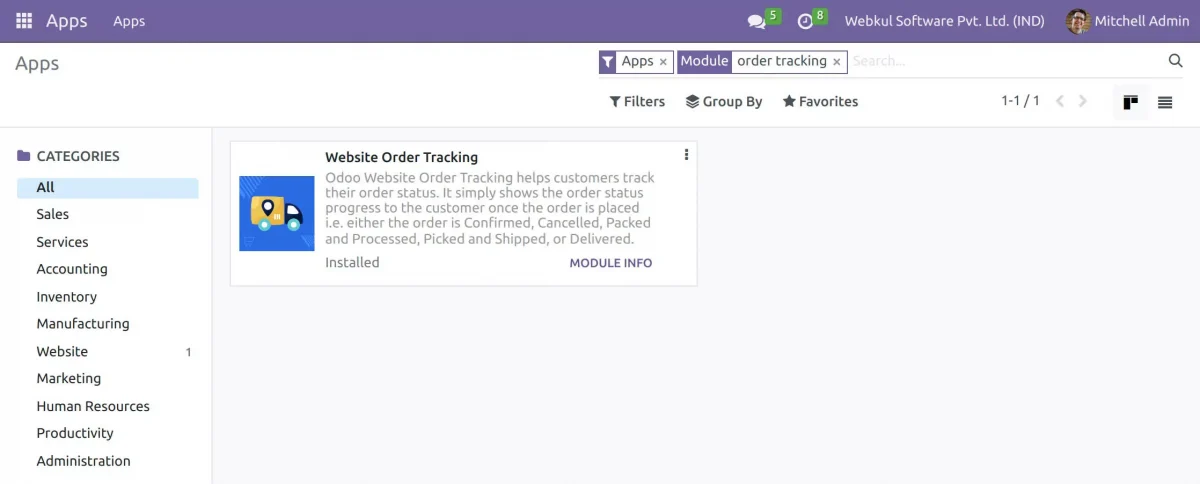
- In the search bar, remove all the filters and search ‘Odoo Website Order Tracking.’
- You will be able to see the module in the search results. Click on ‘Install’ to install it.
WORKFLOW
- After completing the installation, log in as admin. Then, navigate to the Odoo website.
- Install your module.

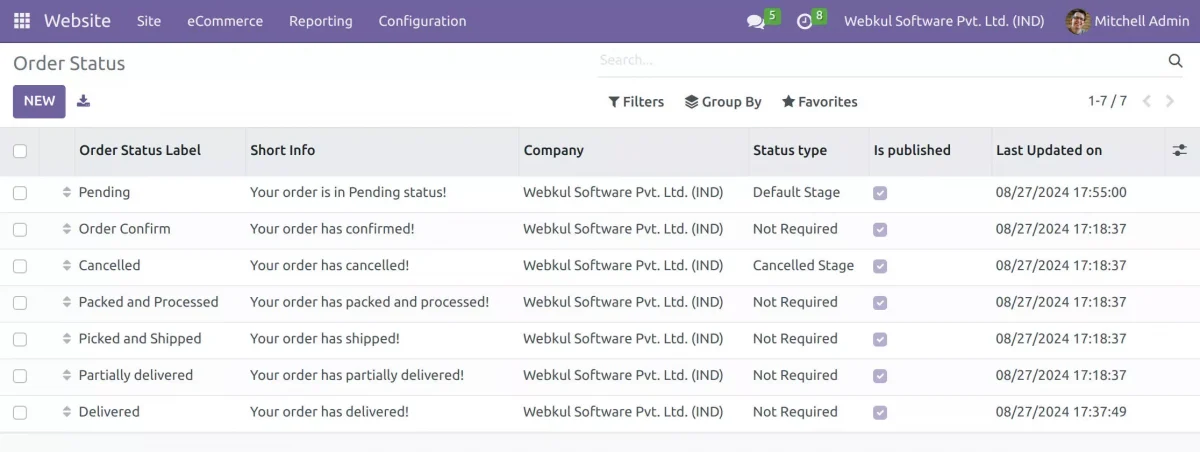
3. Navigate to the Website, then go to Configuration. There you will find an option called Order Status Setting click on it. There is an option to create a “new” order status.

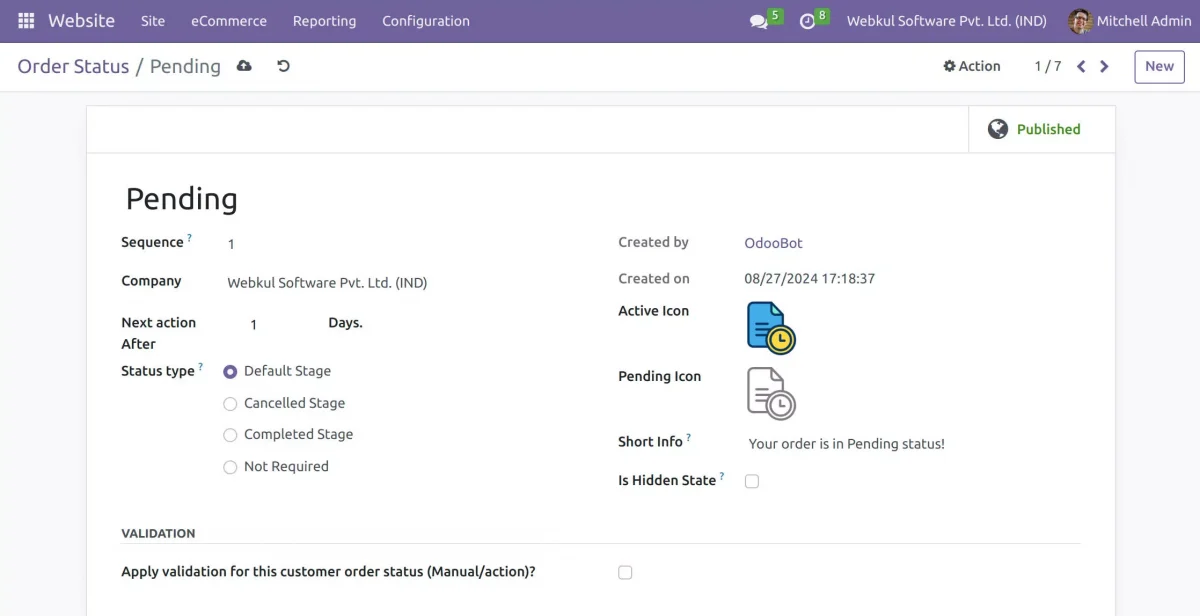
4. When you click on New, you can create the status as Pending, Order Confirmed, etc. Here, you can also set the Sequence and add an Active Icon or Pending Icon.
Additionally, you can select the Status Type and set the number of days in “Next Action After”.

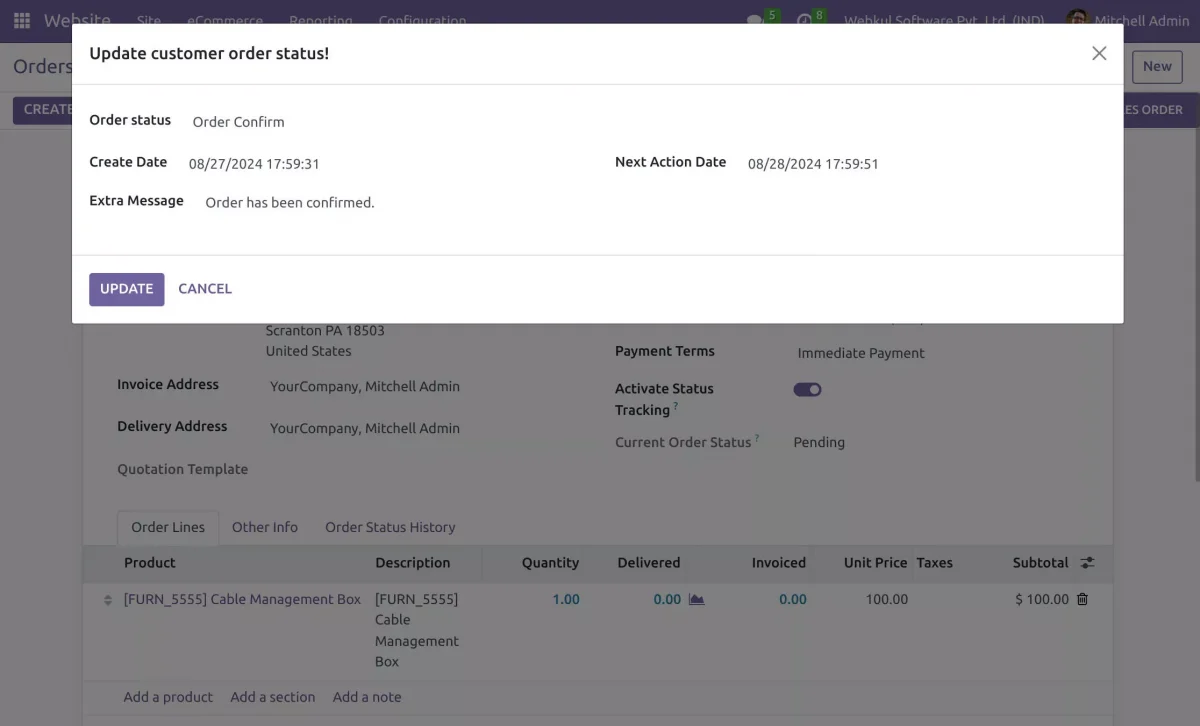
5. Navigate to orders >> specific order. As shown in the screenshot. Here, you need to activate the toggle “Active Status Tracking” button. Now you can update the screenshot “ Update Order Status”.


6. When you click on Update Order Status, you can update the customer’s order status from here. In the Order Status dropdown, you’ll see options like Pending, Order Confirmed, etc.
You can select any option based on your needs. Additionally, you can write an Extra Message if needed. After making your selections, simply click on Update.

7. The changes you made in the order status at the Odoo Backend will also be reflected on the Website view.


8. You can cancel the order by updating the customer order status to “Cancelled.”


9. When you change the order status to Cancelled from the Odoo backend, it will also be reflected on the Website view.


NEED HELP?
Hope you find the guide helpful! Please feel free to share your feedback in the comments below.
If you still have any issues/queries regarding the same, please raise a ticket at the UV Desk.
I hope this helps. In case of any further queries, contact us at our Support Mail.
Thanks for paying attention!!