User Guide for Odoo Multichannel Prestashop Connector
Table of Content
INTRODUCTION
Odoo Multichannel Prestashop Connector helps you integrate multiple Prestashop stores with Odoo. It syncs products, categories, customers, and orders to ensure centralized management
This module automates import/export and keeps real-time data updates between Prestashop and Odoo. Businesses can thus manage catalogs, inventory, and sales channels from a single platform.
It supports advanced features such as order tracking, shipping synchronization, and mapping tools while ensuring smooth workflows.
Prerequisites for using Odoo Multichannel Prestashop Connector
Odoo Multichannel Prestashop Connector works in conjunction with the following module:
You must install the above-mentioned module to use Odoo Multichannel Prestashop Connector.
FEATURES
- Imports categories, products, orders, customers, and shipping methods from Prestashop to Odoo.
- Allows exporting categories and product templates from Odoo to Prestashop.
- Syncs product quantities from Odoo to Prestashop in real time.
- Updates sale order statuses, including canceled, shipped, invoiced, and payment status, in real time.
- Supports setting regular intervals for automatic data import using Cron.
- Odoo Multichannel Prestashop Connector provides an option to avoid product duplication during imports.
- Allows importing data with various filters, such as All, ID, and Since ID.
- Imports sale orders along with customer details, addresses, taxes, payment methods, and currencies.
- Offers the option to map order states between Prestashop and Odoo.
- Supports real-time order synchronization from Prestashop to Odoo via an additional patch available from the support team.
- Tracks import, export, and sync history in the Synchronization History tab.
- Provides a dynamic dashboard for tracking imported data, with clickable data cards and visual tools.
- Maintains a mapping history of synced data in the Mapping tab.
INSTALLATION
- Once you purchase the App from Webkul store, you will receive a link to download module’s zip file.
- Extract the file on your system after download finishes. As a result, you will be able to see a folder named- ‘prestashop_odoo_bridge’
- Copy and paste this folder inside your Odoo Add-Ons path.
- Now, open Odoo App and click on the Settings menu. Here, click on Activate Developer Mode.
- Then, open Apps menu and click on ‘Update Modules List.’
- In the search bar, remove all the filters and search ‘prestashop_odoo_bridge’
- You will be able to see module in the search results. Click on ‘Activate’ to install it.
WORKFLOW
1. Configure Prestashop Webservice (Prestashop Side)
- Log in to your Prestashop backend.
- Go to Advanced Parameters > Webservice.
- Enable Webservice and activate CGI mode for PHP.

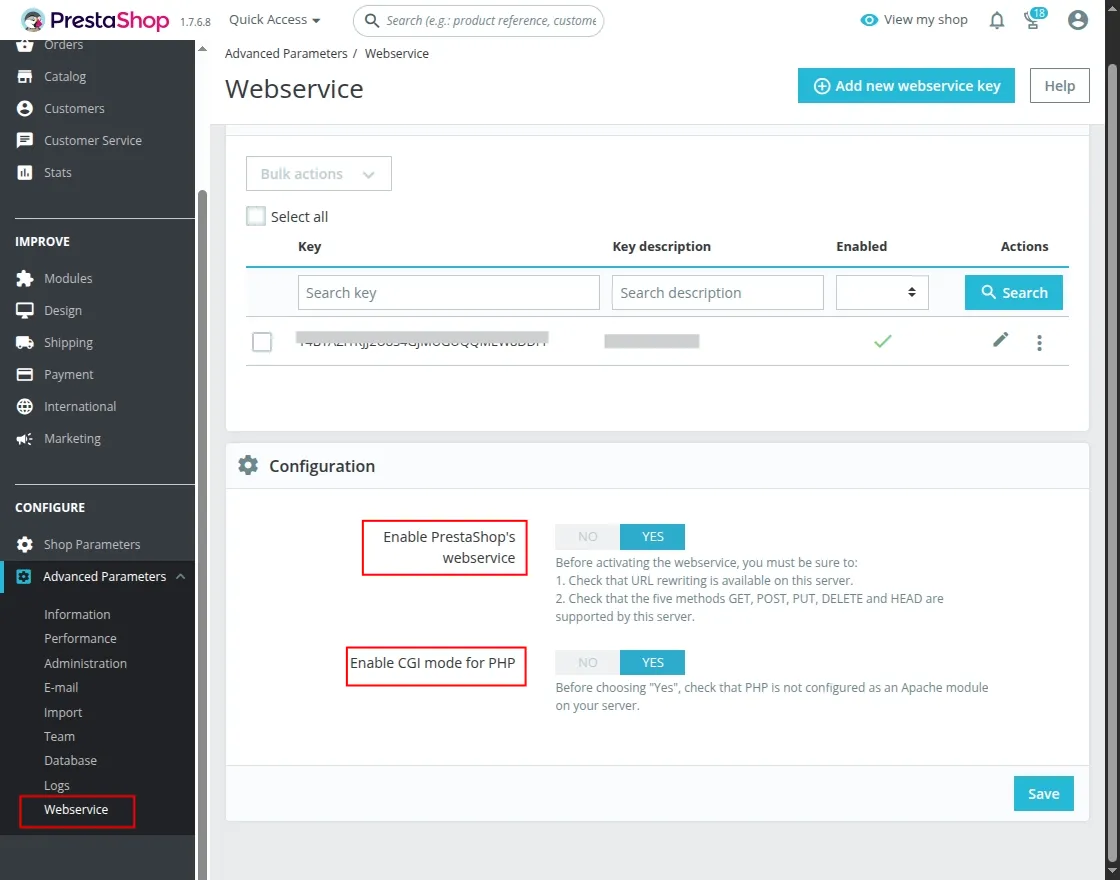
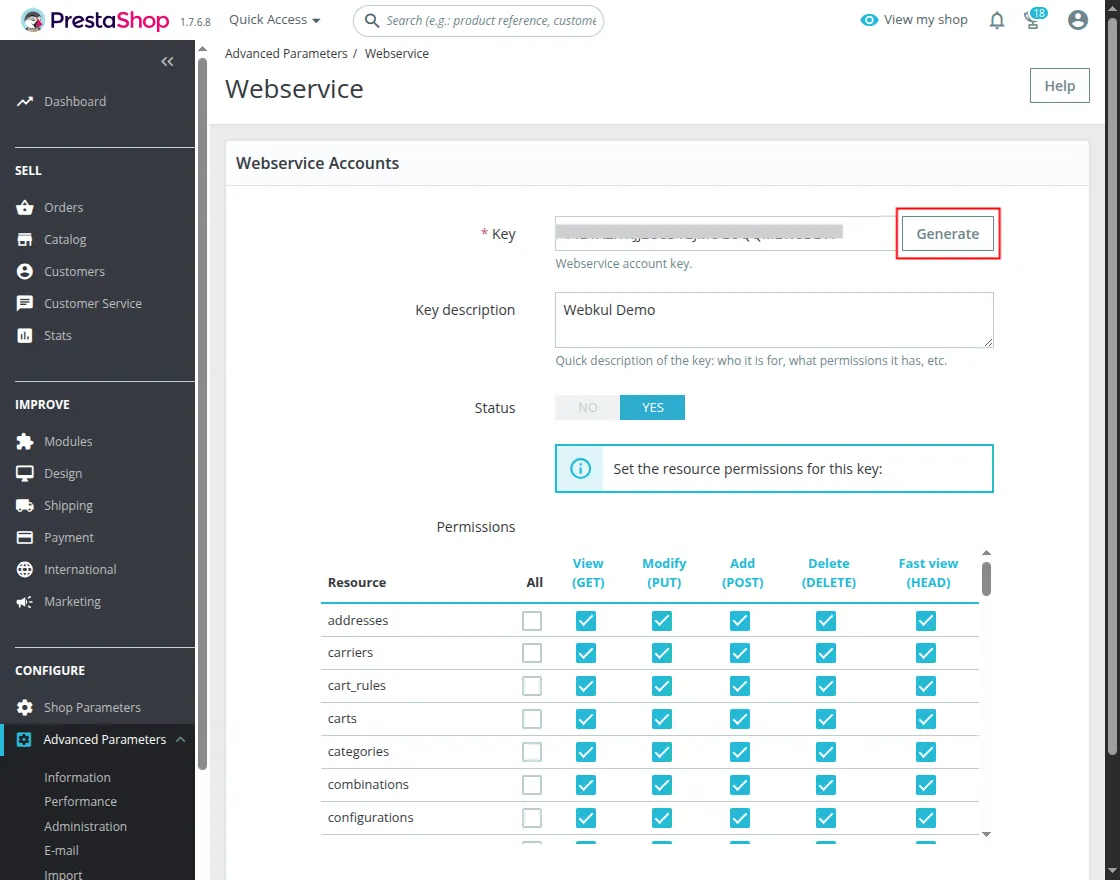
- Click Add New Webservice Key and generate an API key (required for Odoo connection).
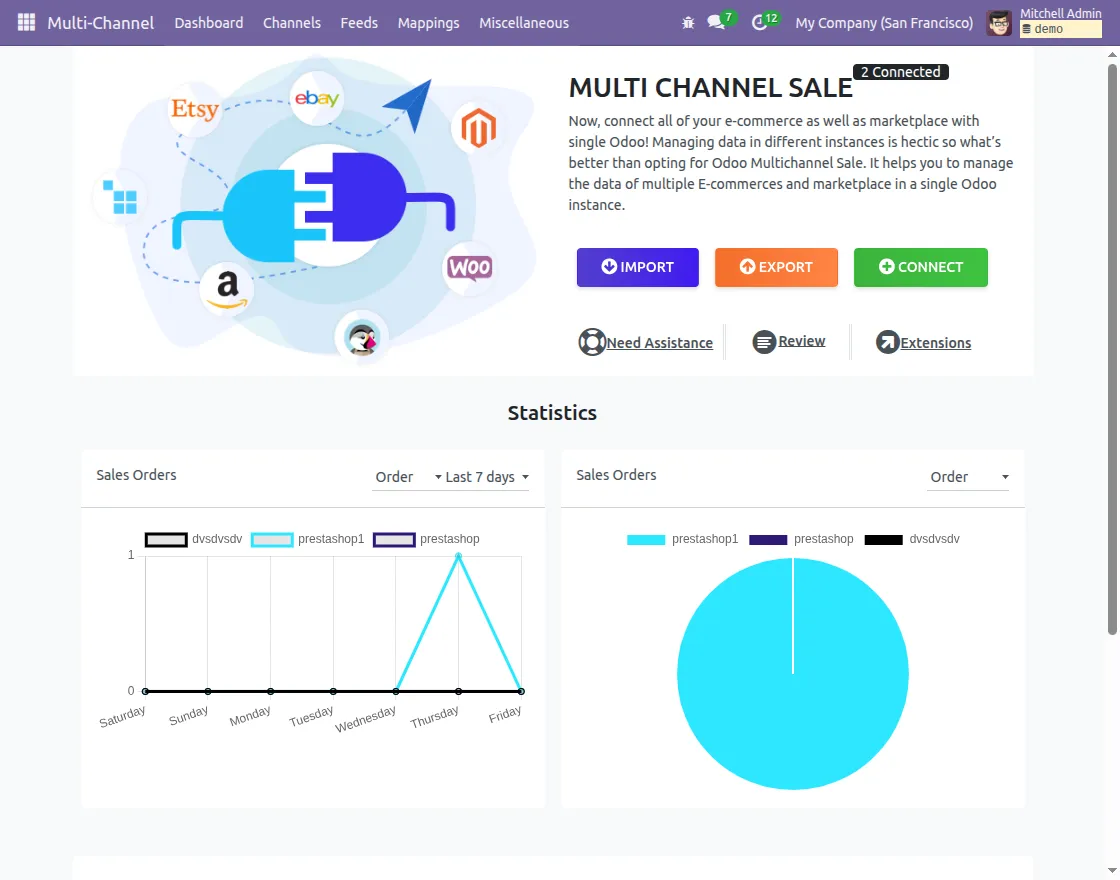
2. Open Multichannel Module in Odoo
- Log in to your Odoo database.
- Open Multichannel from side menu.
3. Connect Prestashop with Odoo
After configuring Prestashop, we need to configure our Odoo Multichannel Prestashop Connector
- In Multichannel dashboard, click Connect to add a new Prestashop channel.
- Enter a Channel Name (for easy identification).
- Select Channel Type: Prestashop.
- Enter URL, Email, and API Key from Prestashop Webservice.

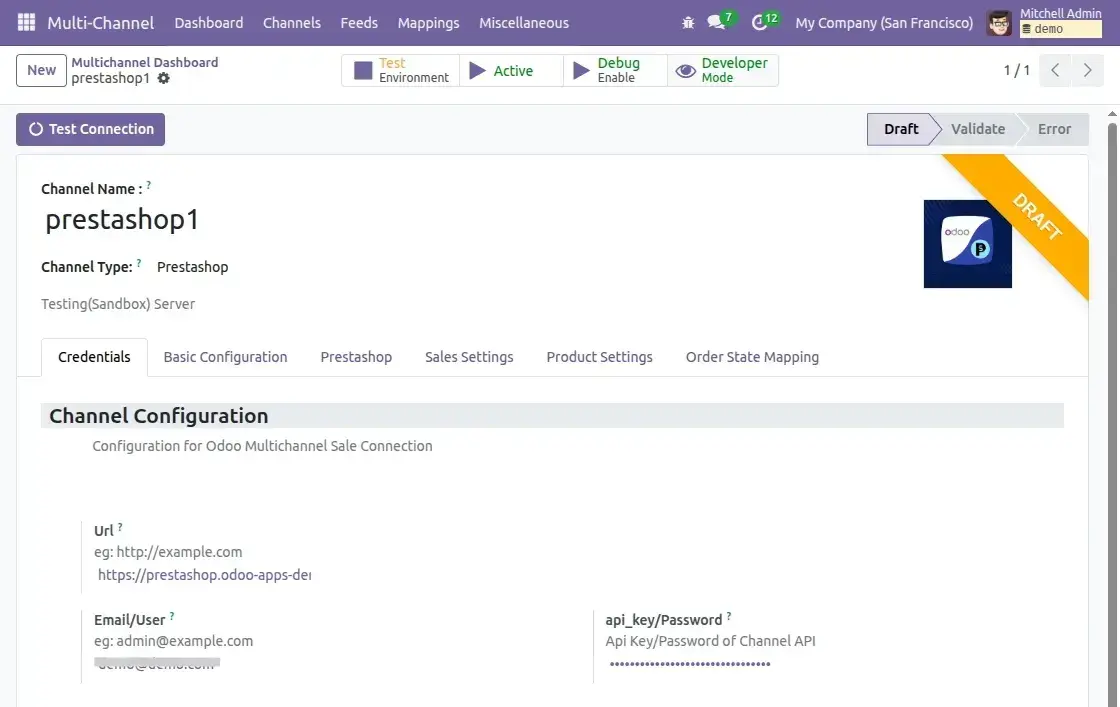
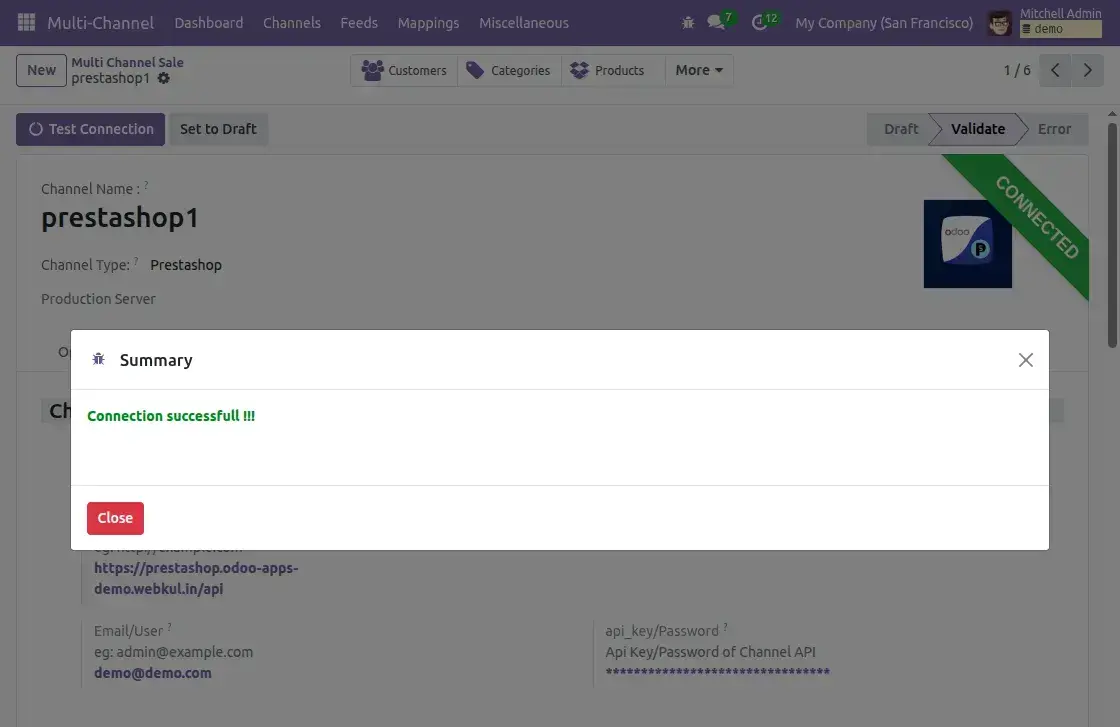
4. Save and Test Connection (Odoo Side)
- After adding credentials, click Save.
- Then, click on Test Connection button.
- A confirmation message appears if the connection works.

5. Configure Prestashop Instance in Odoo
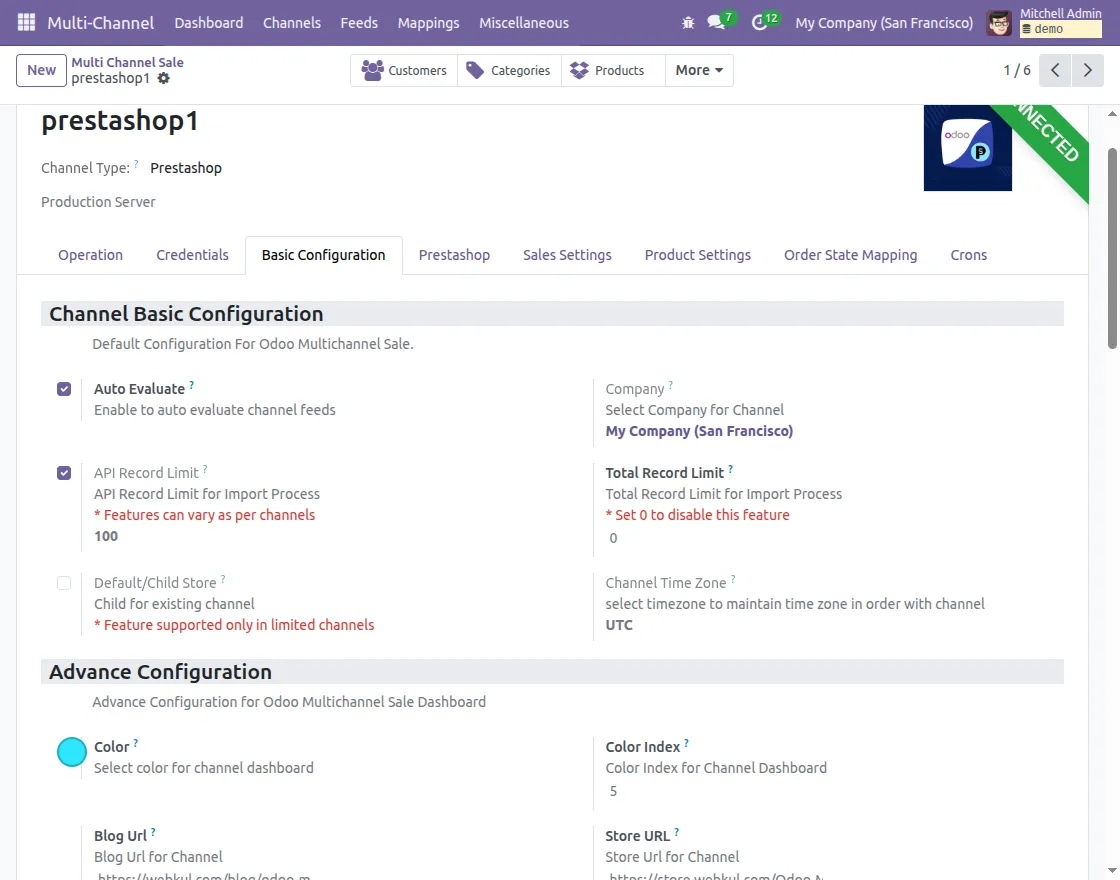
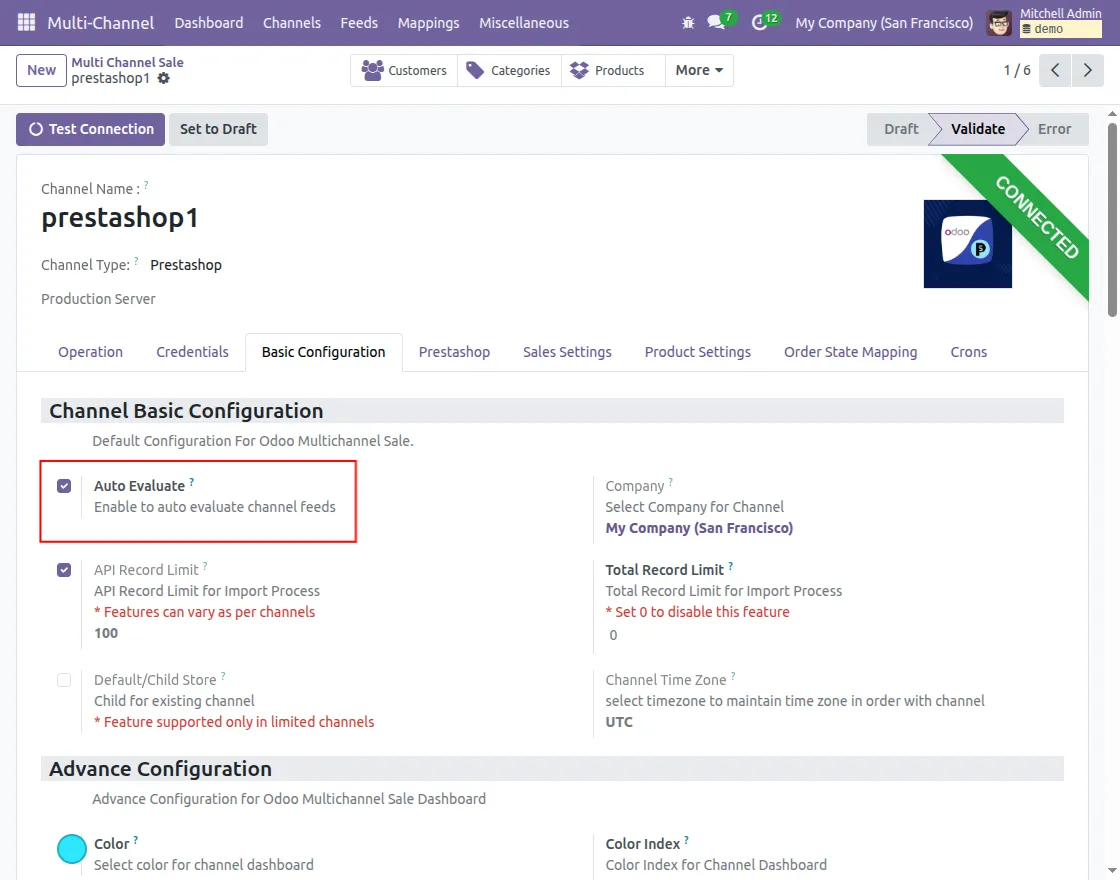
a) Basic Configuration
- Select the default Company to store imported data from Prestashop in Odoo.
- Enable Auto Evaluate Feed to automatically validate imported data feeds.
- Set API Record Limit and Total Record Limit to control batch import size.
- Choose the Channel Time Zone to keep order times accurate.
- Optionally configure color, color index, blog URL, and store URL in Advanced Settings.
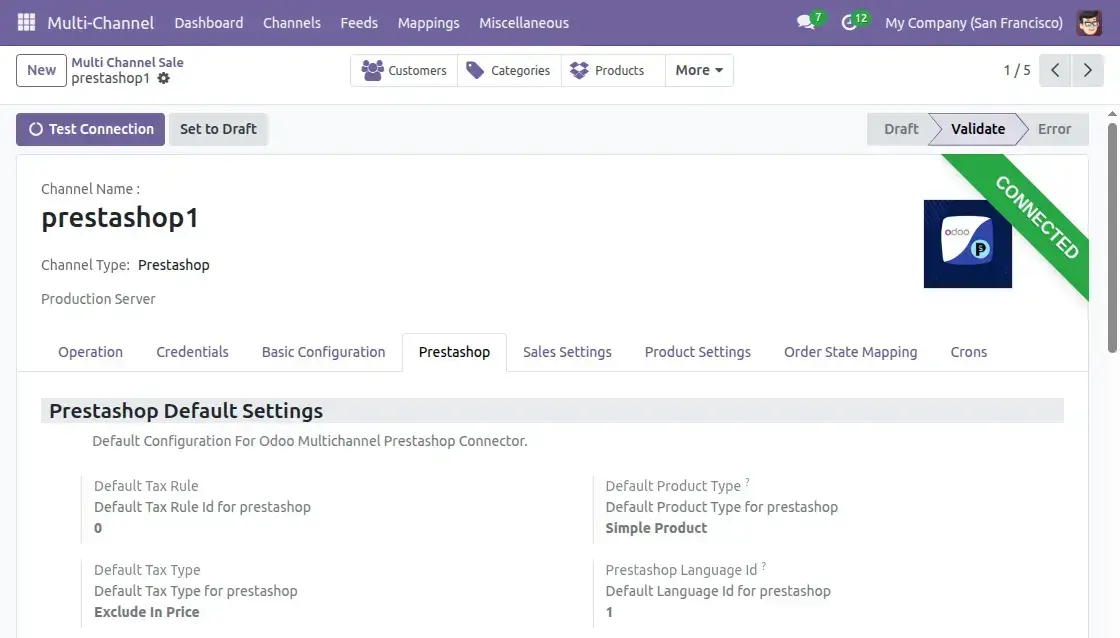
b) Prestashop Settings
- Default Tax Rule & Tax Type: Apply consistent tax rules when syncing orders and products.
- Default Product Type: Select Simple or Configurable product type for imports and exports.
- Prestashop Language ID: Set the correct language for product names and descriptions.

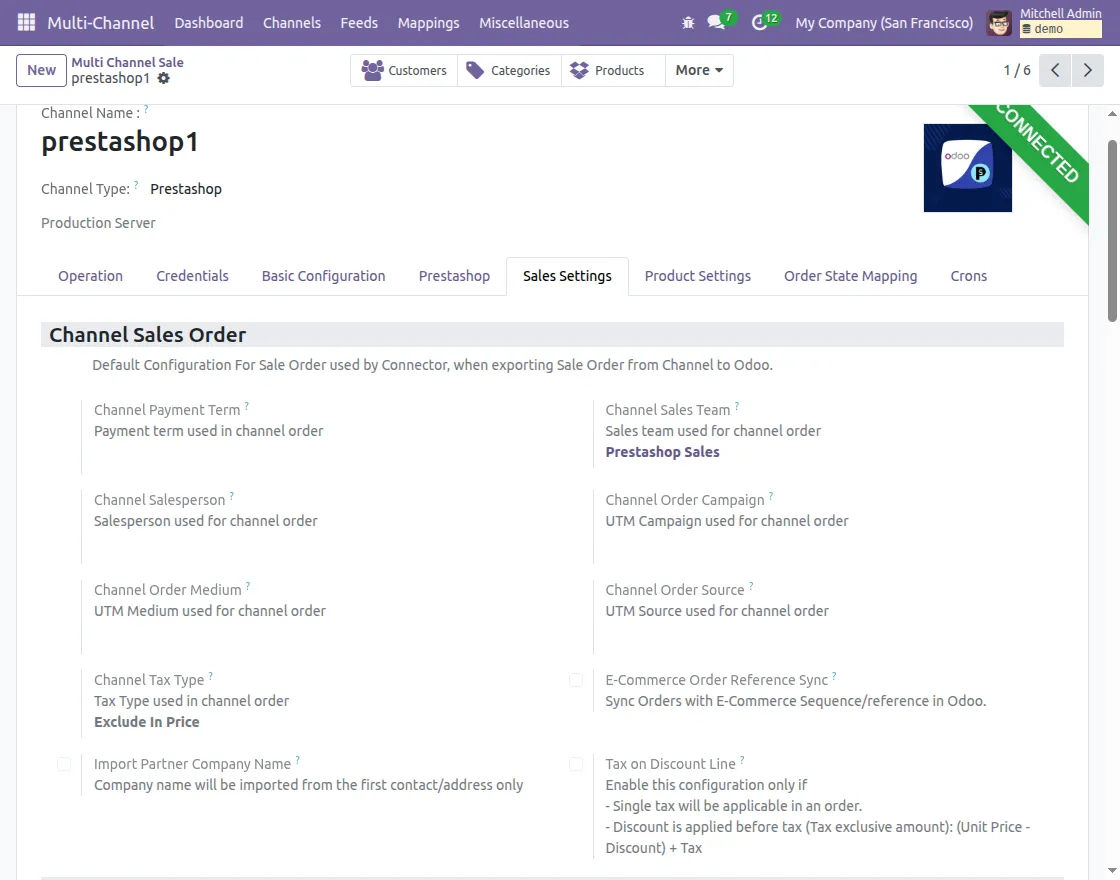
c) Sales Settings
- Payment Term: Set default payment terms for Prestashop sales orders.
- Sales Team: Next, choose a sales team to manage and handle all Prestashop orders efficiently.
- Salesperson: Then, assign a default salesperson to track and manage orders from Prestashop in Odoo.
- Campaign, Medium, and Source: Configure the UTM Campaign for sale orders imported from Prestashop to Odoo.
- Tax Type: After that, decide whether orders should be imported with tax included or excluded to keep tax data consistent.
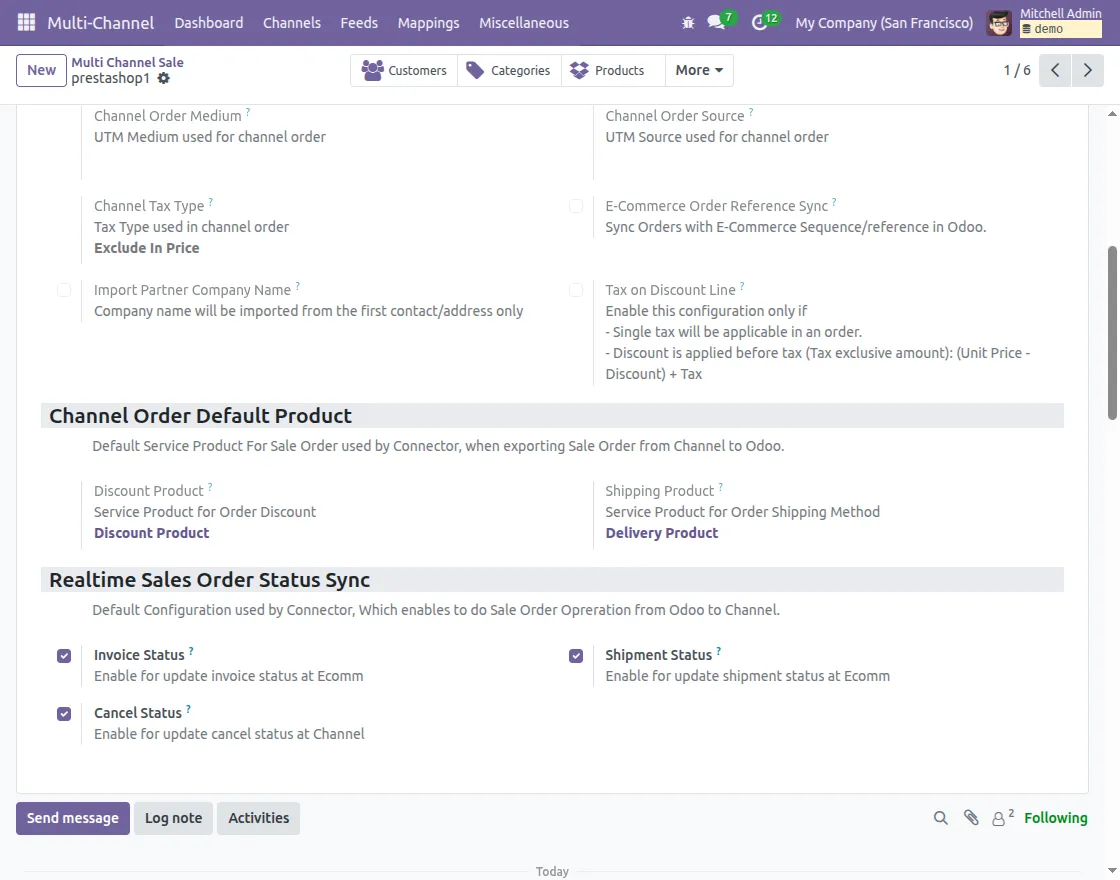
- Discount Product & Shipping Product: Additionally, assign products in Odoo to represent order discounts and shipping charges from Prestashop orders.
- E-Commerce Order Reference Sync: Finally, enable this option to keep the same order reference number in Odoo as in Prestashop, so order tracking is simple and clear.
- Discount Product: Configure service product that represents Order Discounts on imported sales orders.
- Shipping Product: Configure service product that represents Shipping Charges on imported sales orders.
- Real-time Sales Order Status Sync: Enable to automatically sync order statuses (Invoice, Shipment, Cancel) from Odoo to Prestashop.
d) Product Settings Tab
- Category: Configure default category in which imported products will be stored in Odoo
- Pricelist: Select same currency pricelist as for e-commerce store.
- Language: The selected language will be applied to synced products and other objects.
- Channel Category: While exporting products from Odoo to Prestashop, they will be stored under configured channel category.
- SKU Pattern: If a product does not have an SKU, configured value will be used as its default SKU.
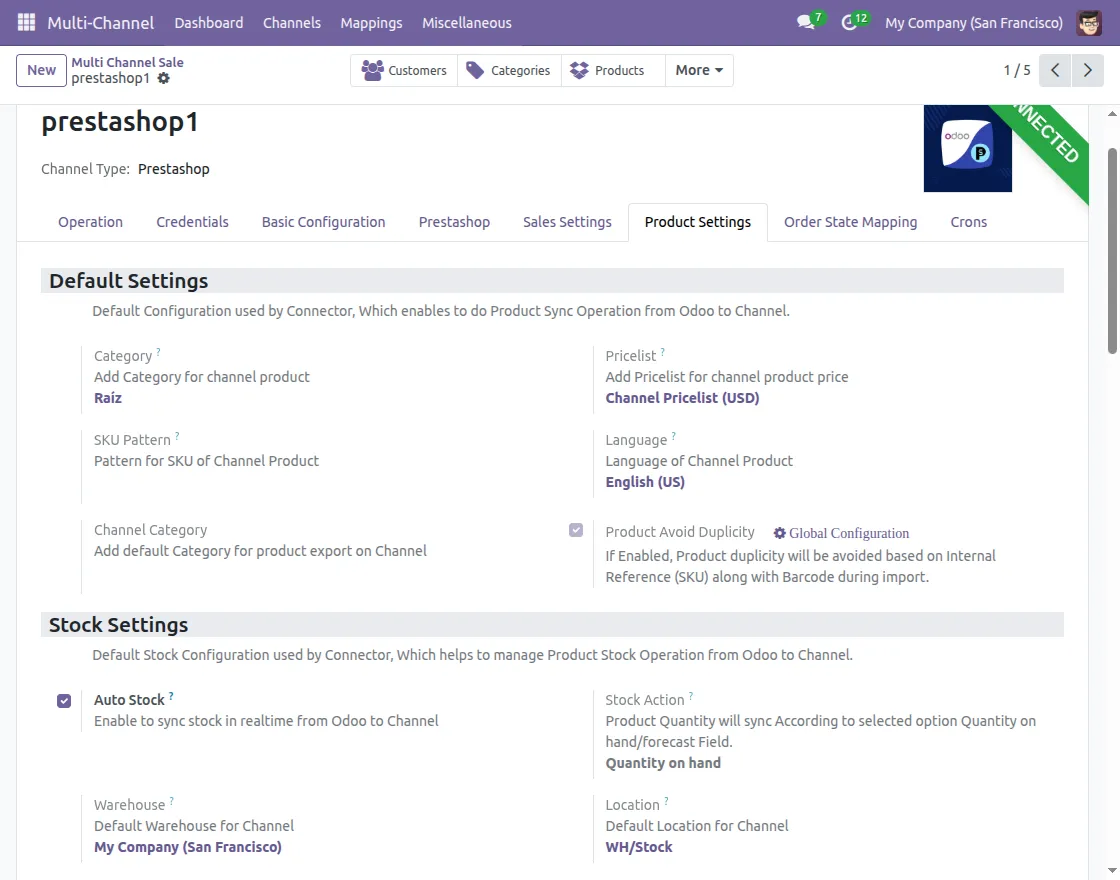
- Enable Avoid Duplicity to prevent duplicate records of product while importing them from prestashop to odoo.

Stock Settings:
- Enable Auto Stock Sync for real-time inventory updates Odoo to Prestashop.
- Select Stock Action (Quantity on Hand / Forecasted).
- Set Warehouse and Location for inventory management.

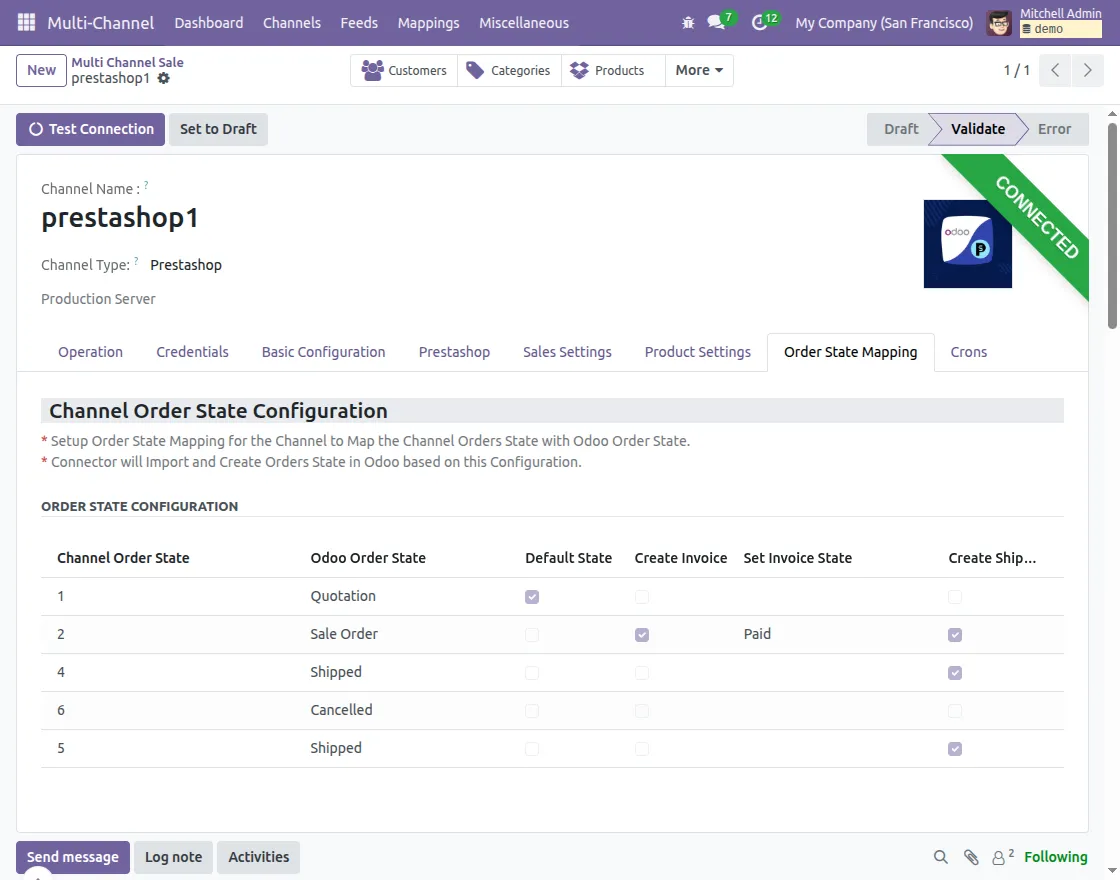
e) Order State Mapping Configuration
You can map Prestashop order states with Odoo using Order State Table. It maintains order flow aligned between both systems.
- Only one state can act as default at a time.
- When Create Invoice is enabled, Odoo will automatically generate an invoice once order reaches that state.
- Invoice State can be either Open or Paid
- When Create Shipment is enabled, Odoo automatically creates a shipment once order moves to that state.
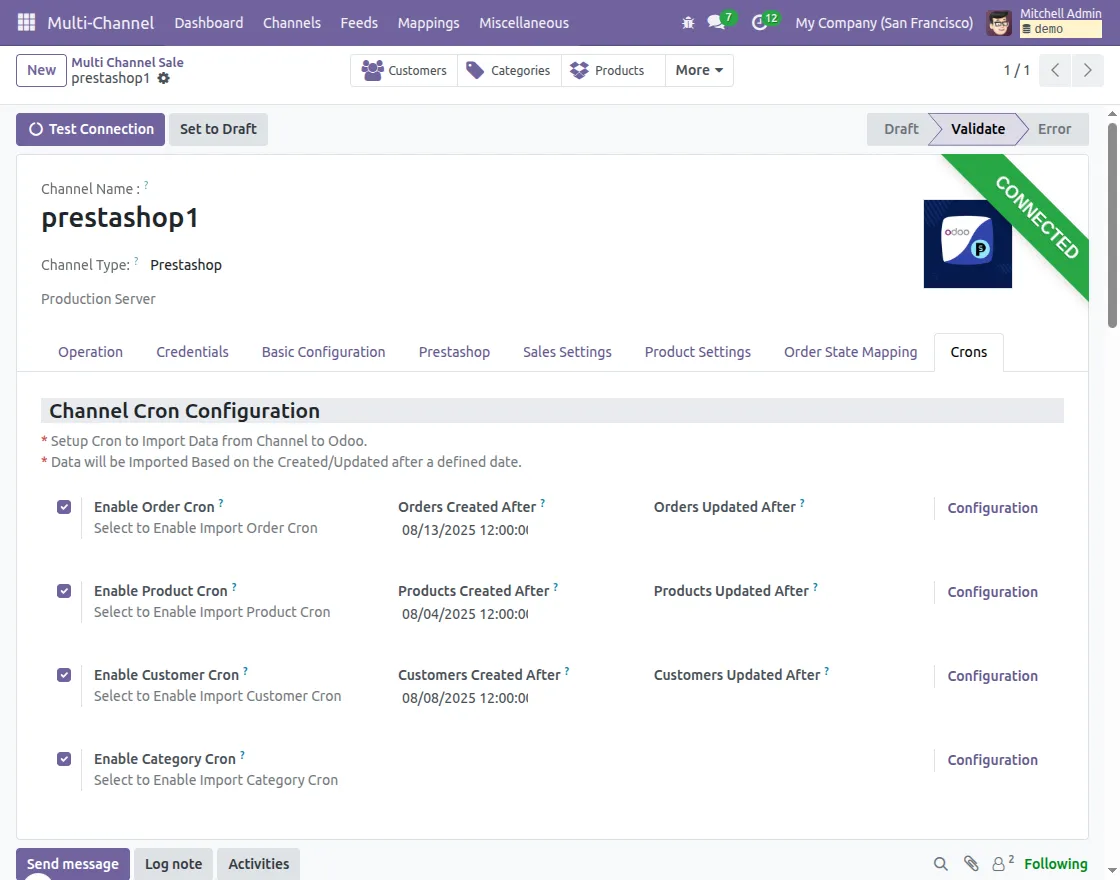
f. Cron Configuration
Cron Configuration tab allows you to schedule automated imports of data (Orders, Products, Customers, and Categories) from Prestashop to Odoo at defined intervals.
Click on Configuration in order to configure cron.
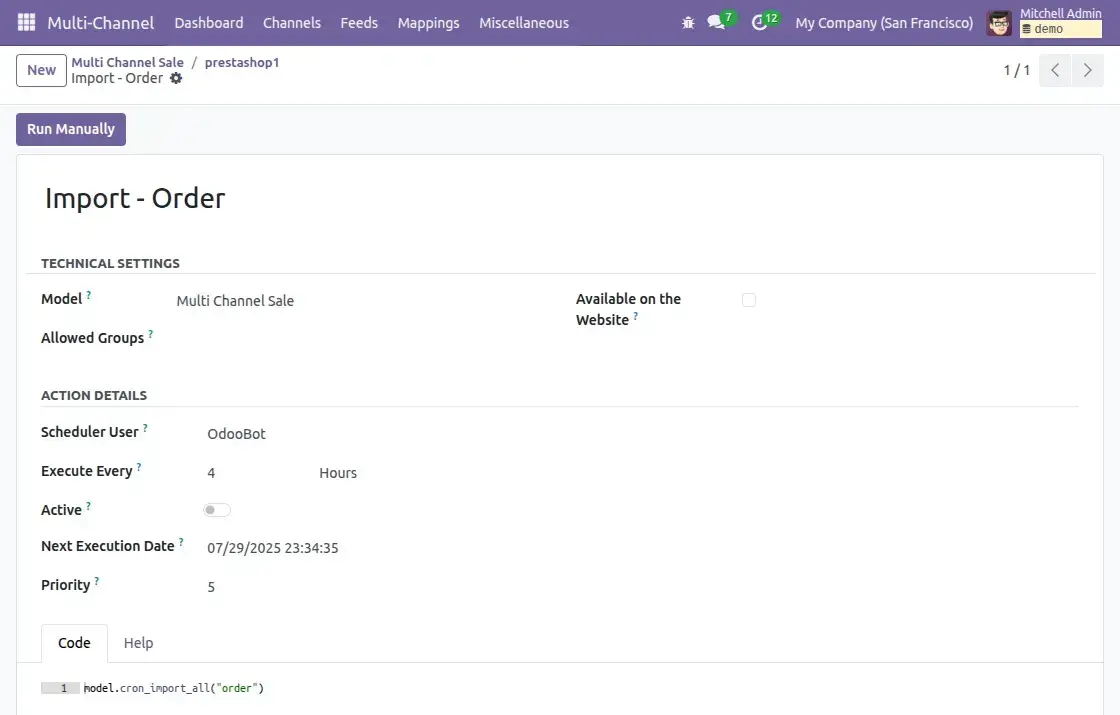
- Scheduler User: Odoo user under whose authority cron job runs
- Execute Every: Defines intervals between each execution (e.g., every 4 hours).
- Active: Toggle to activate/deactivate cron job.
- Next Execution Date: Shows the date and time when cron will next run.
- Priority: Determines the execution order if multiple crons overlap. Lower numbers mean higher priority.
- Created/Updated After: Set a start date to only import records created or updated after this date.

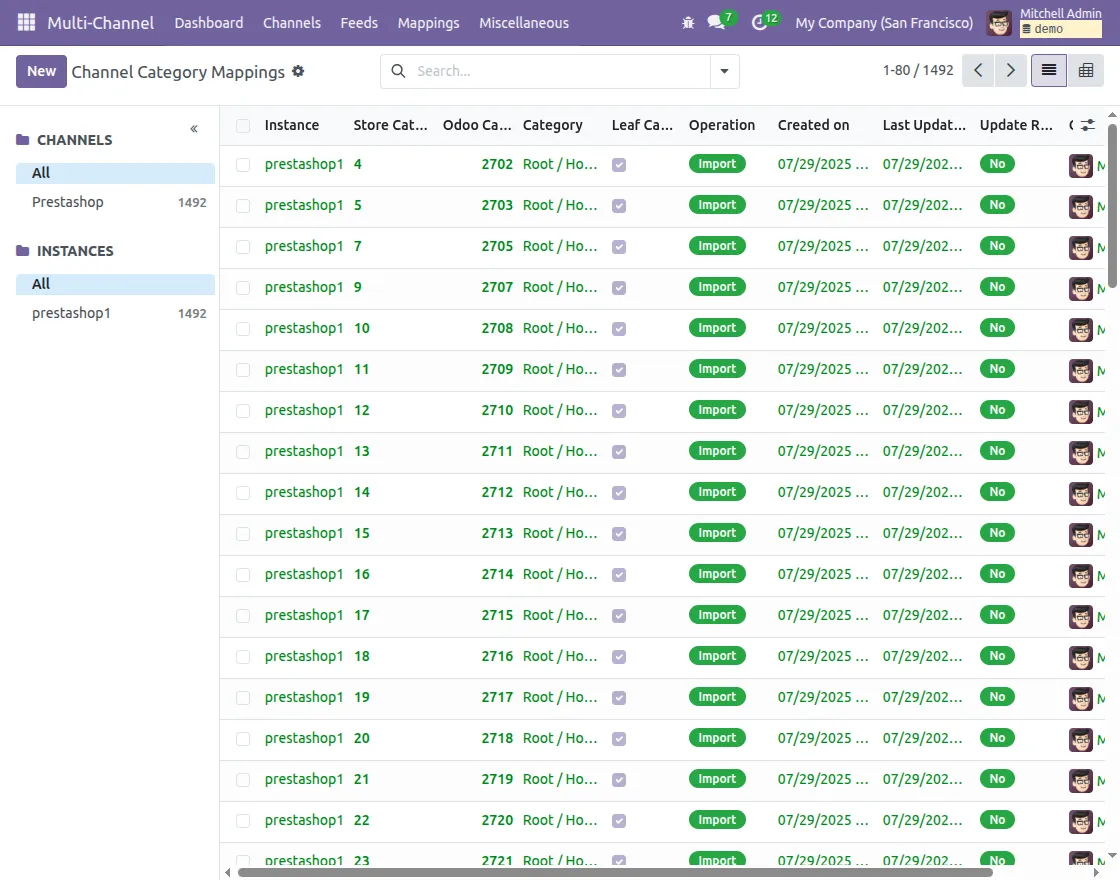
6. Mappings
- You can view mappings of all imported and exported data (products, categories, orders, customers, shipping methods) directly in Odoo.
- Each mapping page shows a list view, and clicking an entry displays detailed information about that specific mapping.
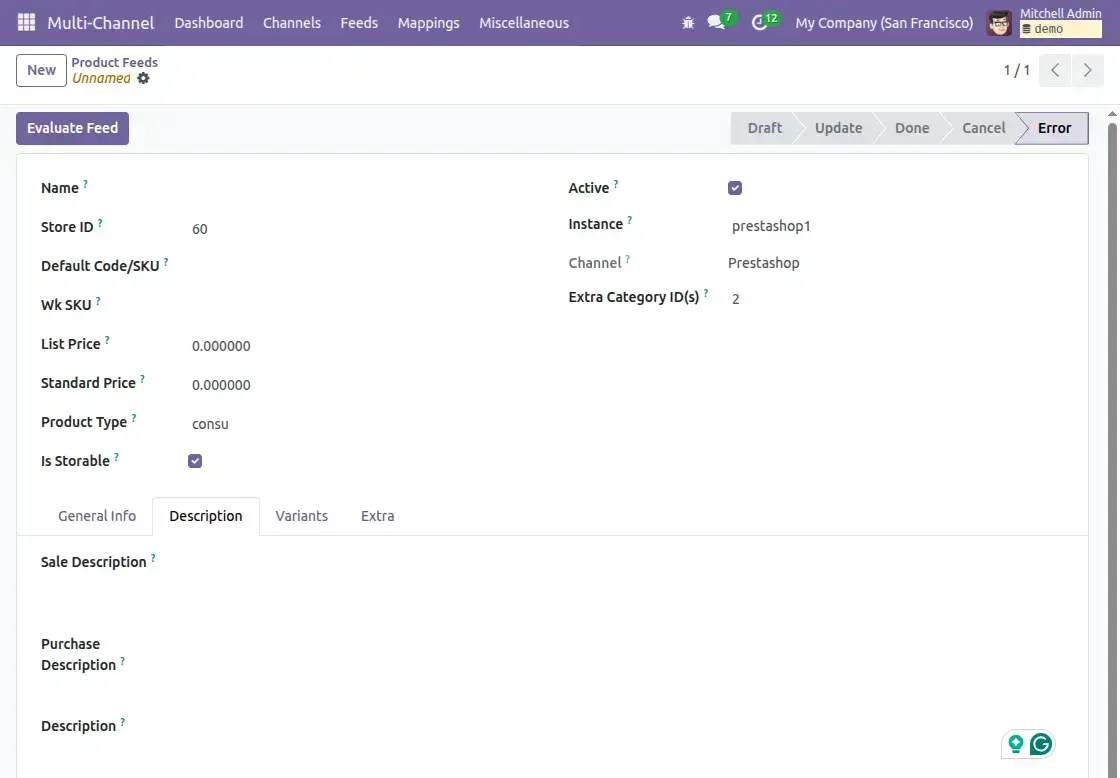
7. Feed Evaluation:
When data (Products, Categories, Customers, Orders, Shipping Methods) is imported from Prestashop, it first lands in Feeds.
These feeds act as a separate section before creating a mapping records in Odoo. You can choose to evaluate them manually or automatically.
Manual Feed Evaluation
- Go to Multi-Channel >> Feeds.
- Select feed record(Category / Product / Partner / Order / Shipping) you want to process.


- Review the details (e.g., product attributes, order data, customer information).

- Click Evaluate Feed to create corresponding record in Odoo.

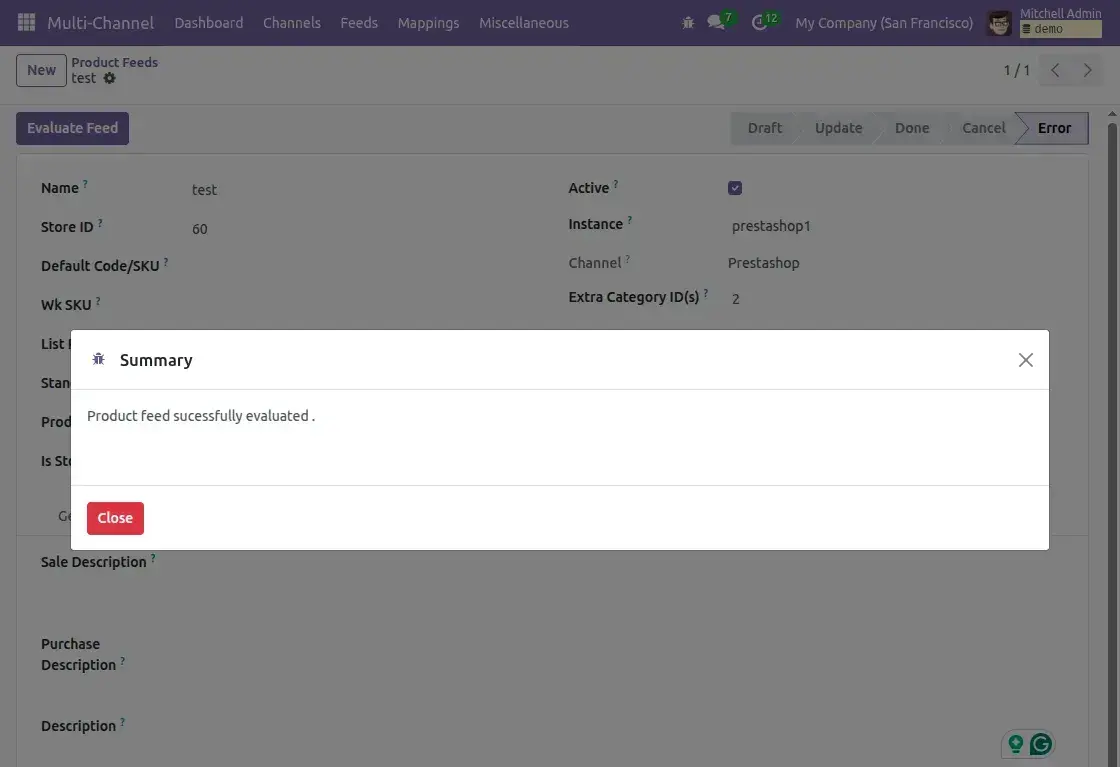
- Once evaluated, feed will move to the mapping list for future synchronizations.


Automatic Feed Evaluation
- While configuring your Prestashop instance, enable Auto Evaluate Feed in Basic Configuration tab.
- Once enabled, every imported feed will be automatically validated and created in Odoo without manual approval.
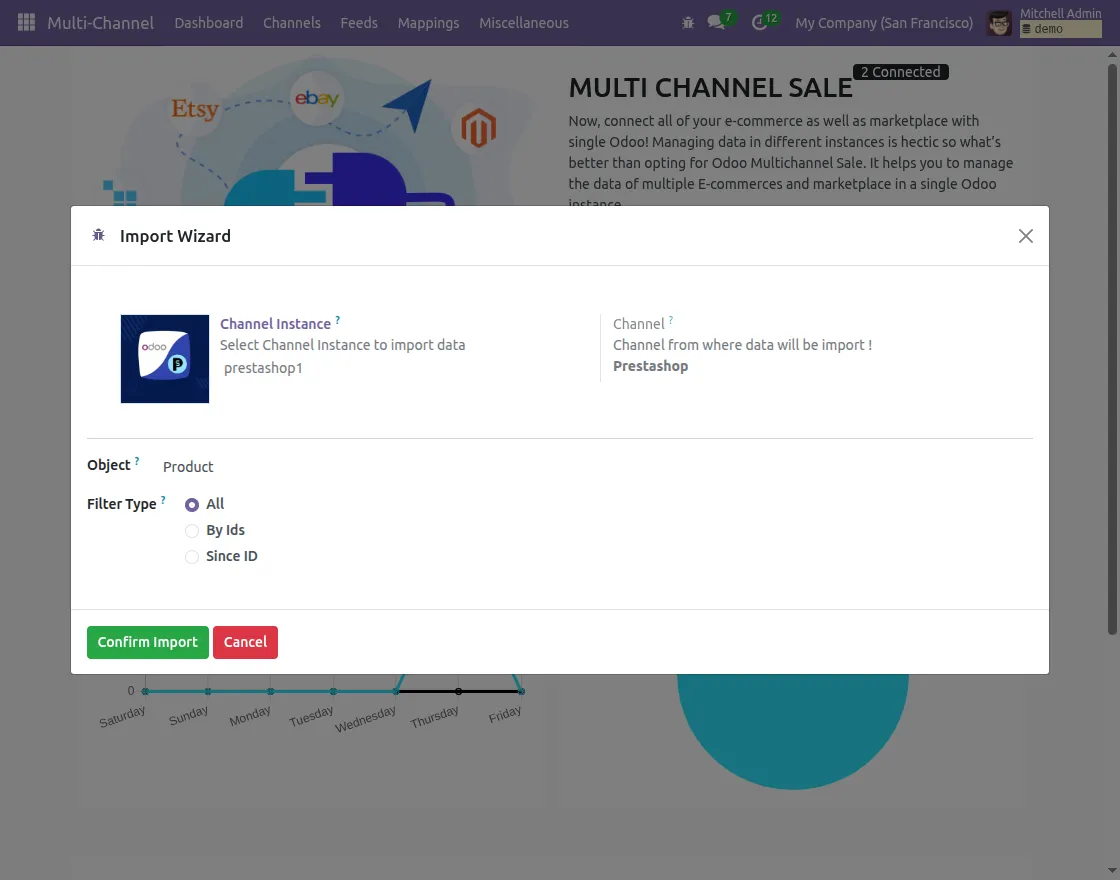
8. Import Data from Prestashop
- You can import Categories, Products, Customers, Orders, and Shipping Methods either from the Connection’s Operation tab or via Import button on dashboard.
- The import process follows a sequence: Categories then Products and then Orders. (Products require categories, and orders require products to be imported first).
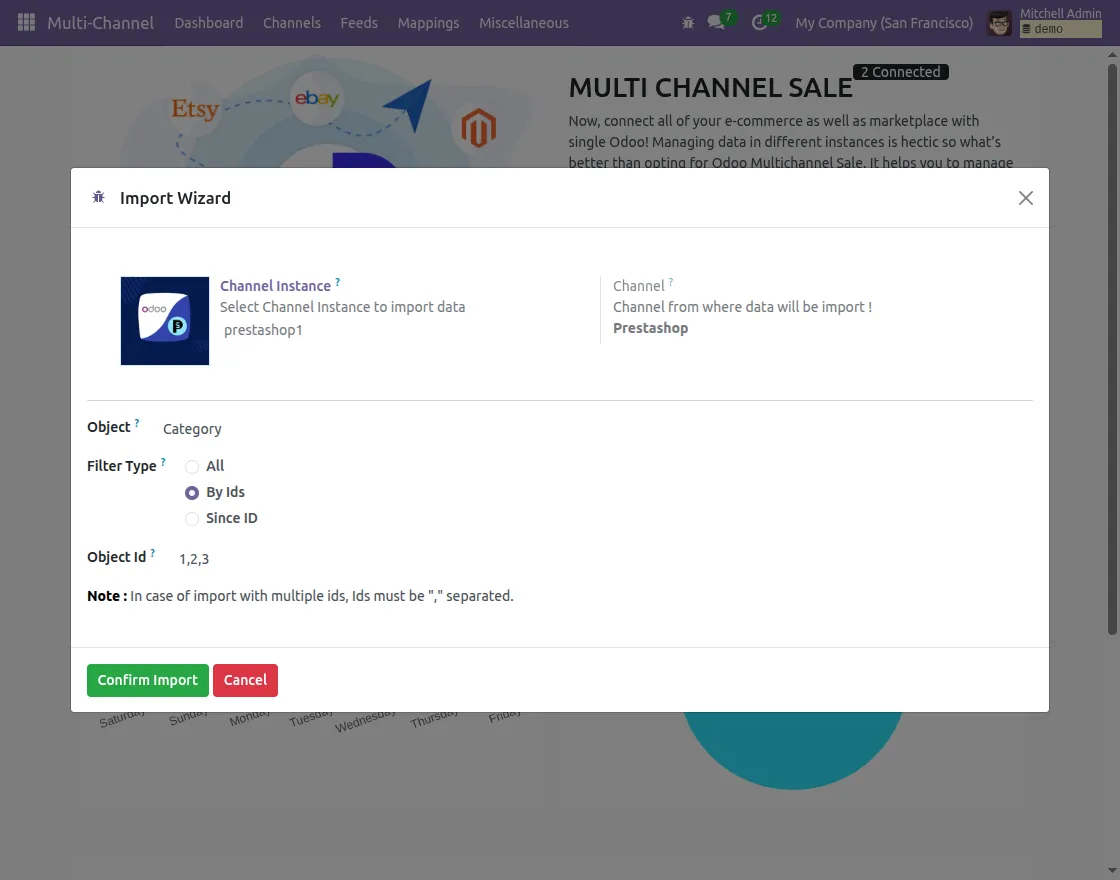
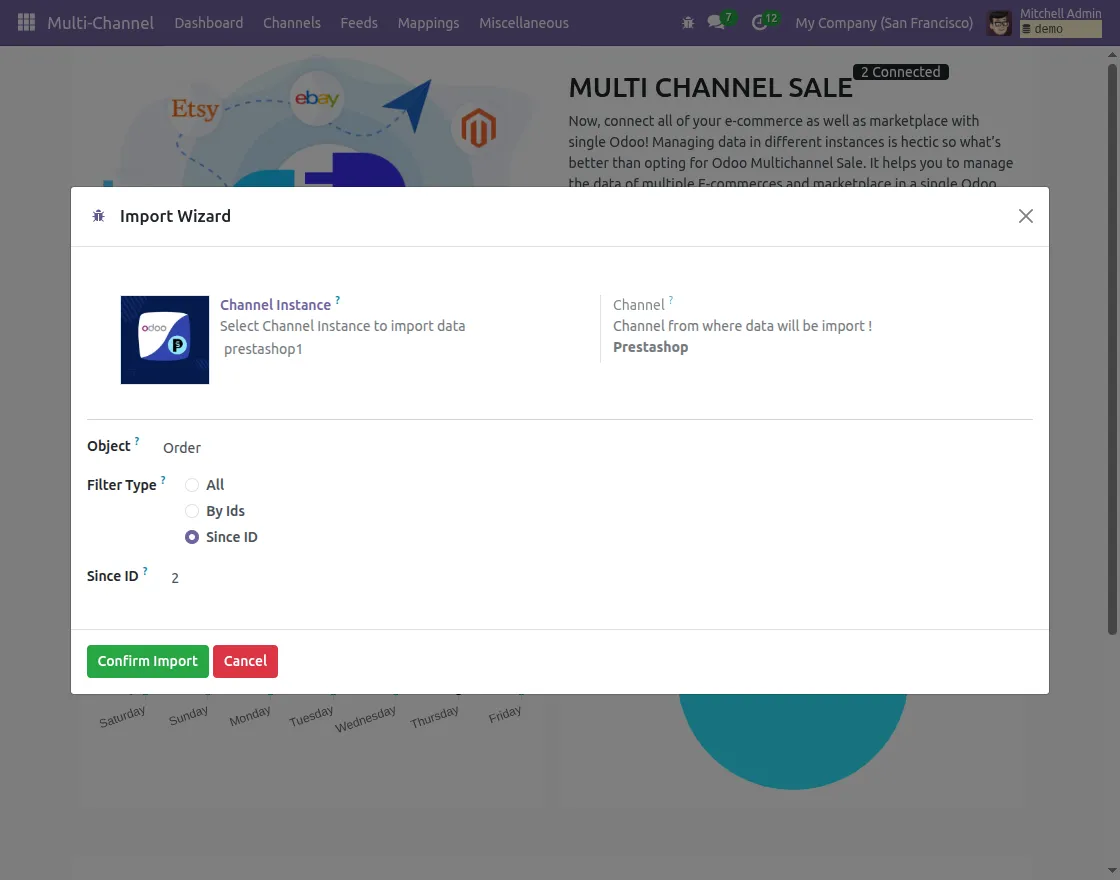
- Imports can be filtered using options such as IDs, Since ID, or All, in order to choose whether to bring in specific records or the entire dataset.
- You need to select the Channel Instance, Object and Filter Type in import wizard.
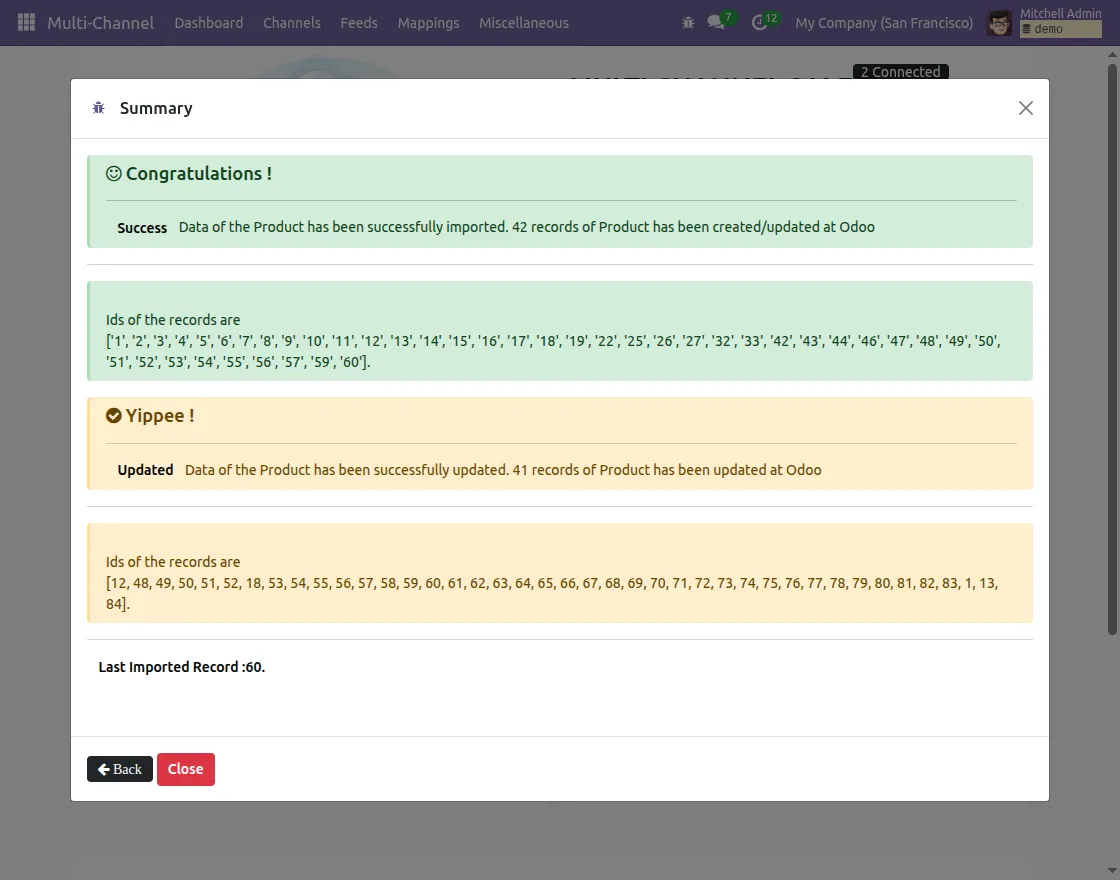
a. Import Product:
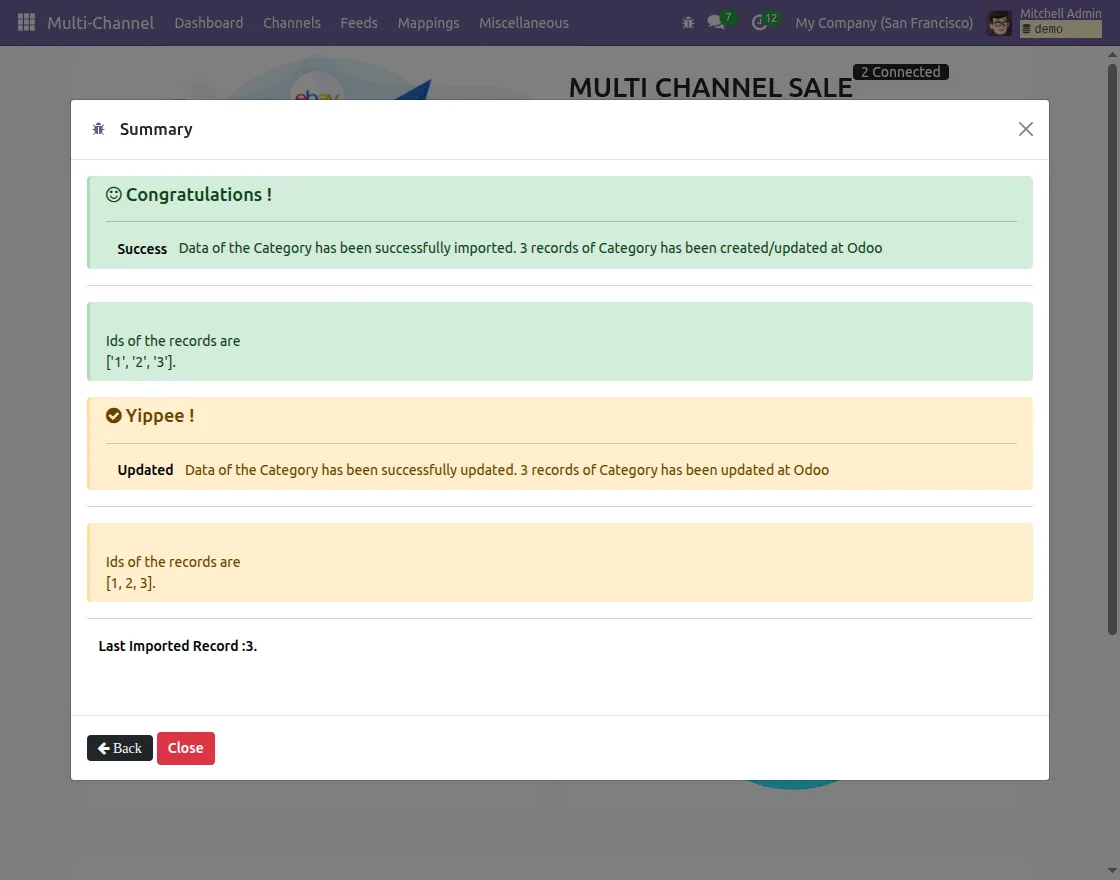
b. Import Category:
c. Import order:

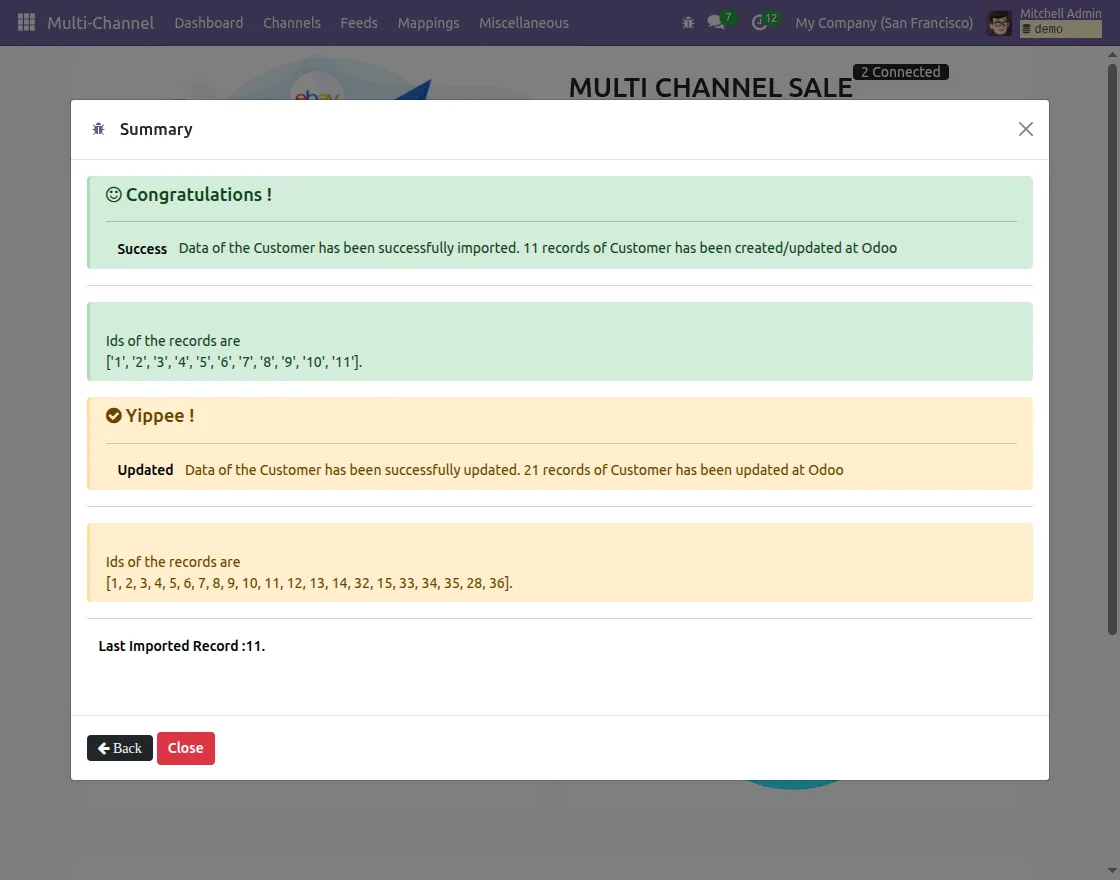
d. Import Customer:

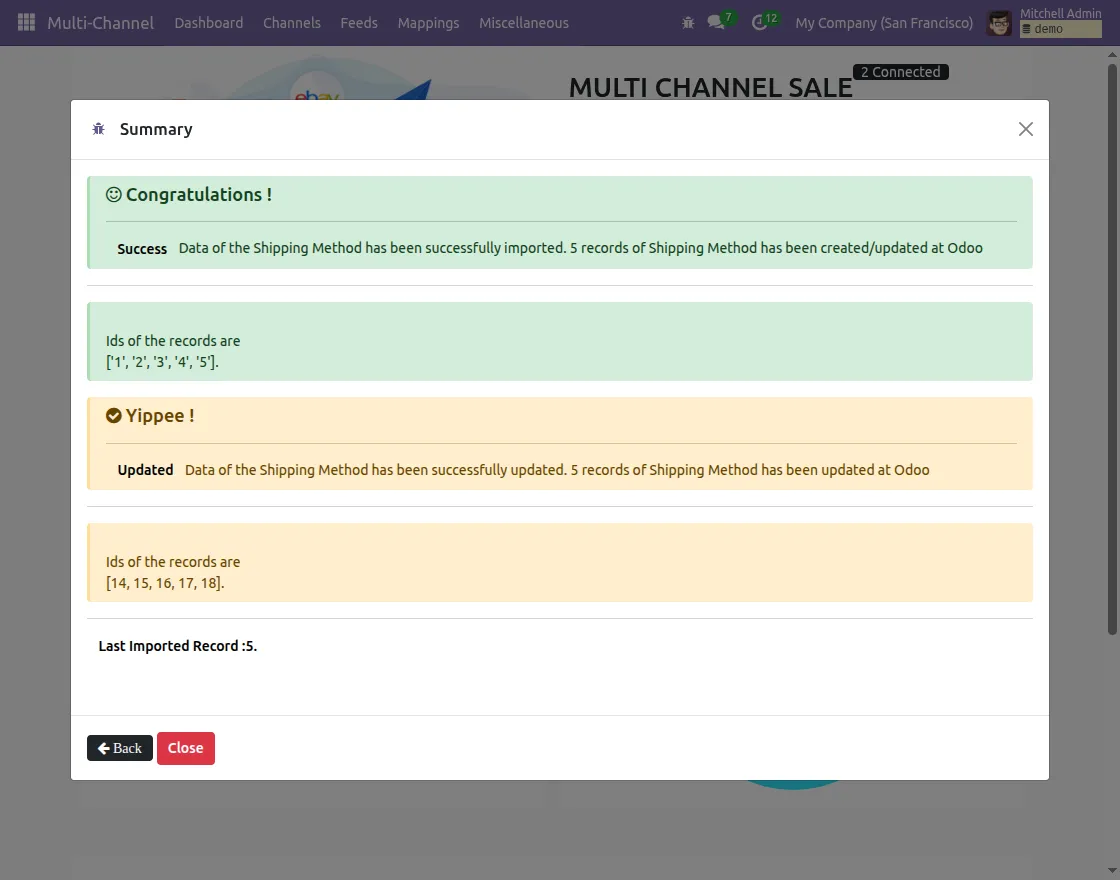
e. Import Shipping methods:

9. Export/Update Data to Prestashop
- You can export Categories and Product template either from the Connection’s Operation tab or via the Import button on dashboard.
- You can also choose to Update instead of exporting and creating new product or category.
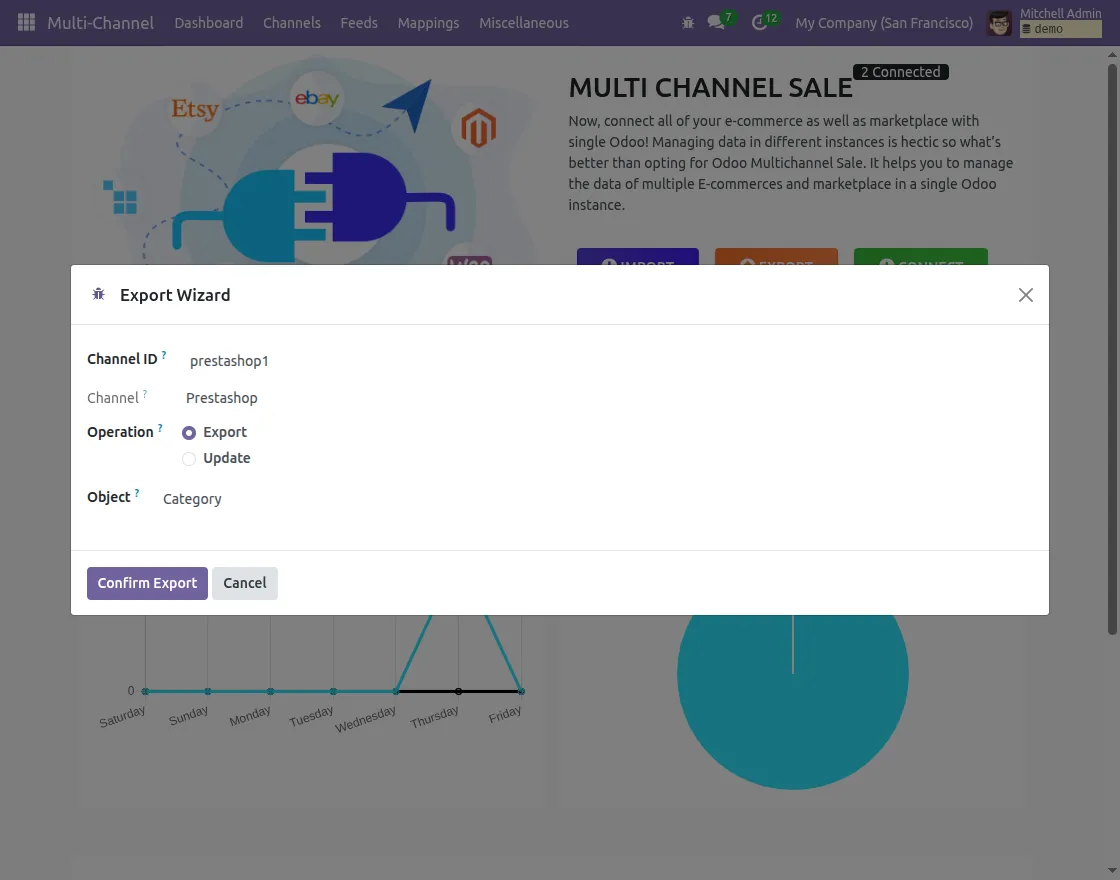
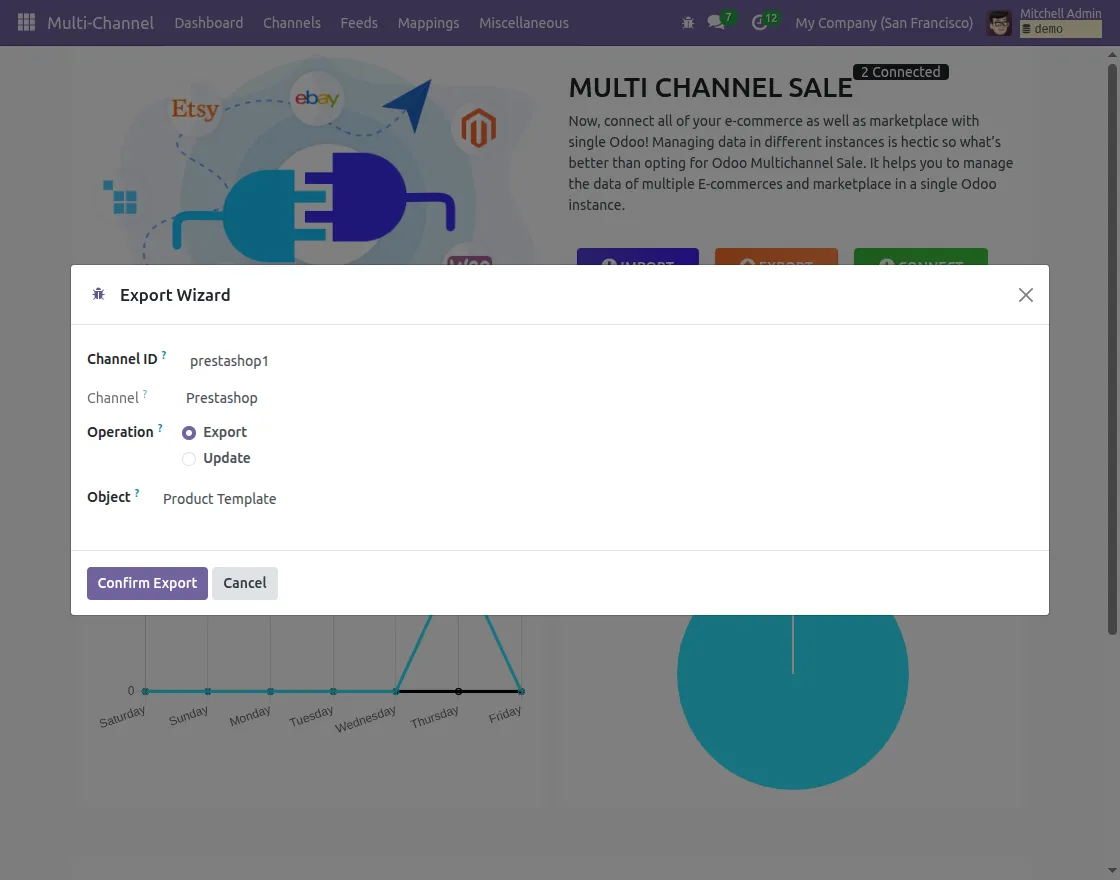
- You need to select the Channel ID, Object and Operation in export wizard.
a. Export Category:
b. Export Product template:
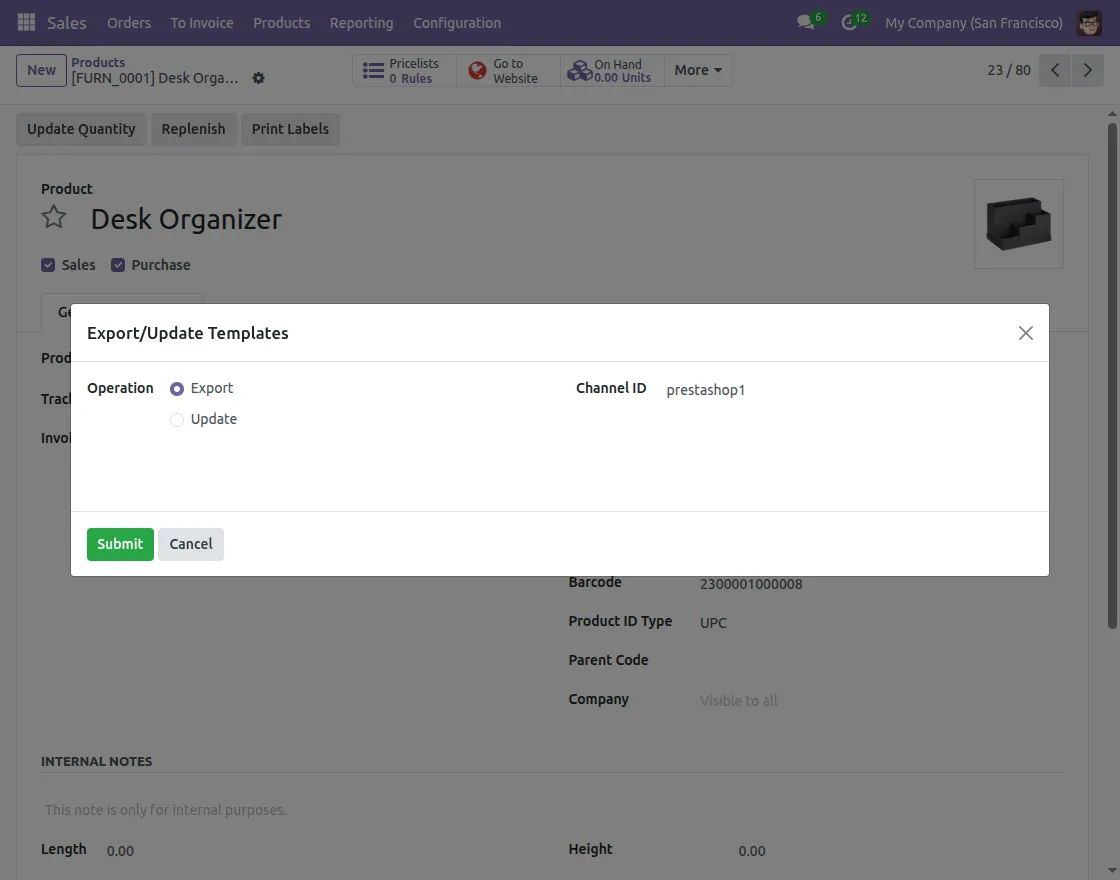
c. Export product directly:
- You can directly export or update the product to Prestashop
- Open the Product, click on the gear icon at the top, and select Export/Update templates.
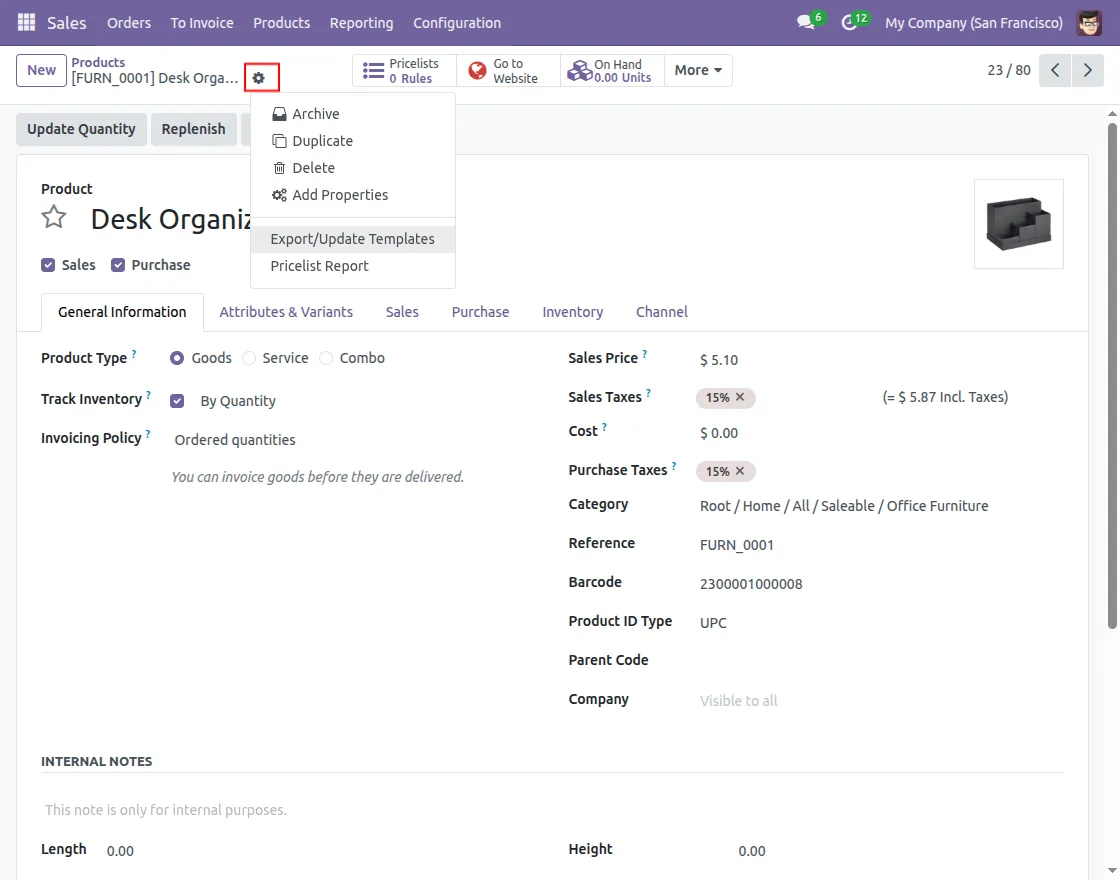
- Select the Channel ID and choose whether to export or update.
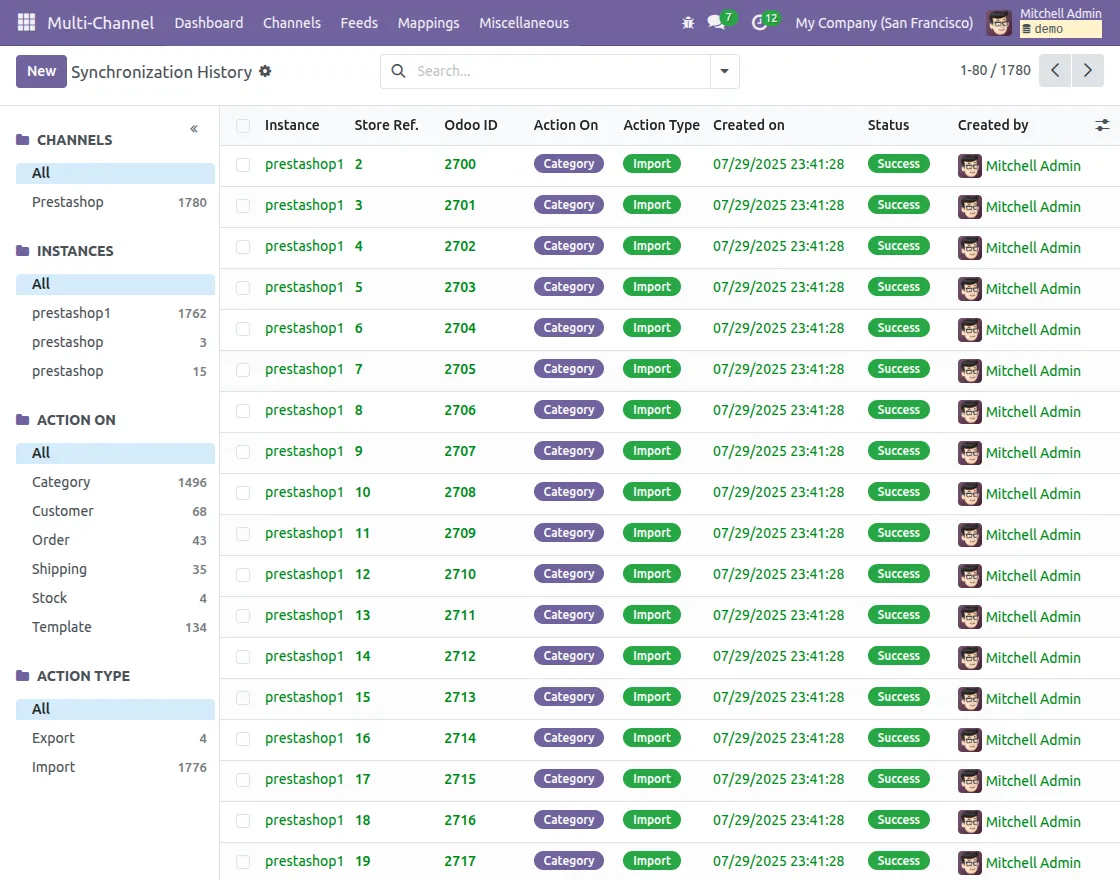
10. Manage Logs and Sync History
a. Access Sync History
- Go to Multichannel module in Odoo.
- Navigate to Miscellaneous: Synchronization History.
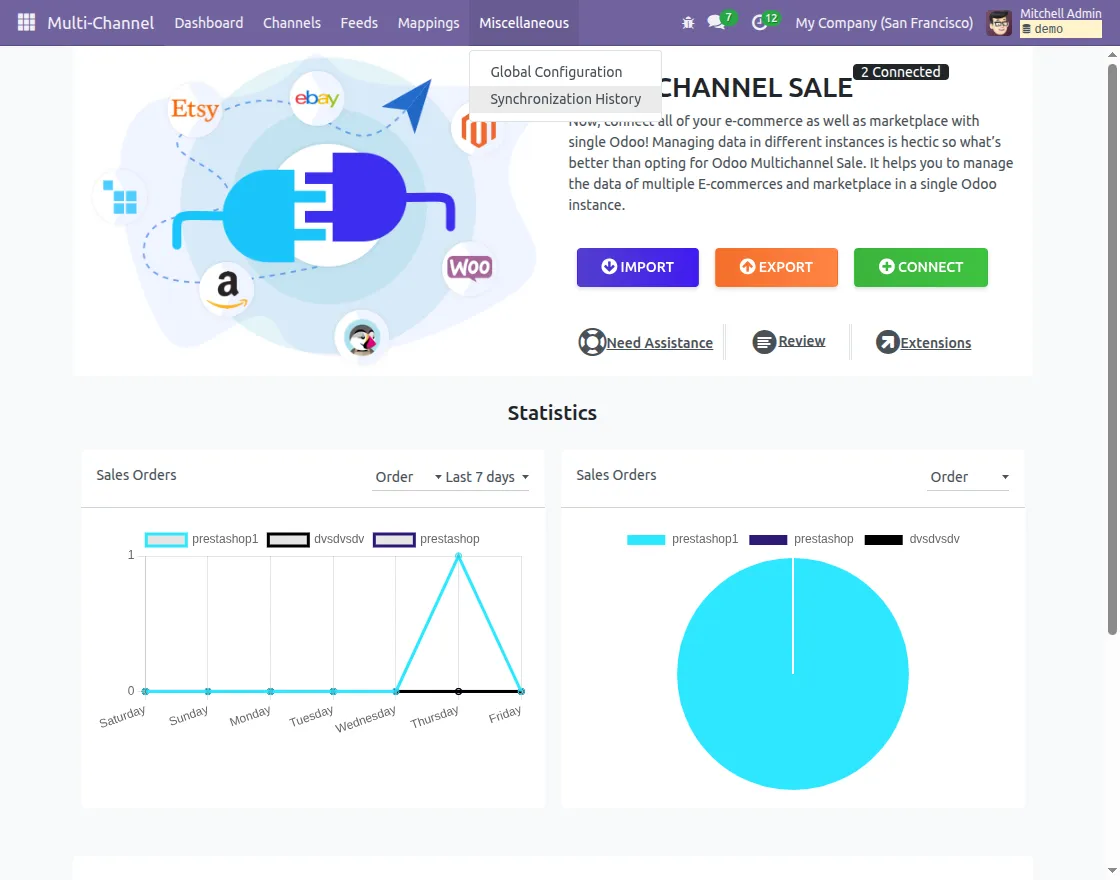
- Here, you can see complete log of all import, export, and synchronization activities.
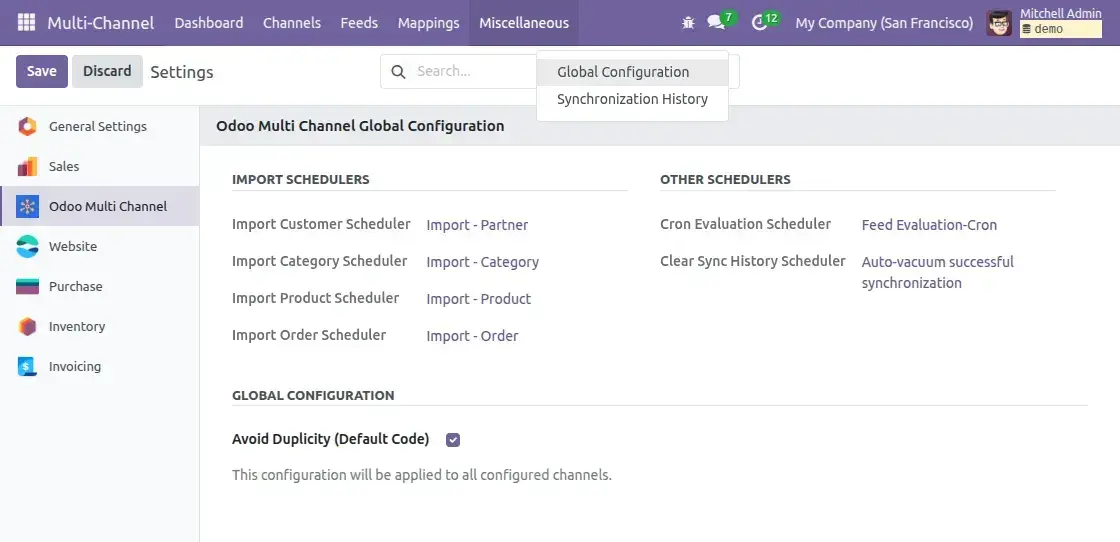
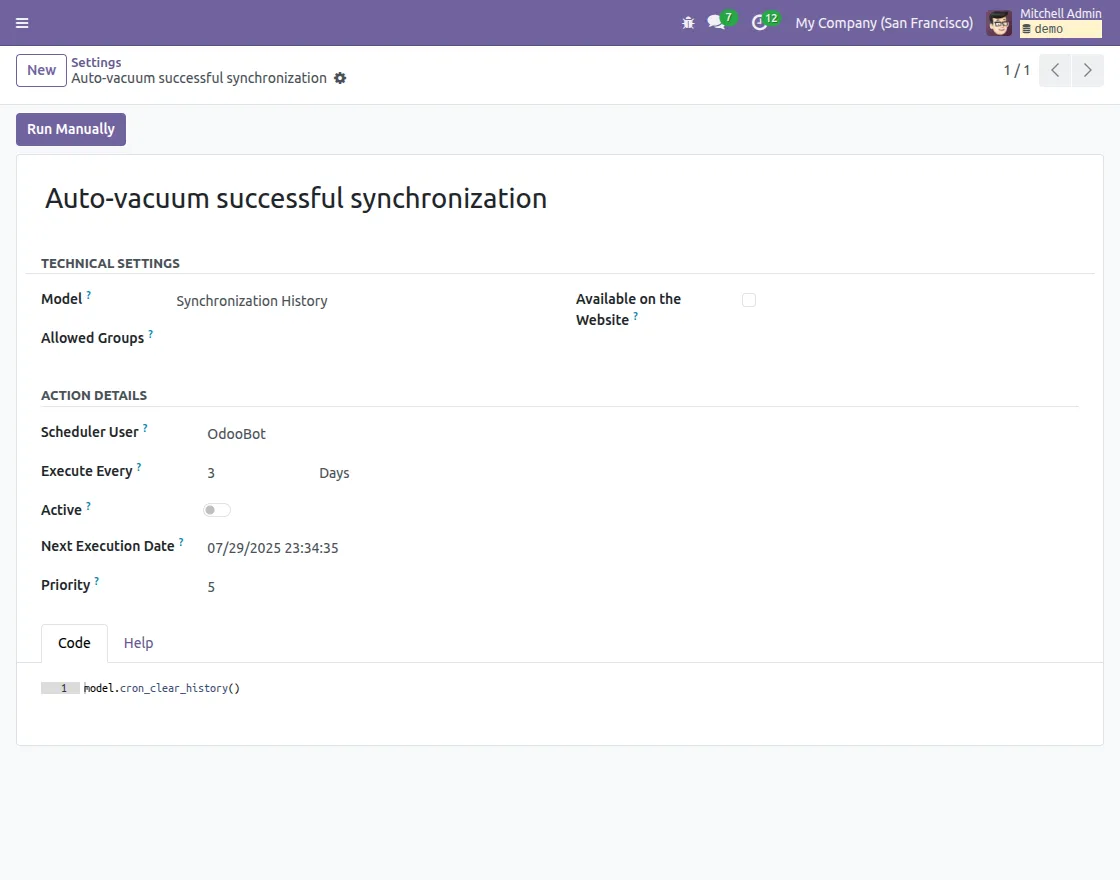
b. Clear Outdated Logs
- Click on Miscellaneous menu and select Global Configuration.
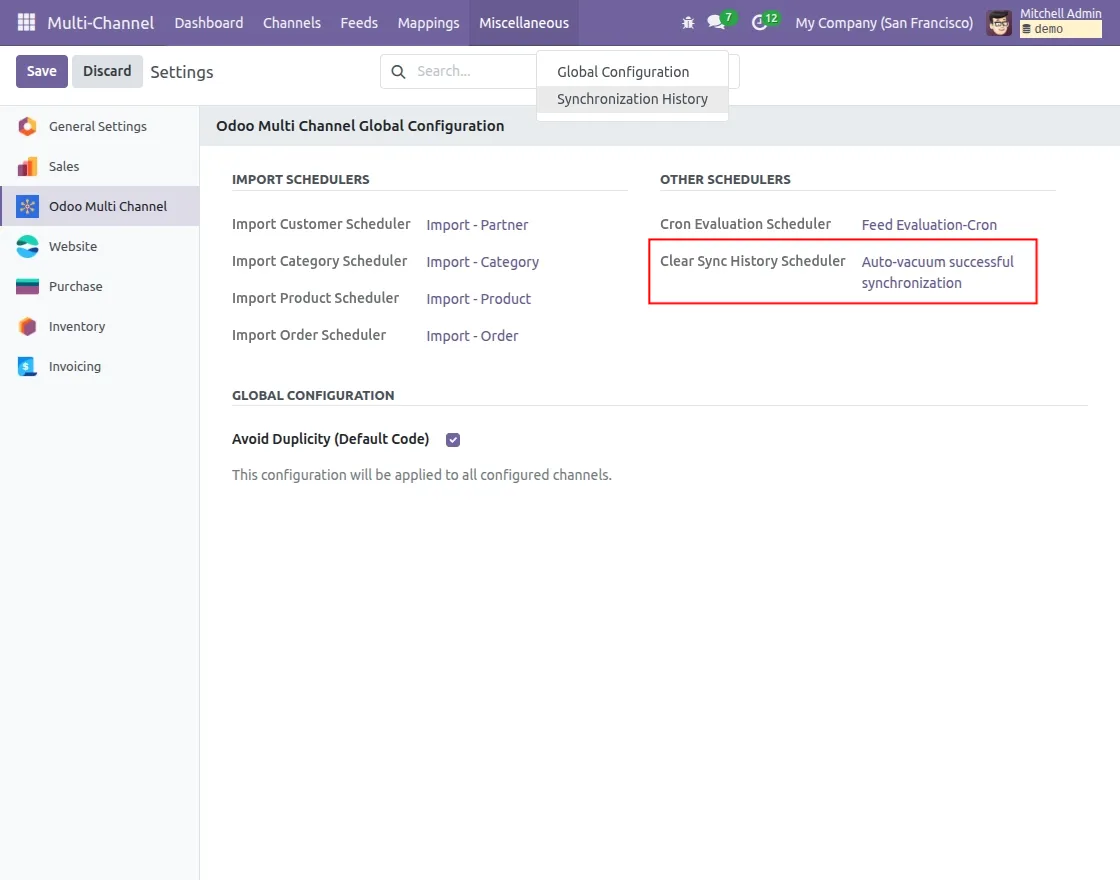
- Configure Clear Sync History Scheduler to schedule deletion of older logs at regular intervals.
NEED HELP?
Hope you find guide helpful! Please feel free to share your feedback in the comments below.
If you still have any issues/queries, please create a ticket at the UV Desk.
I hope this helps. In case of any further queries, contact us at our support mail.
Thanks for paying attention!!