User Guide for Odoo Direct Refund from PayPlug
Introduction
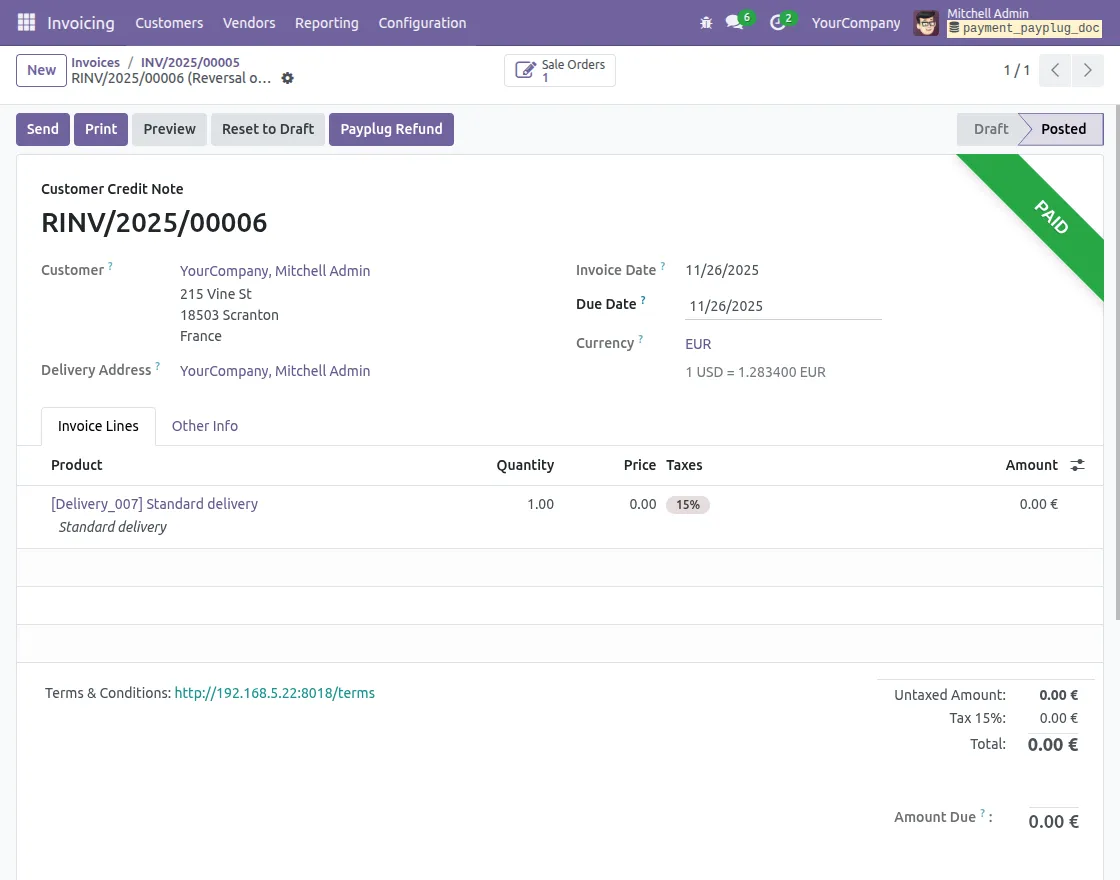
Odoo Direct Refund From PayPlug lets you refund PayPlug payments inside Odoo with ease. Moreover, it creates a credit note automatically and links it to the original invoice.
It asks for a refund reason through a pop-up, which keeps records clear and avoids mistakes during refunds.
It also connects each refund to the original payment as a child transaction. As a result, you can track refund history quickly and build customer trust.
Prerequisites for using Odoo Direct Refund from PayPlug
Odoo Direct Refund from PayPlug works in conjunction with the following module:
Odoo Website PayPlug Payment Gateway
Payment Refund Base
You must install the above-mentioned module to use Odoo Direct Refund from PayPlug.
Features
- Odoo Direct Refund from PayPlug allows fast refunds without needing extra actions.
- Create credit notes that are directly connected to the original invoices.
- Refund records stay properly linked to their main transactions.
- Track each step of payment and refund progress easily.
- Get alert messages if a credit note is not created.
- Maintain accurate financial records with a smooth refund process.
- Save refund reasons for clear reports and responsibility.
- Increase customer confidence with open and easy refund handling.
Installation
- Once you purchase the App from Webkul store, you will receive a link to download module’s zip file.
- Extract the file on your system after download finishes. As a result, you will be able to see a folder named- ‘payment_payplug_refund’.
- Copy and paste this folder inside your Odoo Add-Ons path.
- Now, open Odoo App and click on the Settings menu. Here, click on Activate Developer Mode.
- Then, open Apps menu and click on ‘Update Modules List.’
- In the search bar, remove all the filters and search ‘payment_payplug_refund’.
- You will be able to see module in the search results. Click on ‘Activate’ to install it.
Workflow
Configuration of Odoo Direct Refund from PayPlug
1. First, after you install Odoo Direct Refund from PayPlug, open the invoice that needs a refund; then, navigate to the specific customer invoice to proceed further with the refund process.


2. Add a credit note before initiating the refund process.

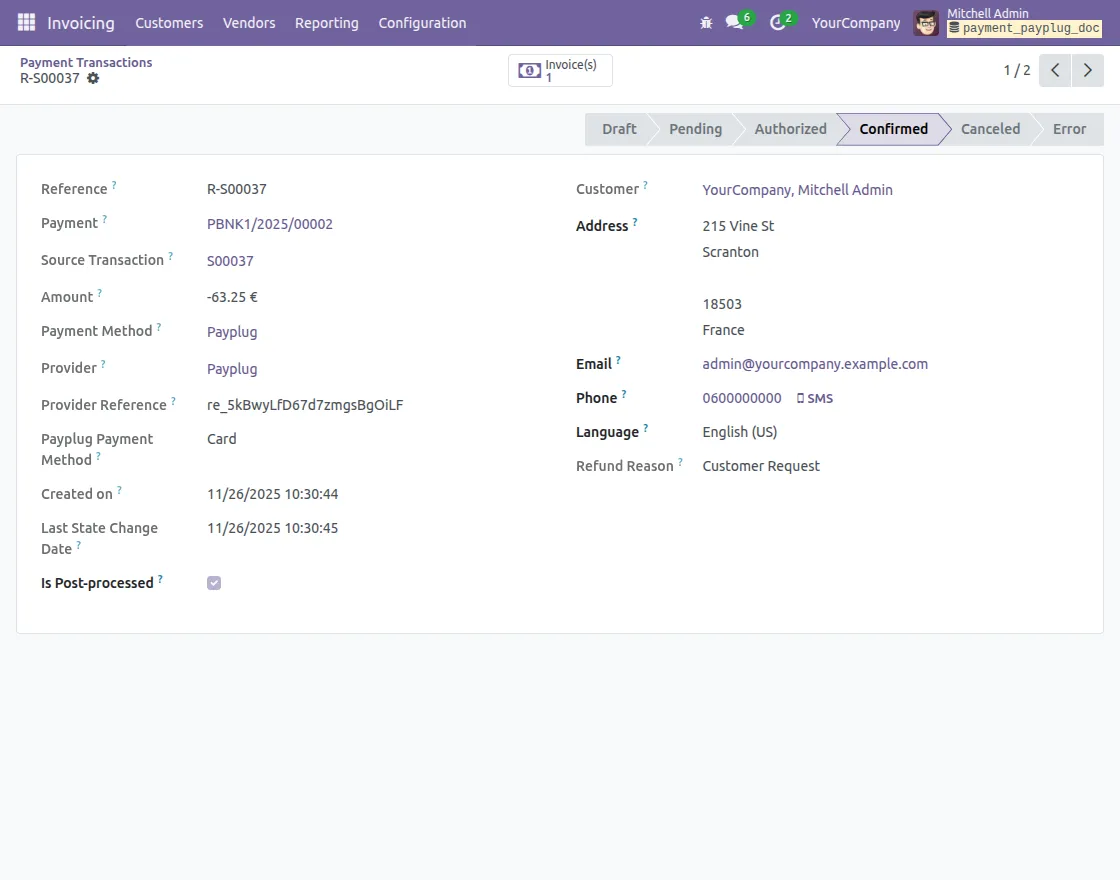
3. Next, after you start the refund, enter the refund reason in the PayPlugWizard.
4. If you try to issue a refund without creating a credit note, the system shows a pop-up alert.
As a result, this reminder ensures that you cannot complete a refund without the required credit note.

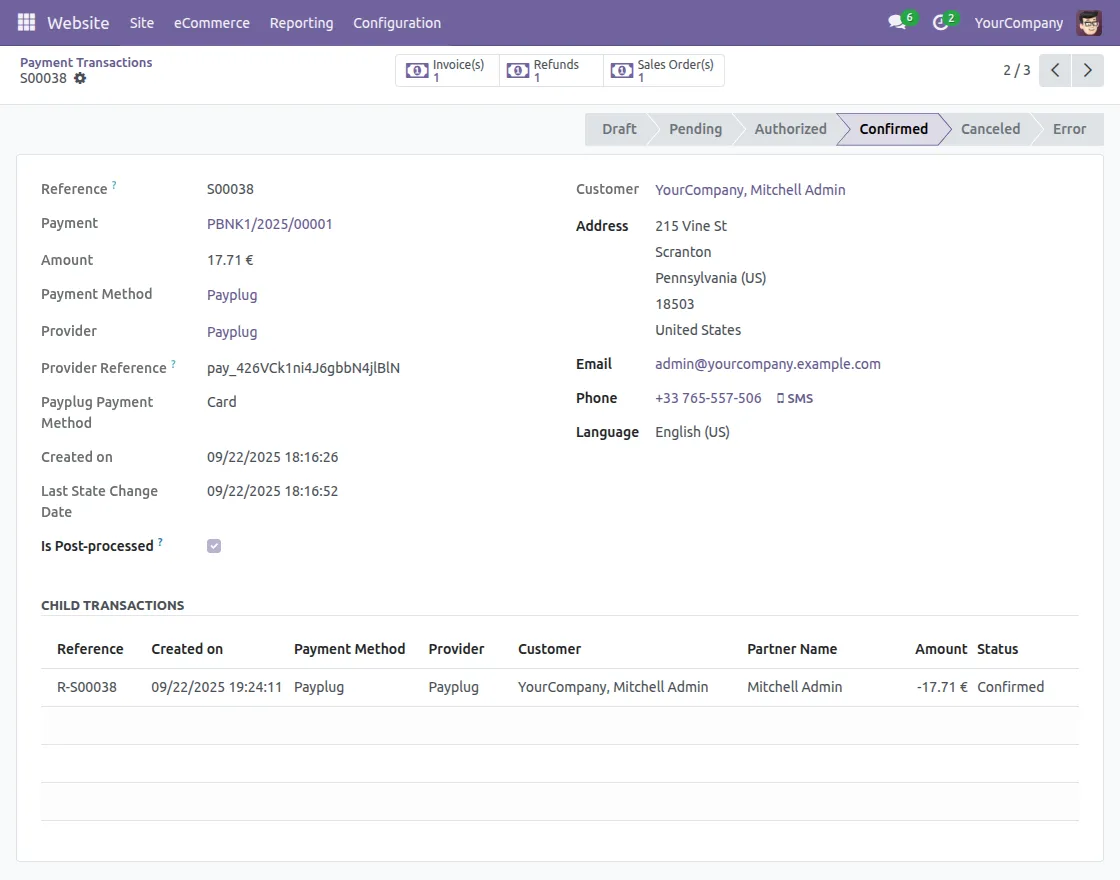
5. Moreover, the system updates the transaction status in Odoo as soon as PayPlug confirms the refund.
6. As a result, the system links each refund payment to the original payment as a Child Transaction.
Need Help?
Hope you find guide helpful! Please feel free to share your feedback in the comments below.
If you still have any issues/queries, please create a ticket at the UV Desk.
I hope this helps. In case of any further queries, contact us at our support mail.
Thanks for paying attention!!