Odoo AI Dashboard User Manual
Introduction
Odoo AI Dashboard helps users turn simple business questions into useful Odoo reports, charts, tables, and AI-based insights without writing SQL manually.
Users can work with an AI dashboard for Odoo to analyze sales, inventory, vendors, and other business data using natural language.
The module also provides AI result explanations, flexible dashboard views, secure schema controls, Training Corpus records, Golden Queries, and report sharing through Odoo email.
Prerequisites For Using Odoo AI Dashboard
Odoo AI Dashboard works in conjunction with the following module:
- Python >3.8.1 Is required to install the dependencies
- Install requirements.txt, pip3 install -r odoo_ai_dashboard/requirements.txt
- Generate Groq API key
- Generate OpenAi API Key
The user must have LLM provider API keys for integration
Features
- Ask Odoo business questions in simple natural language.
- Convert business questions into database queries through NLP2SQL.
- Create multiple dashboards for different reporting requirements.
- Display results through charts, tables, funnels, and other supported views.
- Generate AI explanations with key findings and suggested next actions.
- Configure OpenAI or Groq with retry and token controls.
- Secure AI requests with schema settings, guardrails, and banned keywords.
- Build Training Corpus records from Odoo schema and DDL information.
- Save verified question and SQL pairs as trusted Golden Queries.
Installation
- Once you purchase the App from the Webkul store, you will receive the link to download the zip file of the module.
- Extract the file on your system after the download finishes. As a result, you will be able to see a folder named- ‘odoo_ai_dashboard’
- Copy and paste this folder inside your Odoo Add-Ons path.
- Now, open the Odoo App and click on the Settings menu. Here, click on Activate the Developer Mode.
- Then, open the Apps menu and click on ‘Update Modules List.’
- In the search bar, remove all the filters and search ‘odoo_ai_dashboard’
- You will be able to see the module in the search results. Click on ‘Install’ to install it.
Before moving further, explore our Odoo development services & an extensive range of quality Odoo Apps.
Workflow
Configure Odoo AI Dashboard
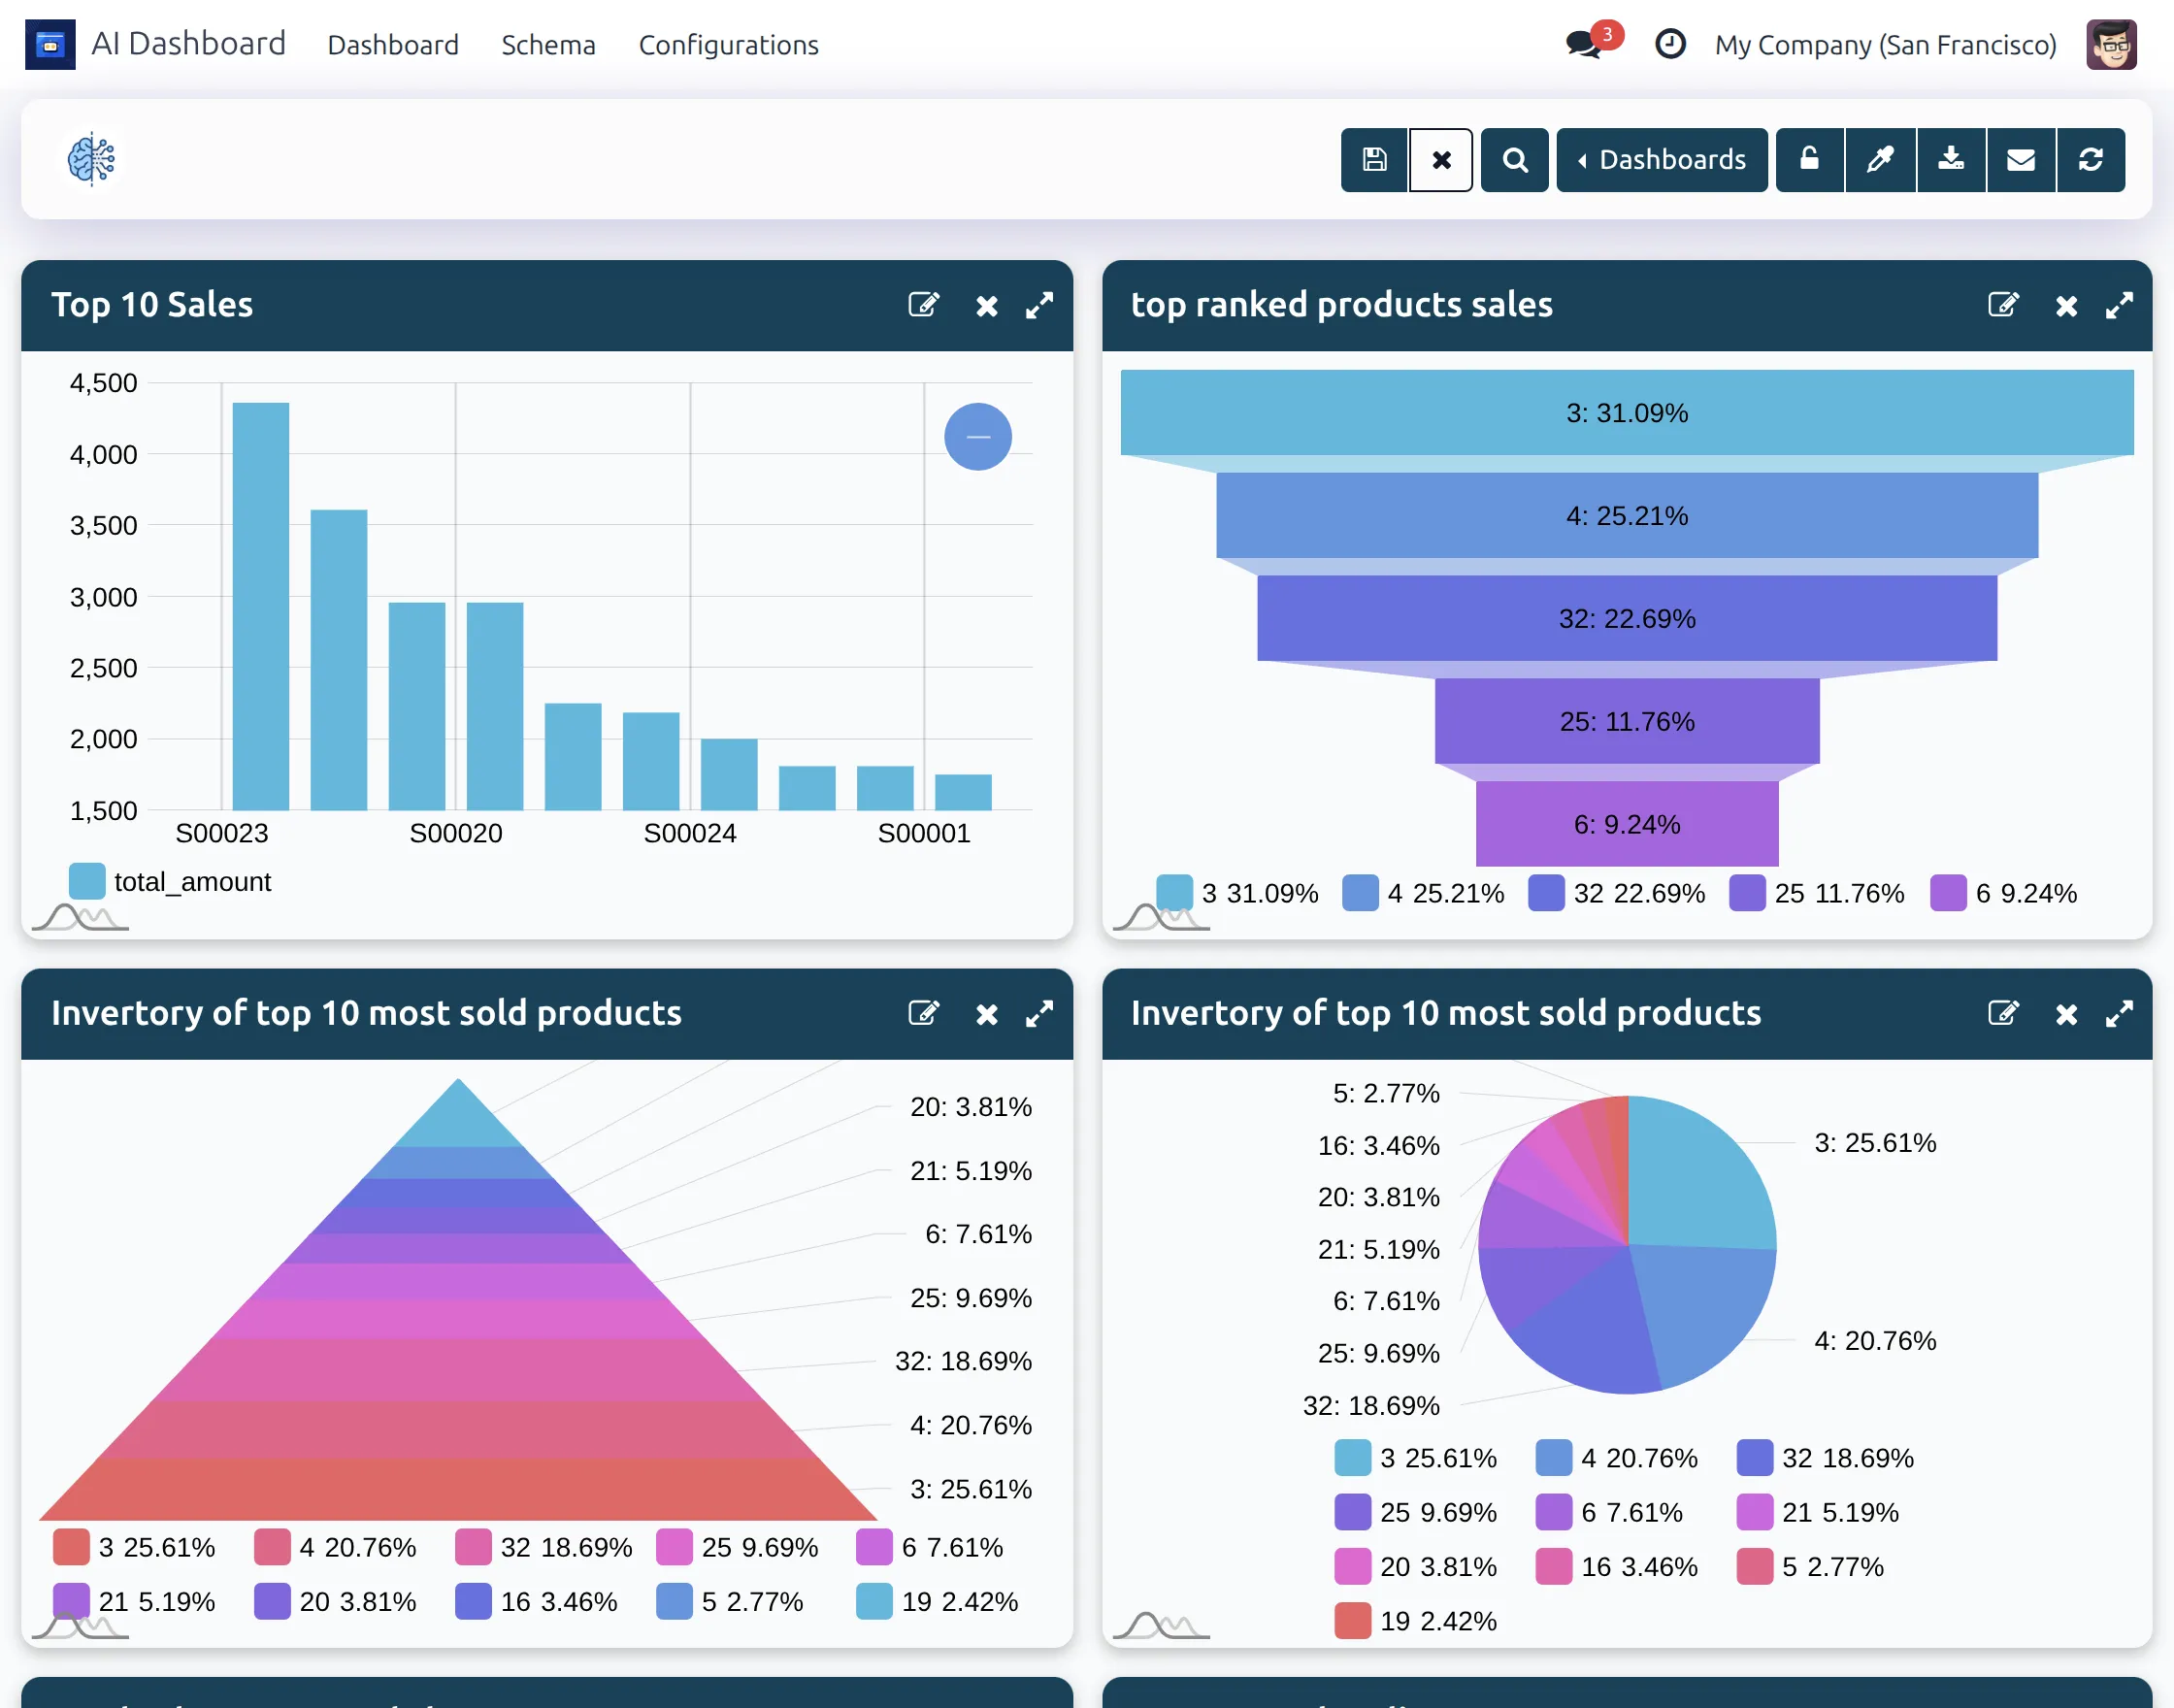
1. After installing the module, open Odoo AI Dashboard from the Odoo backend.
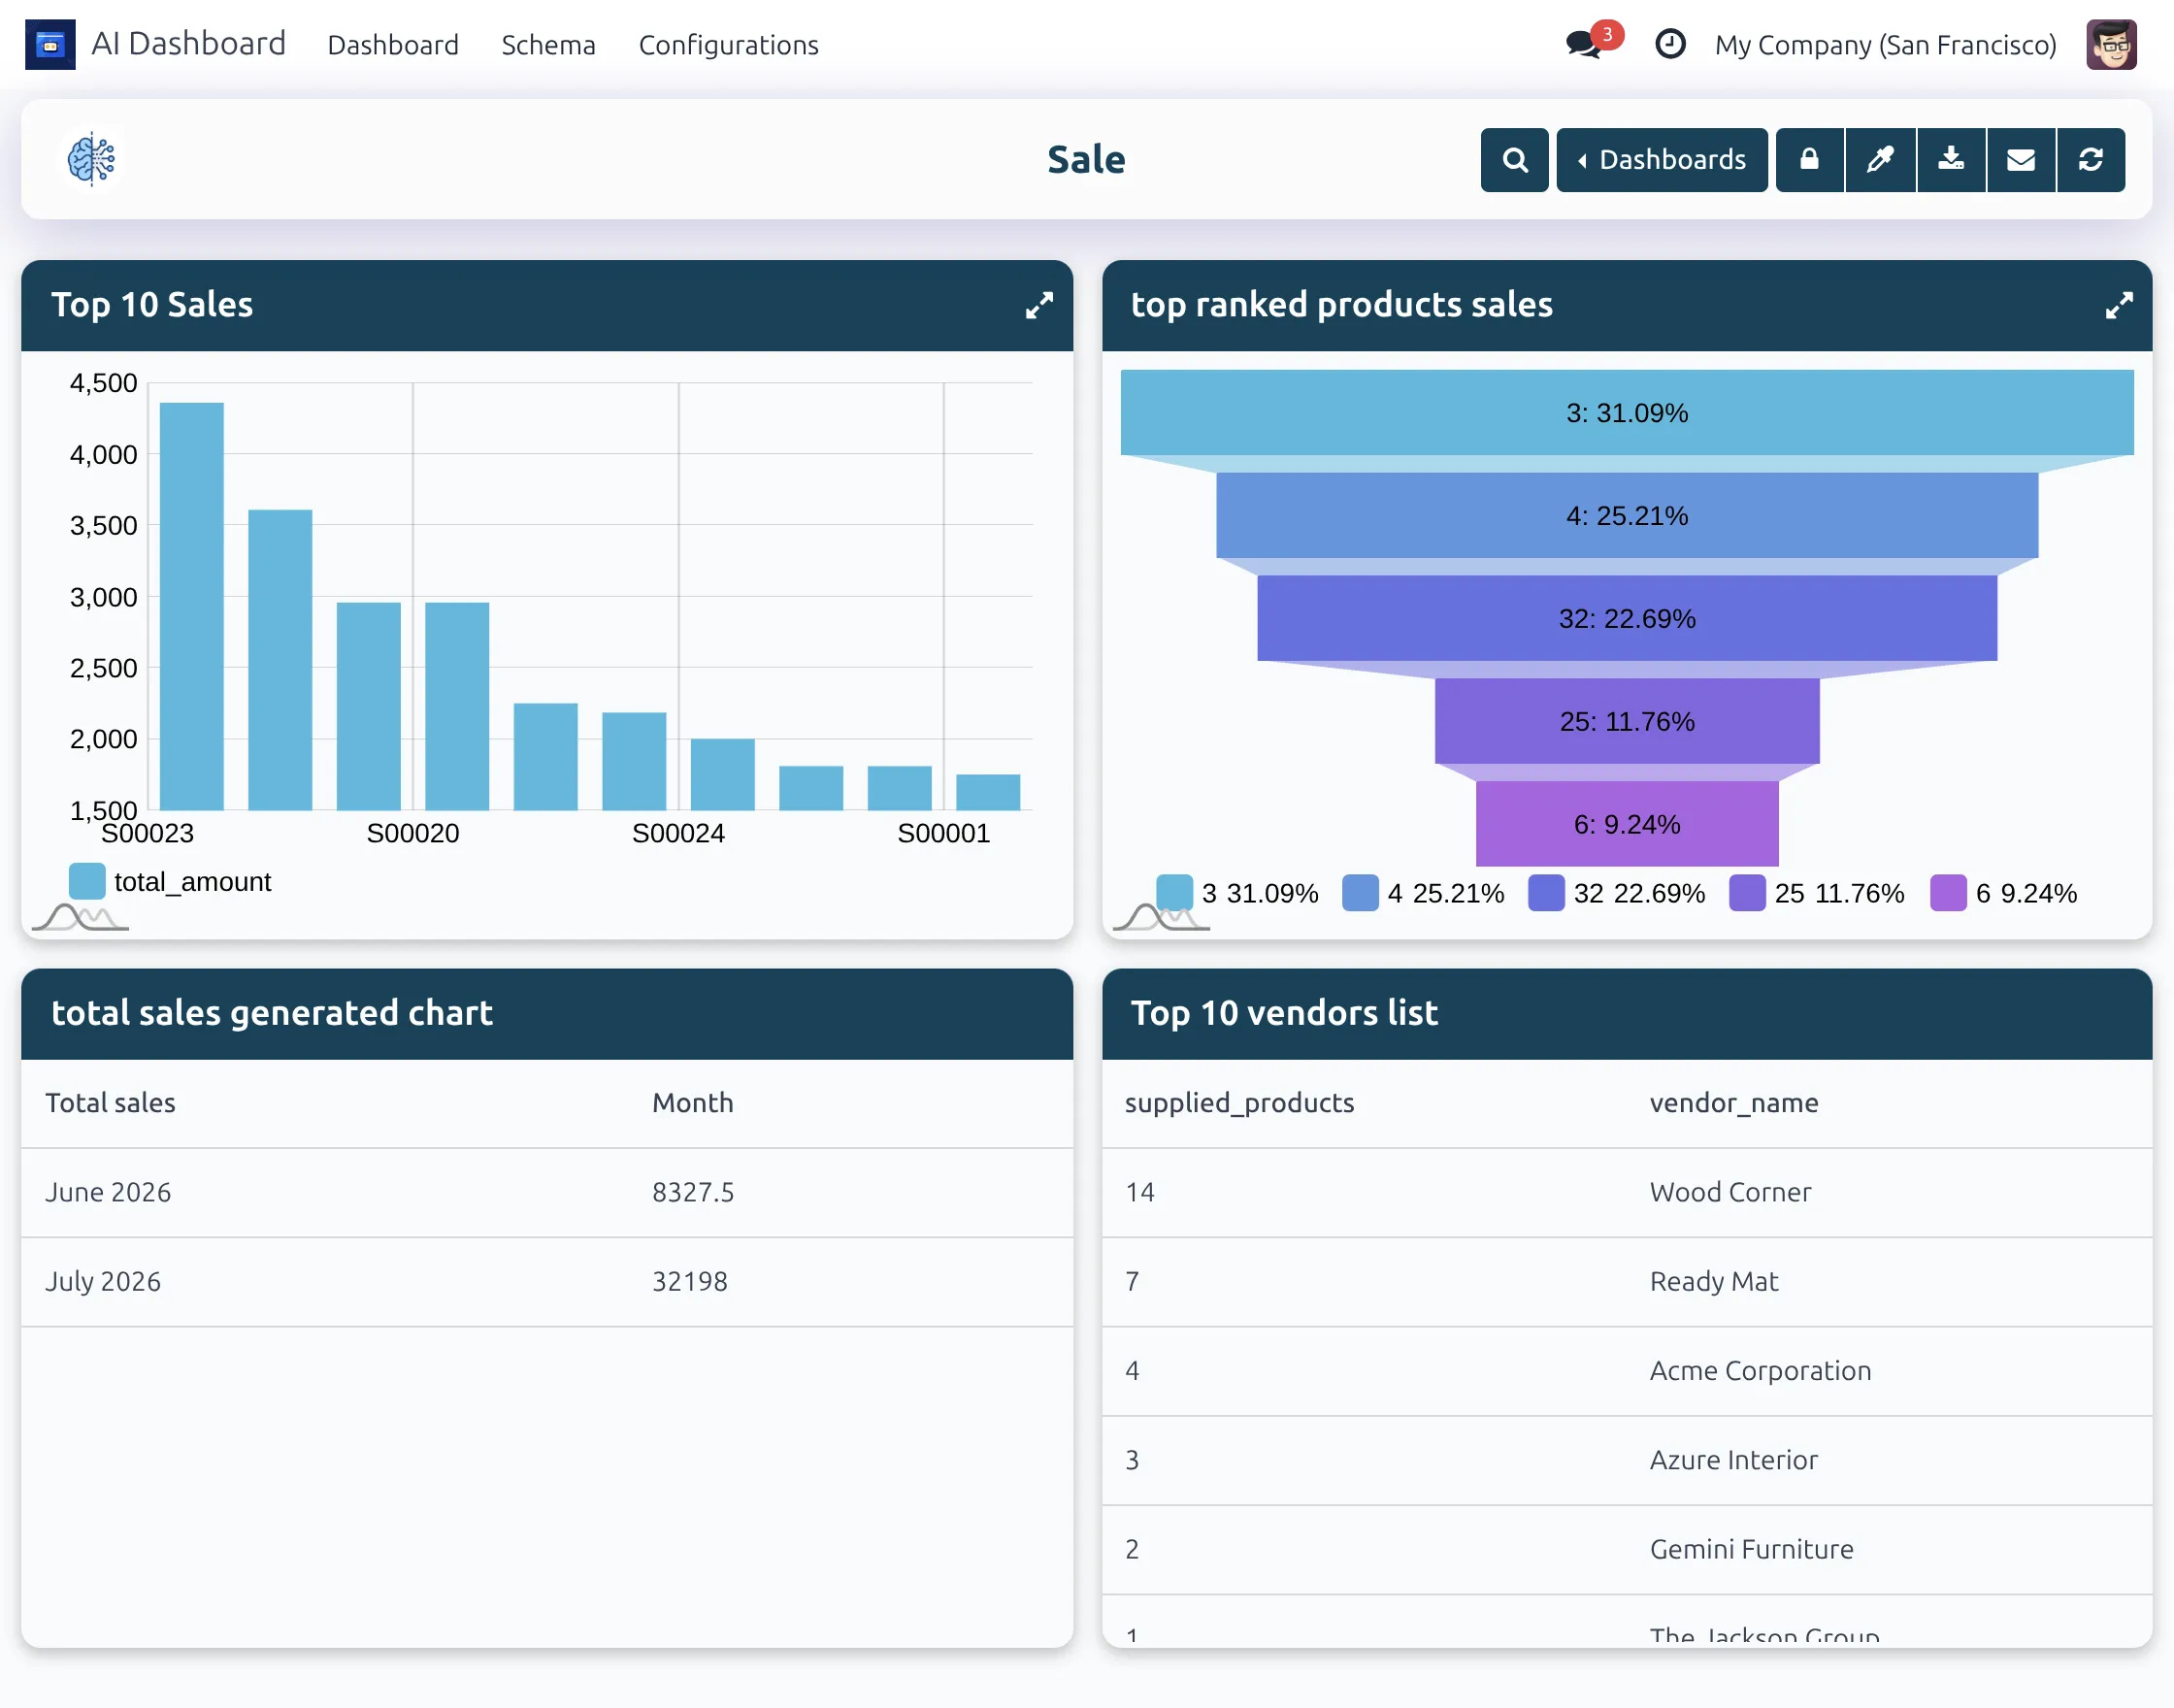
The dashboard displays configured business reports through charts, funnels, tables, and other views. Users can manage and review several dashboard items from the same screen.

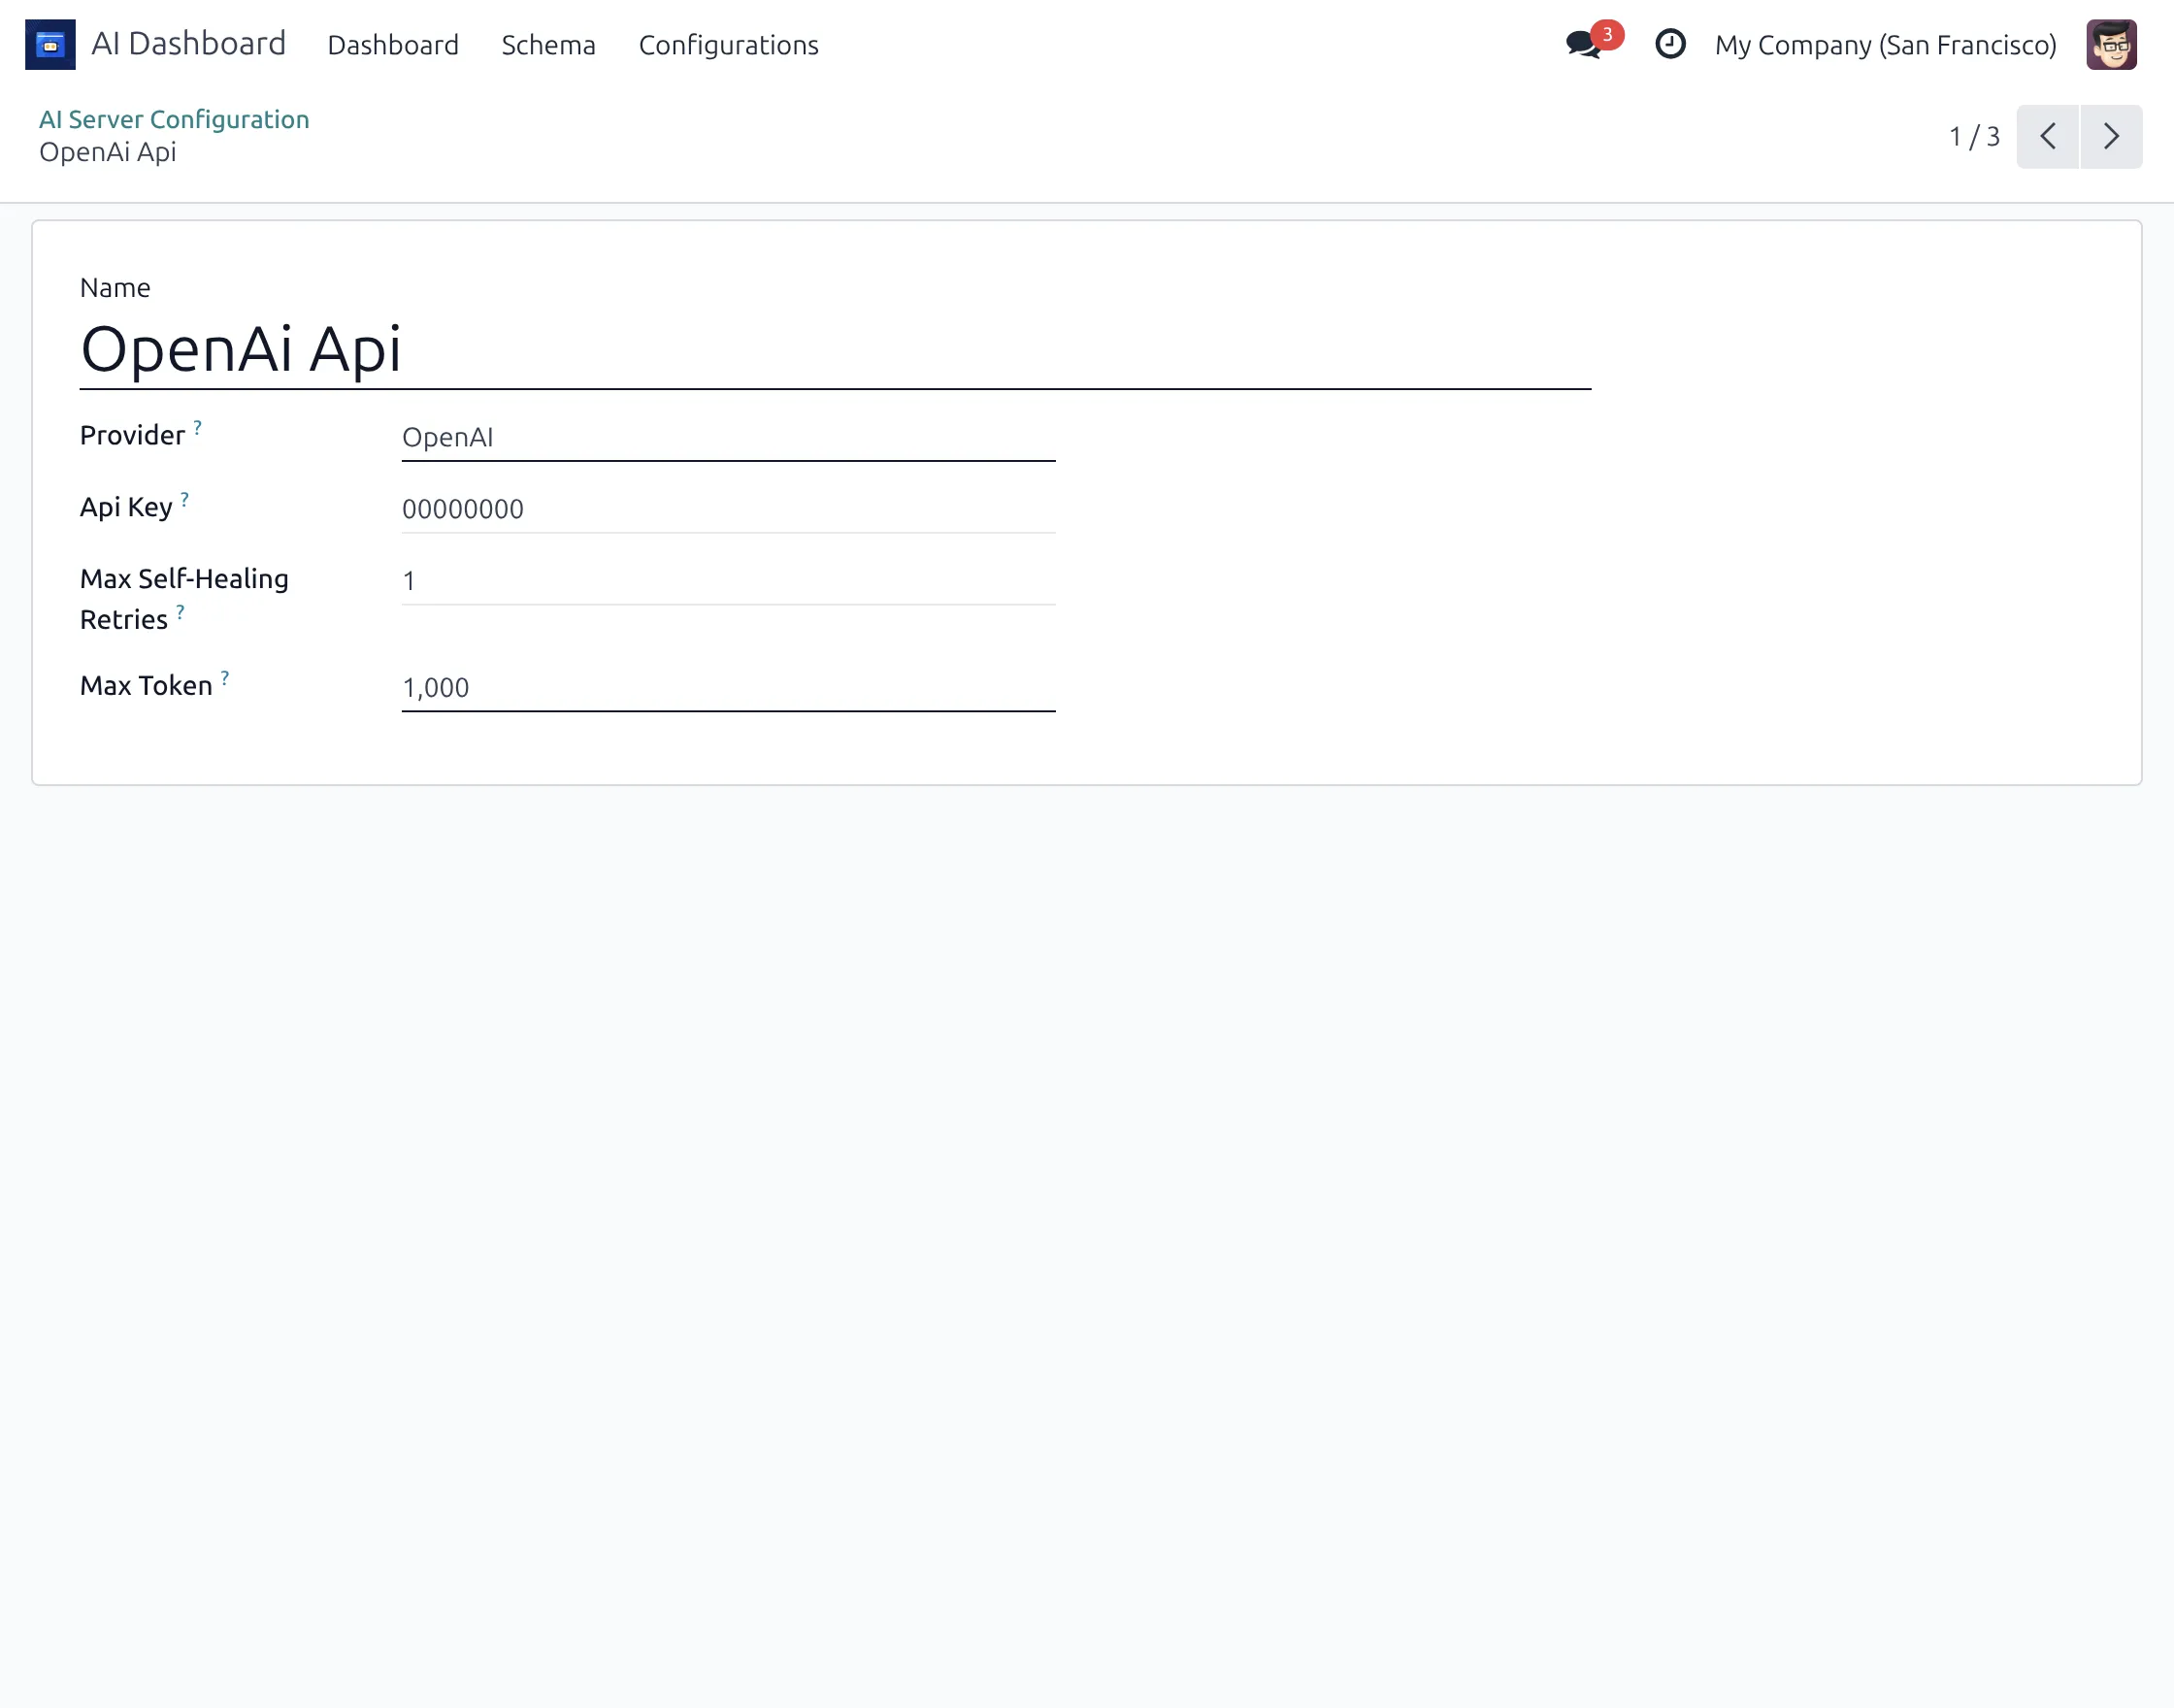
2. Go to Configuration → LLM → AI Configuration Settings to configure the AI server before using the AI-powered features.
Select the required provider, such as OpenAI or Groq, and enter its API key. You can also define the maximum self-healing retries and token limit for AI requests.
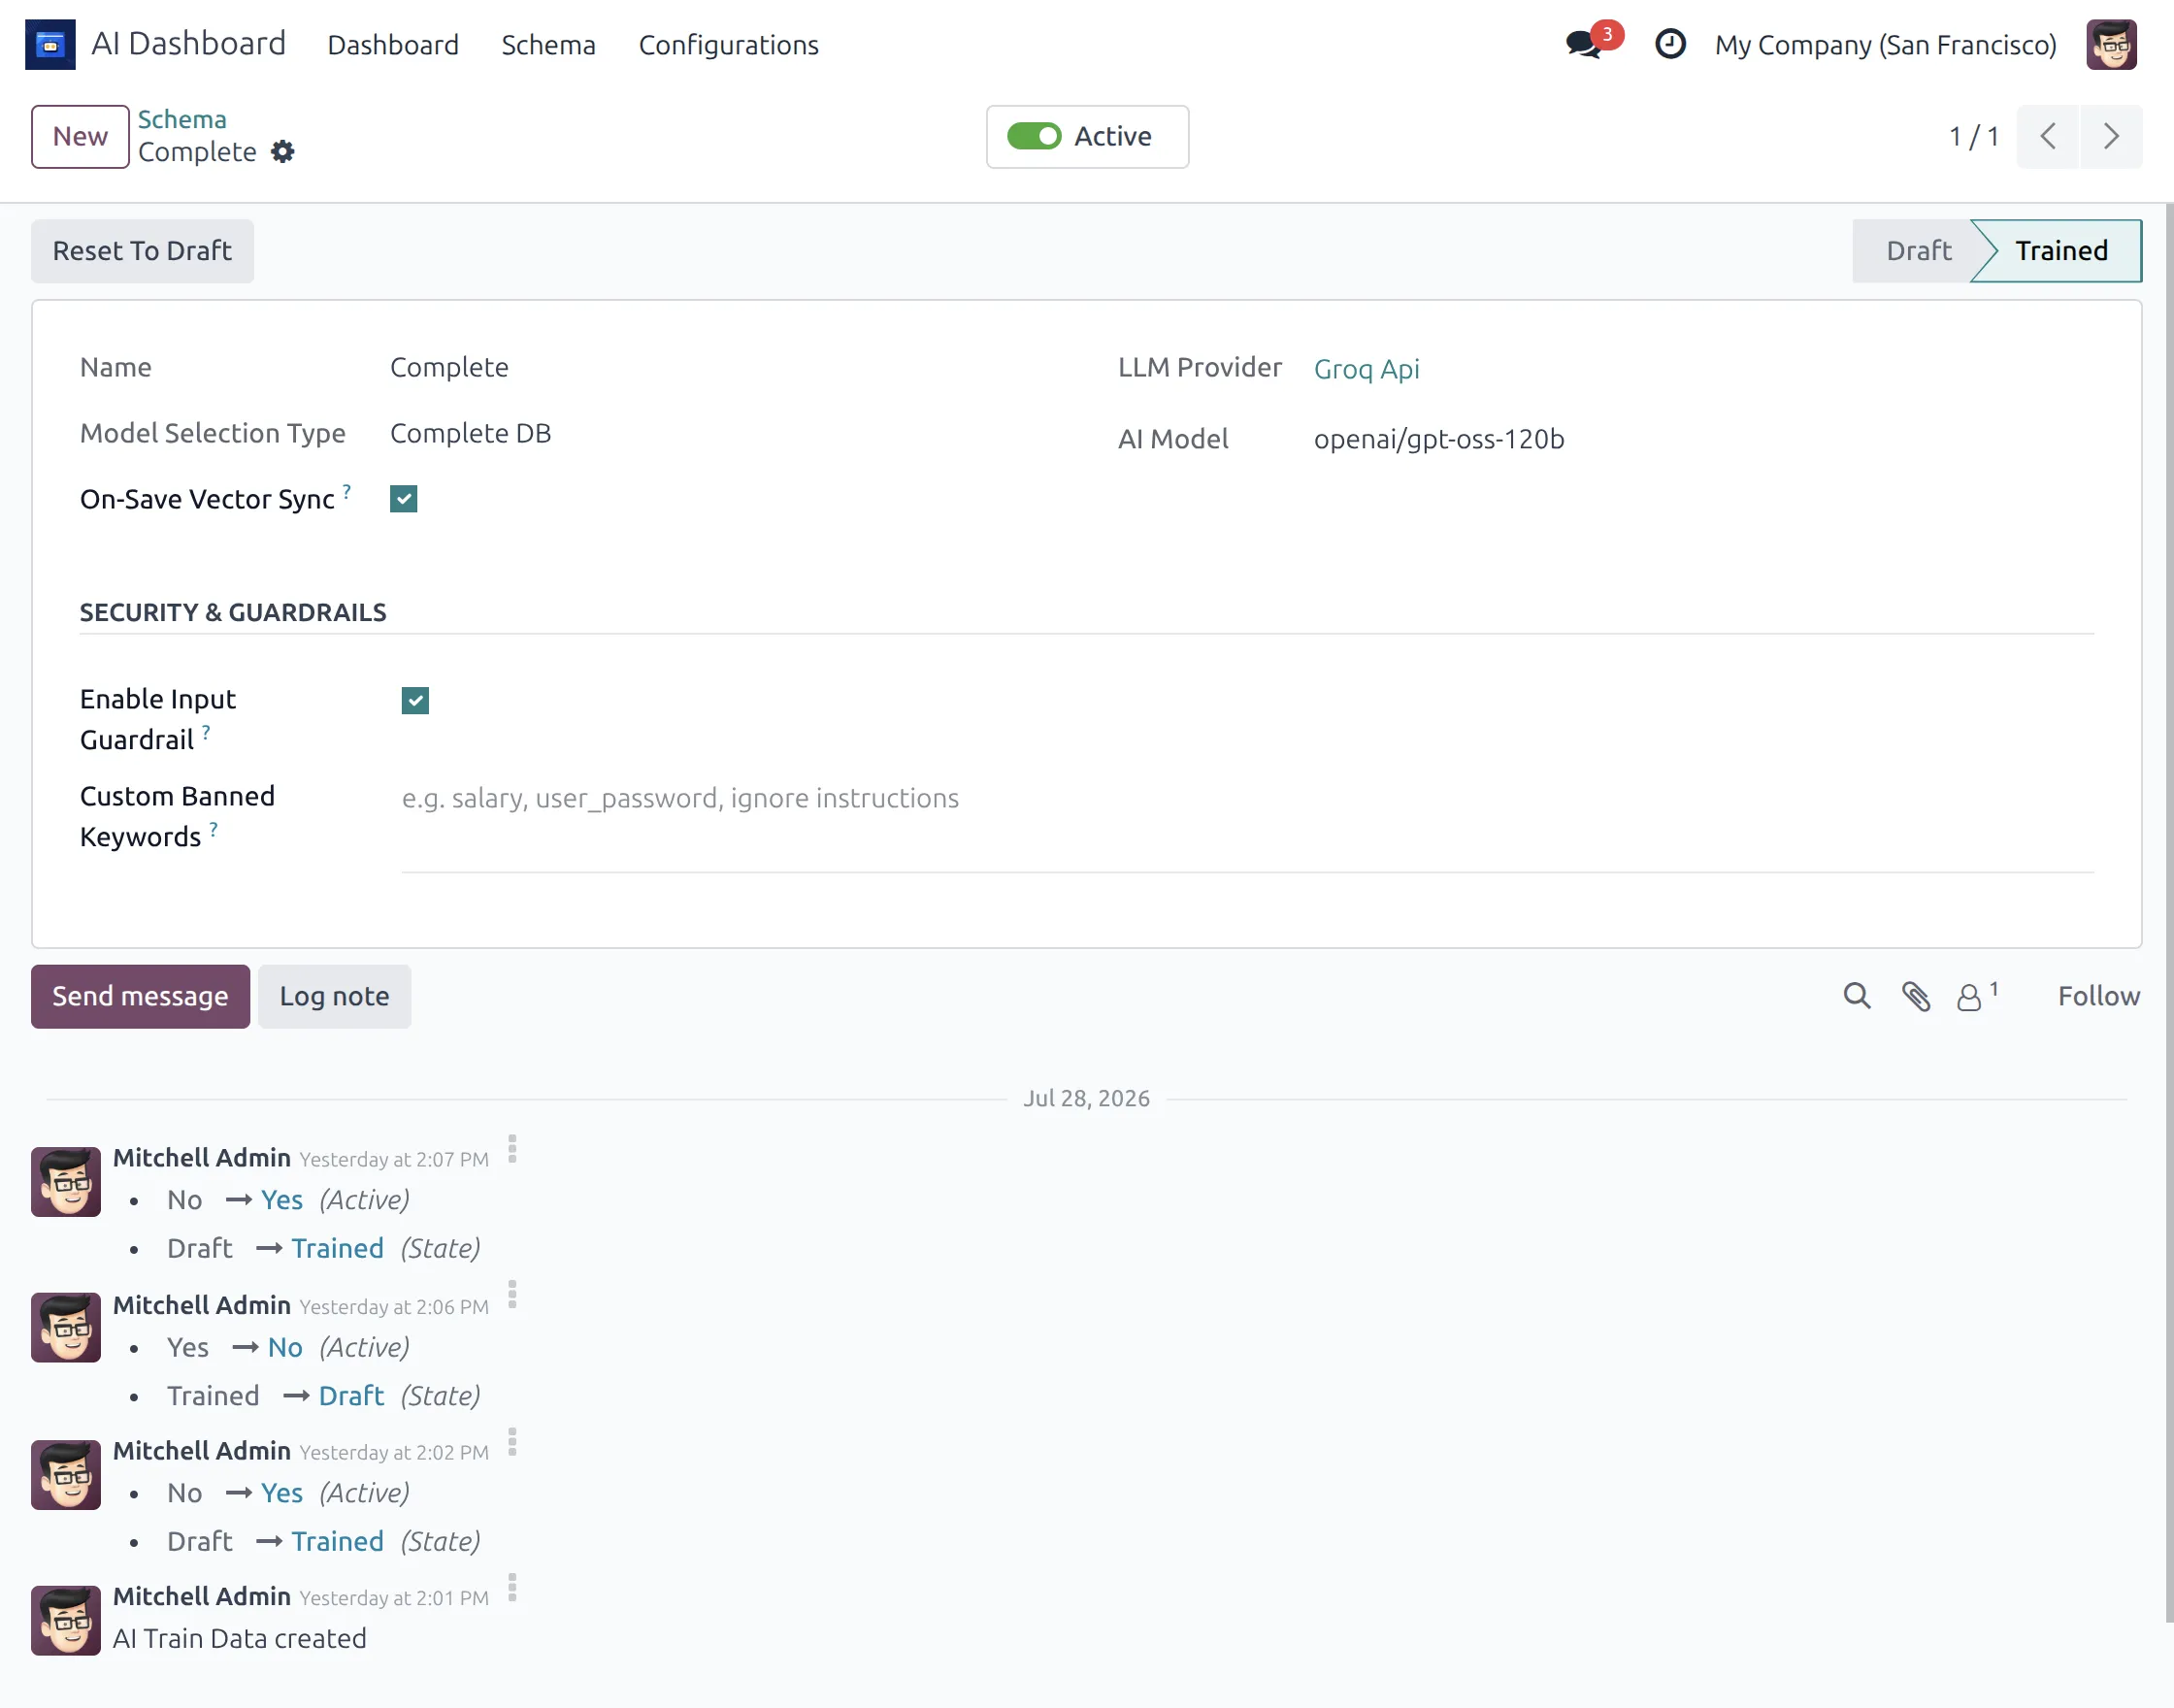
3. Next, open the Schema section and configure the schema that Odoo AI Dashboard will use for business data requests.
Select the model configuration, LLM provider, and AI model. You can also enable Input Guardrail, add restricted keywords, and enable On-Save Vector Sync.
Manage AI Training Corpus and Golden Queries
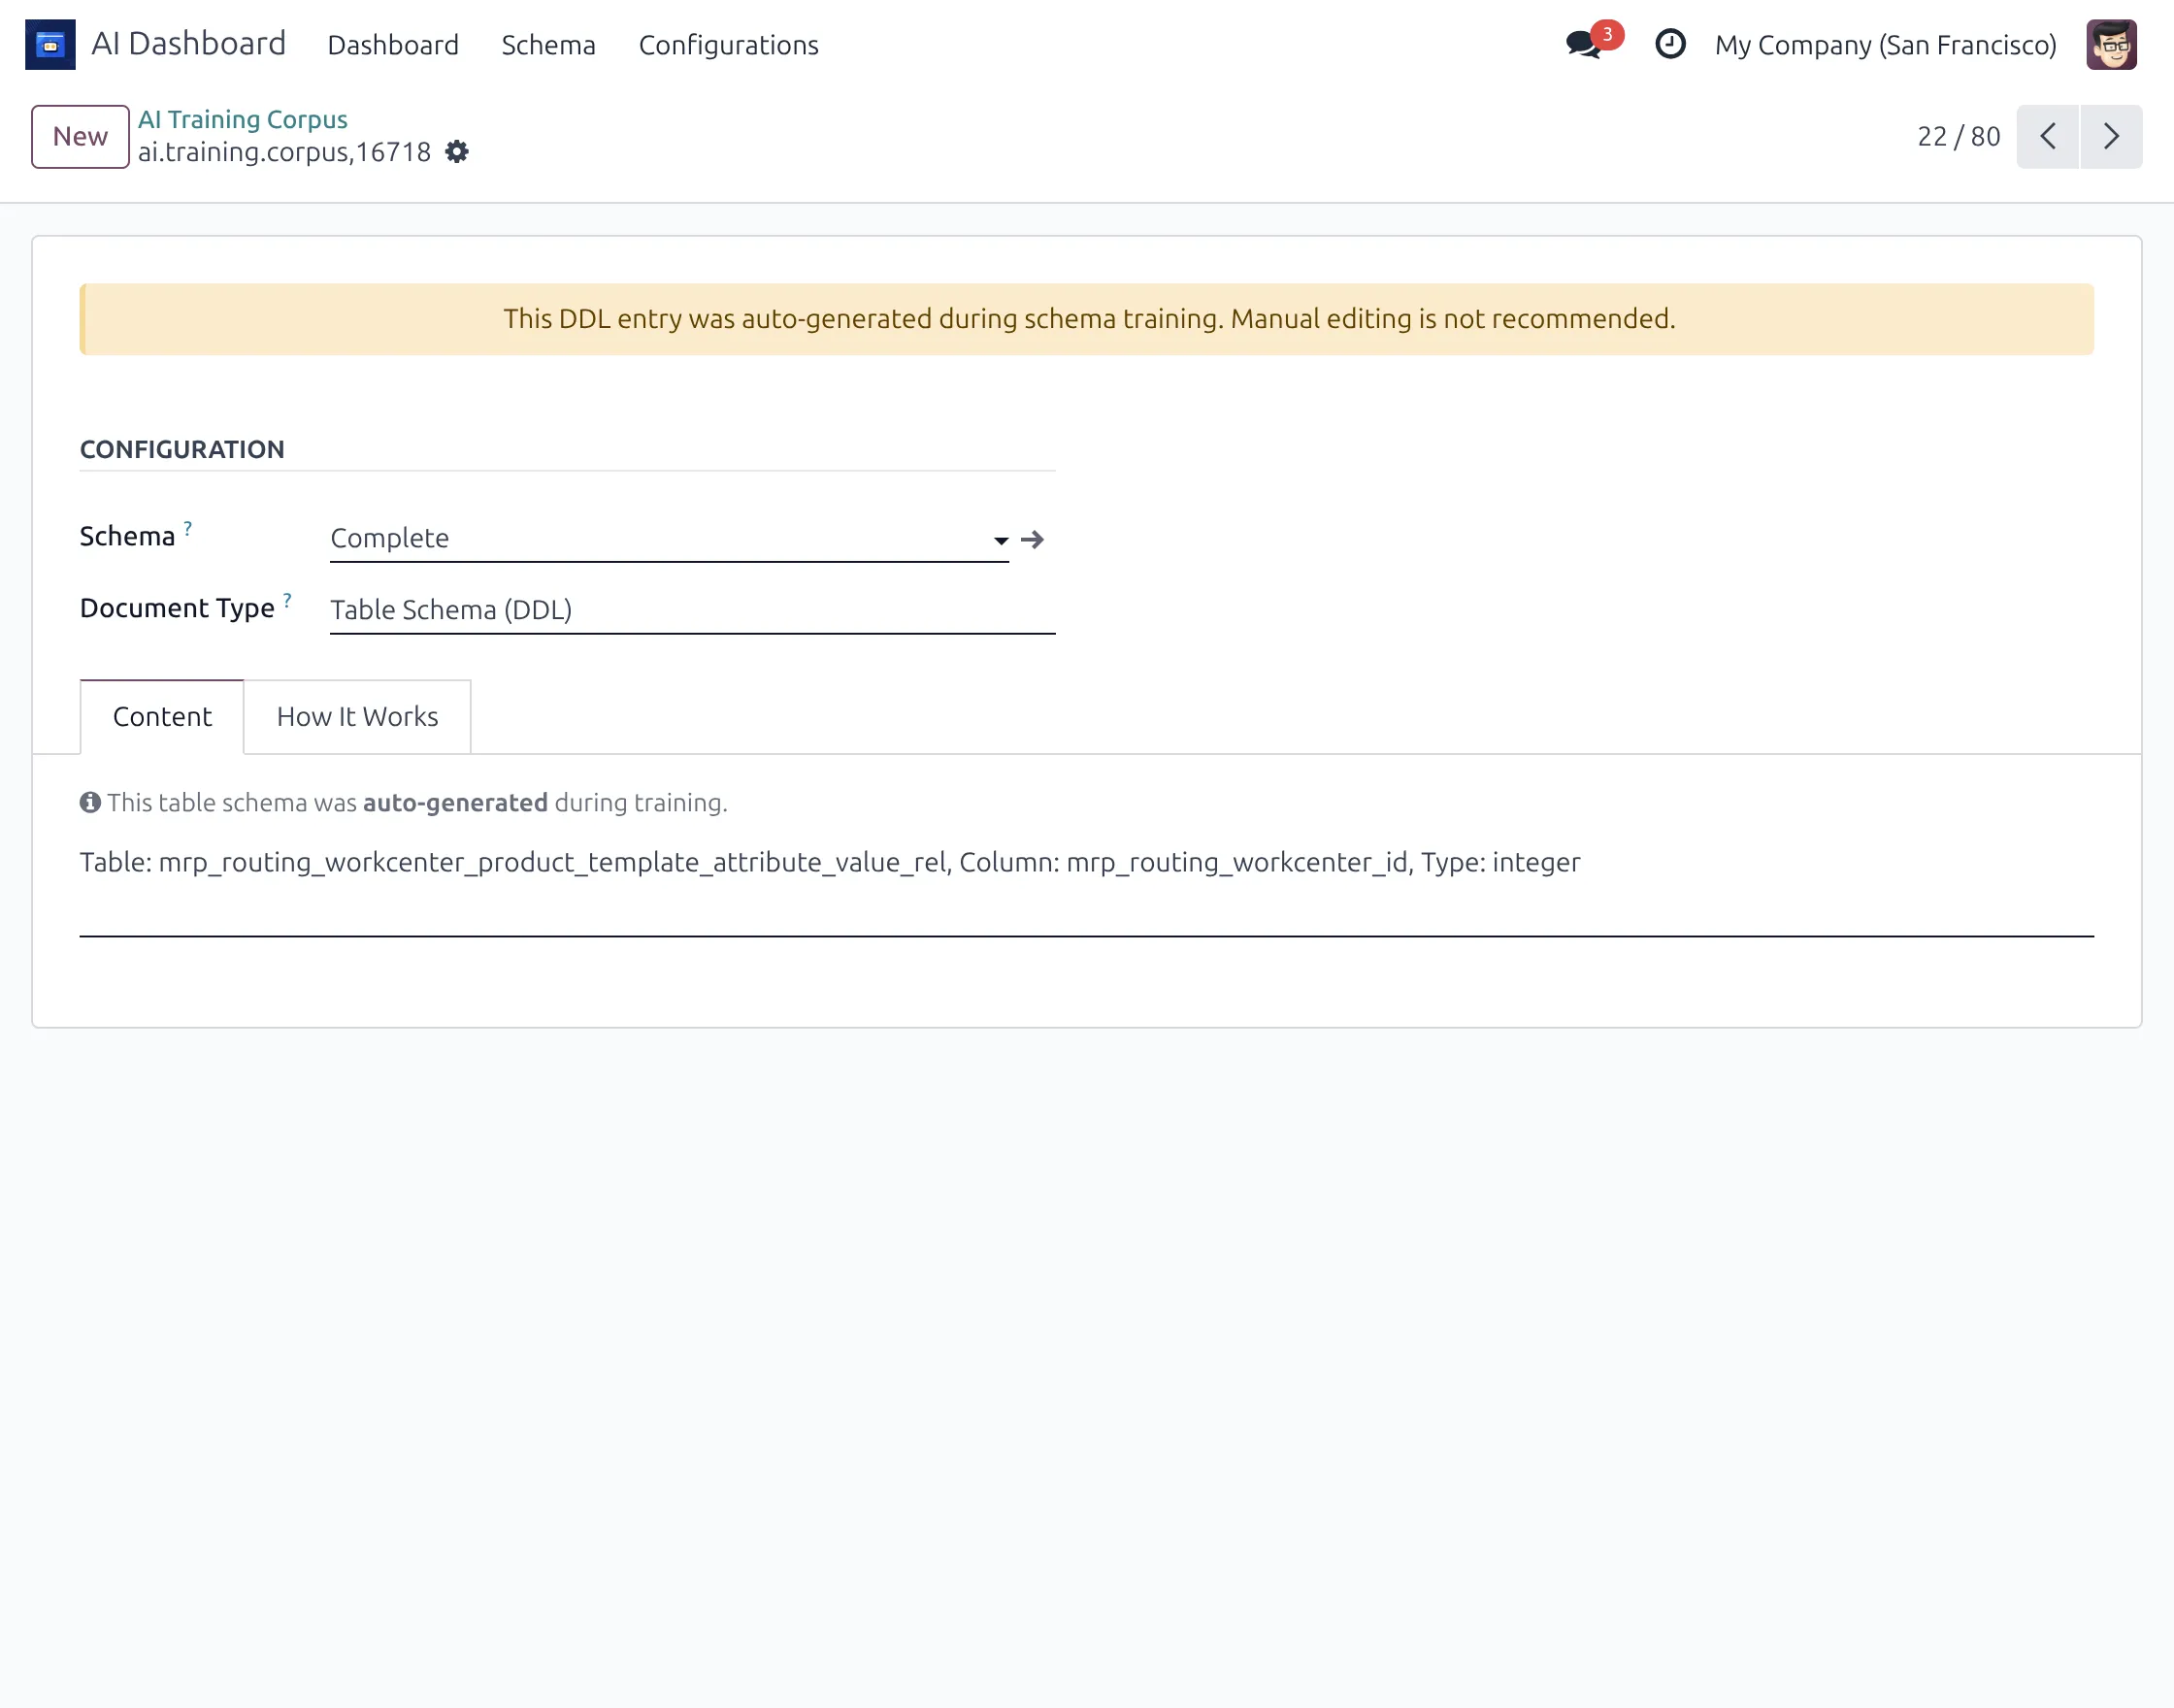
4. Once the schema is trained, Odoo AI Dashboard generates records inside the AI Training Corpus.
The generated Table Schema (DDL) records provide database structure information that the AI can use as context while processing natural language questions.
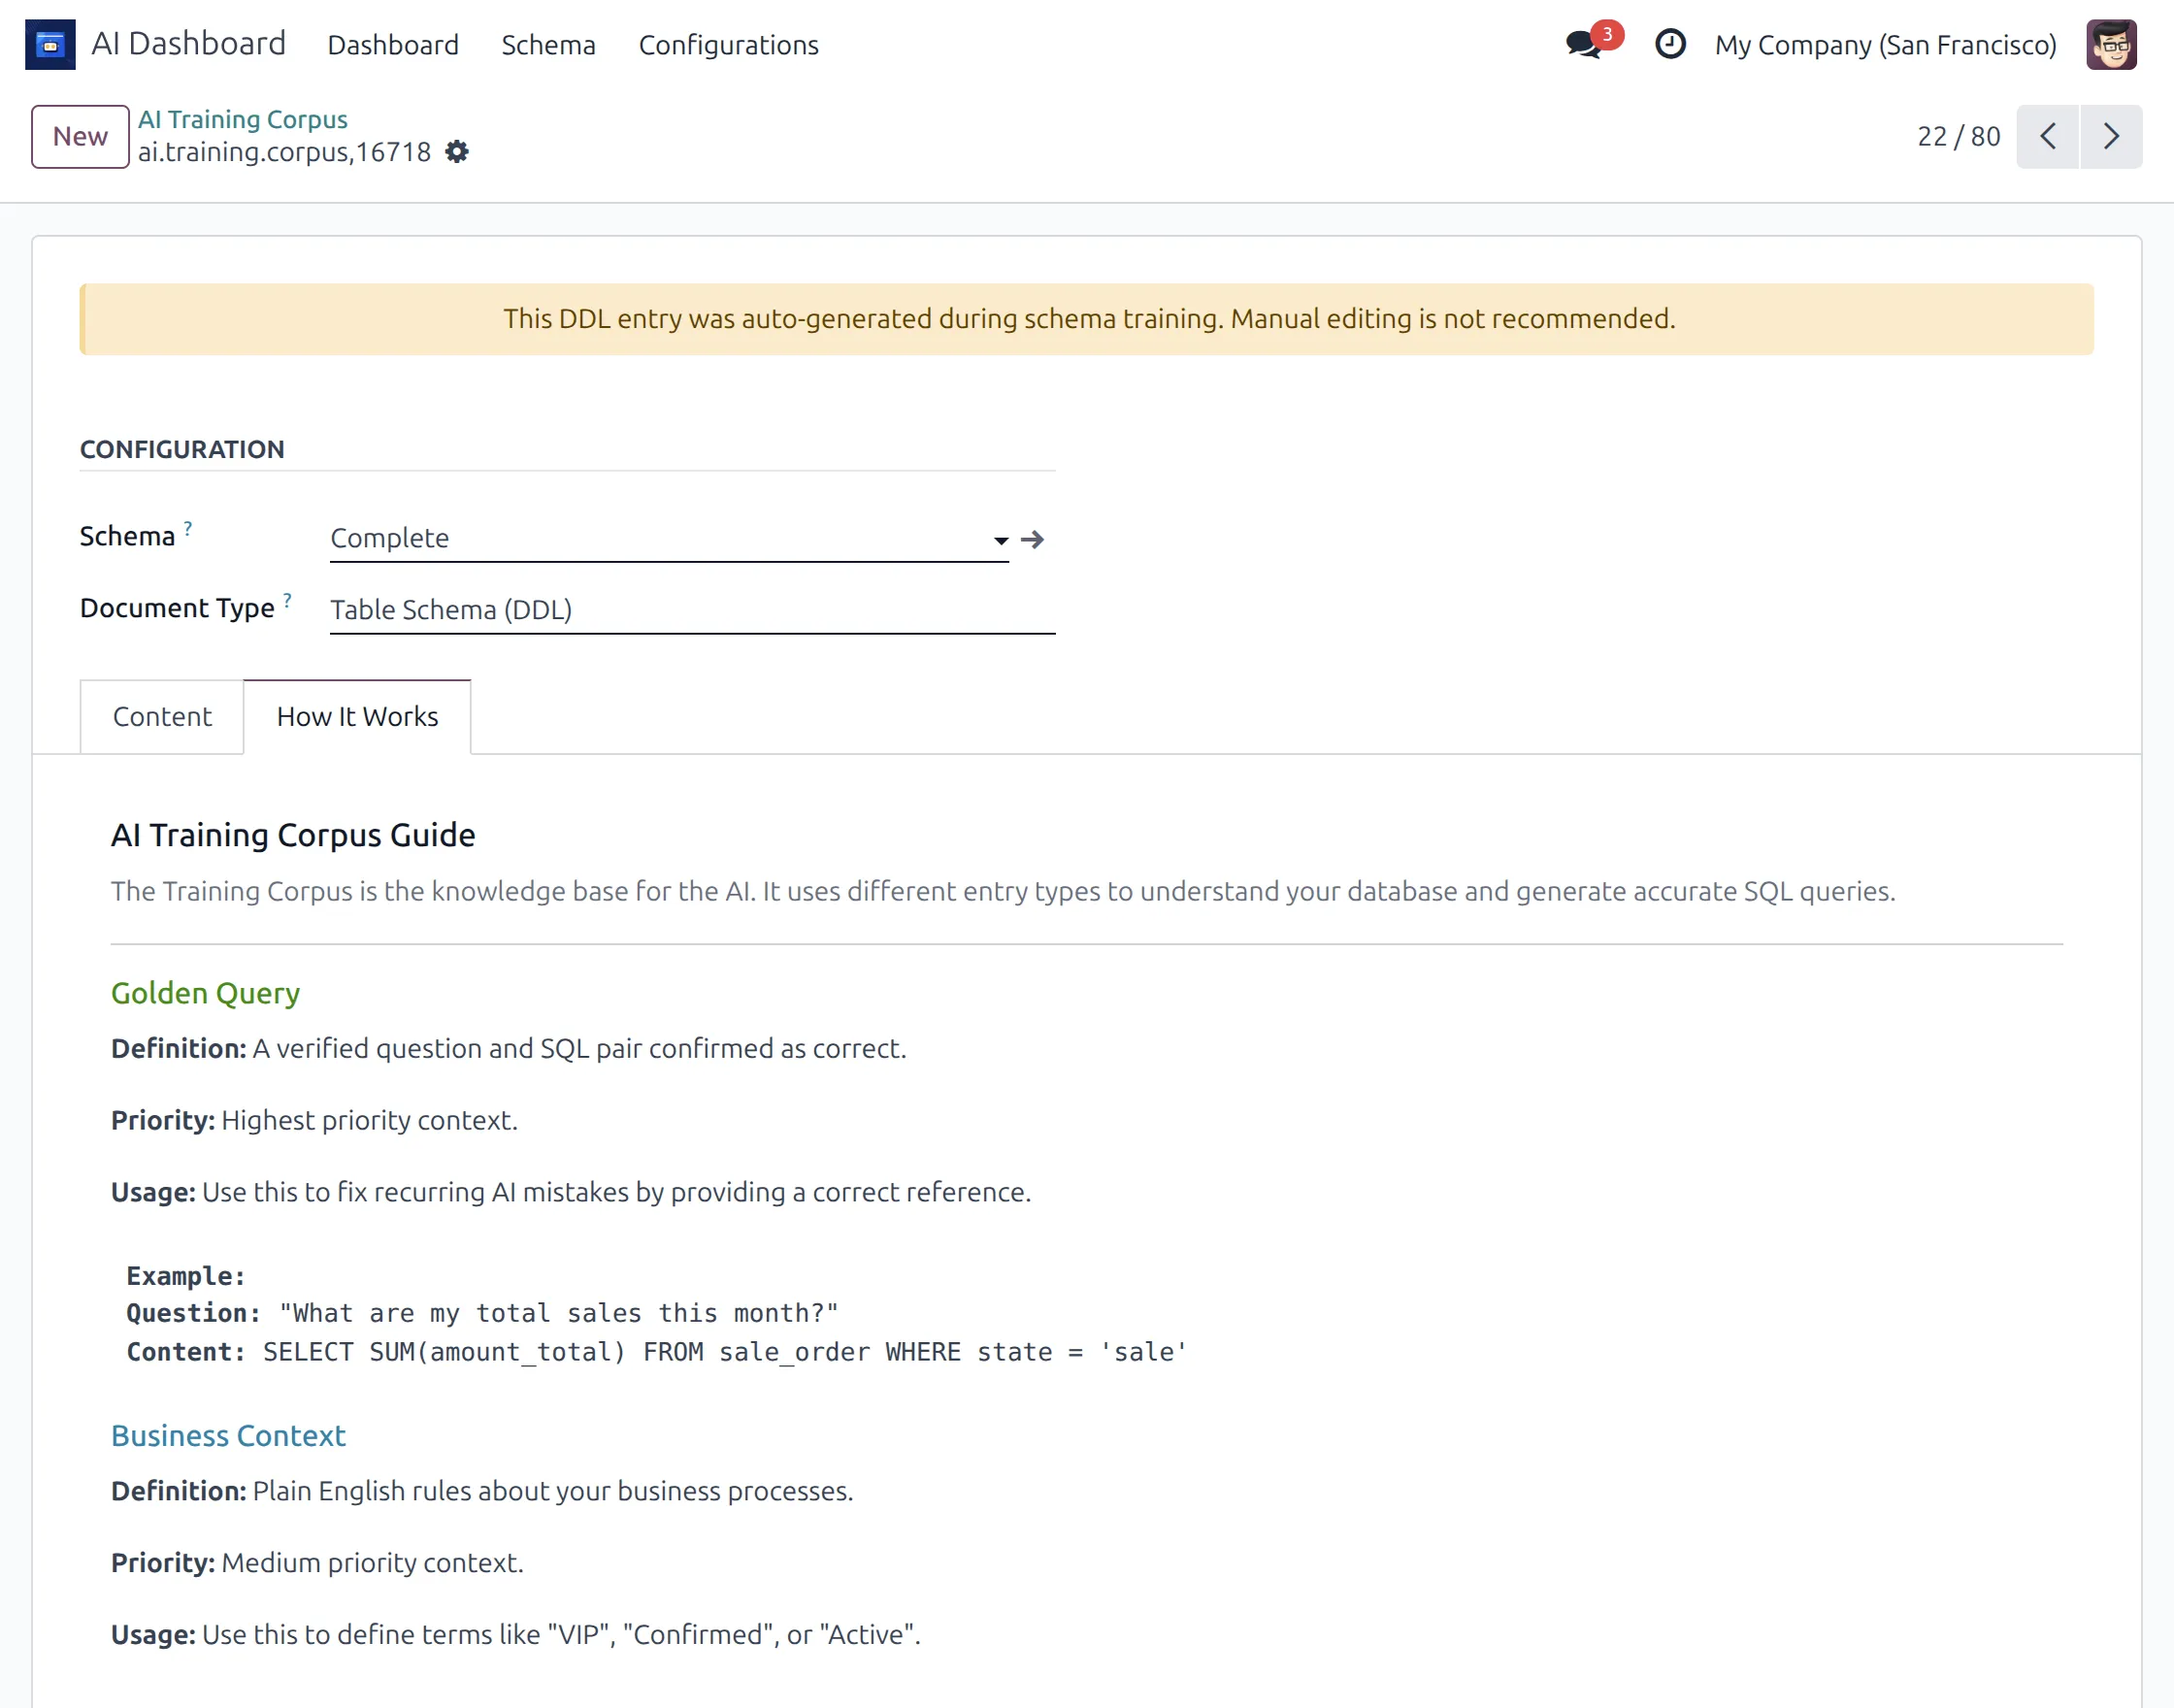
5. The Training Corpus also provides information about how different reference records are used by AI.
For example, Golden Queries can provide verified question-and-SQL references, while business context can help the AI understand business-specific terms and rules.
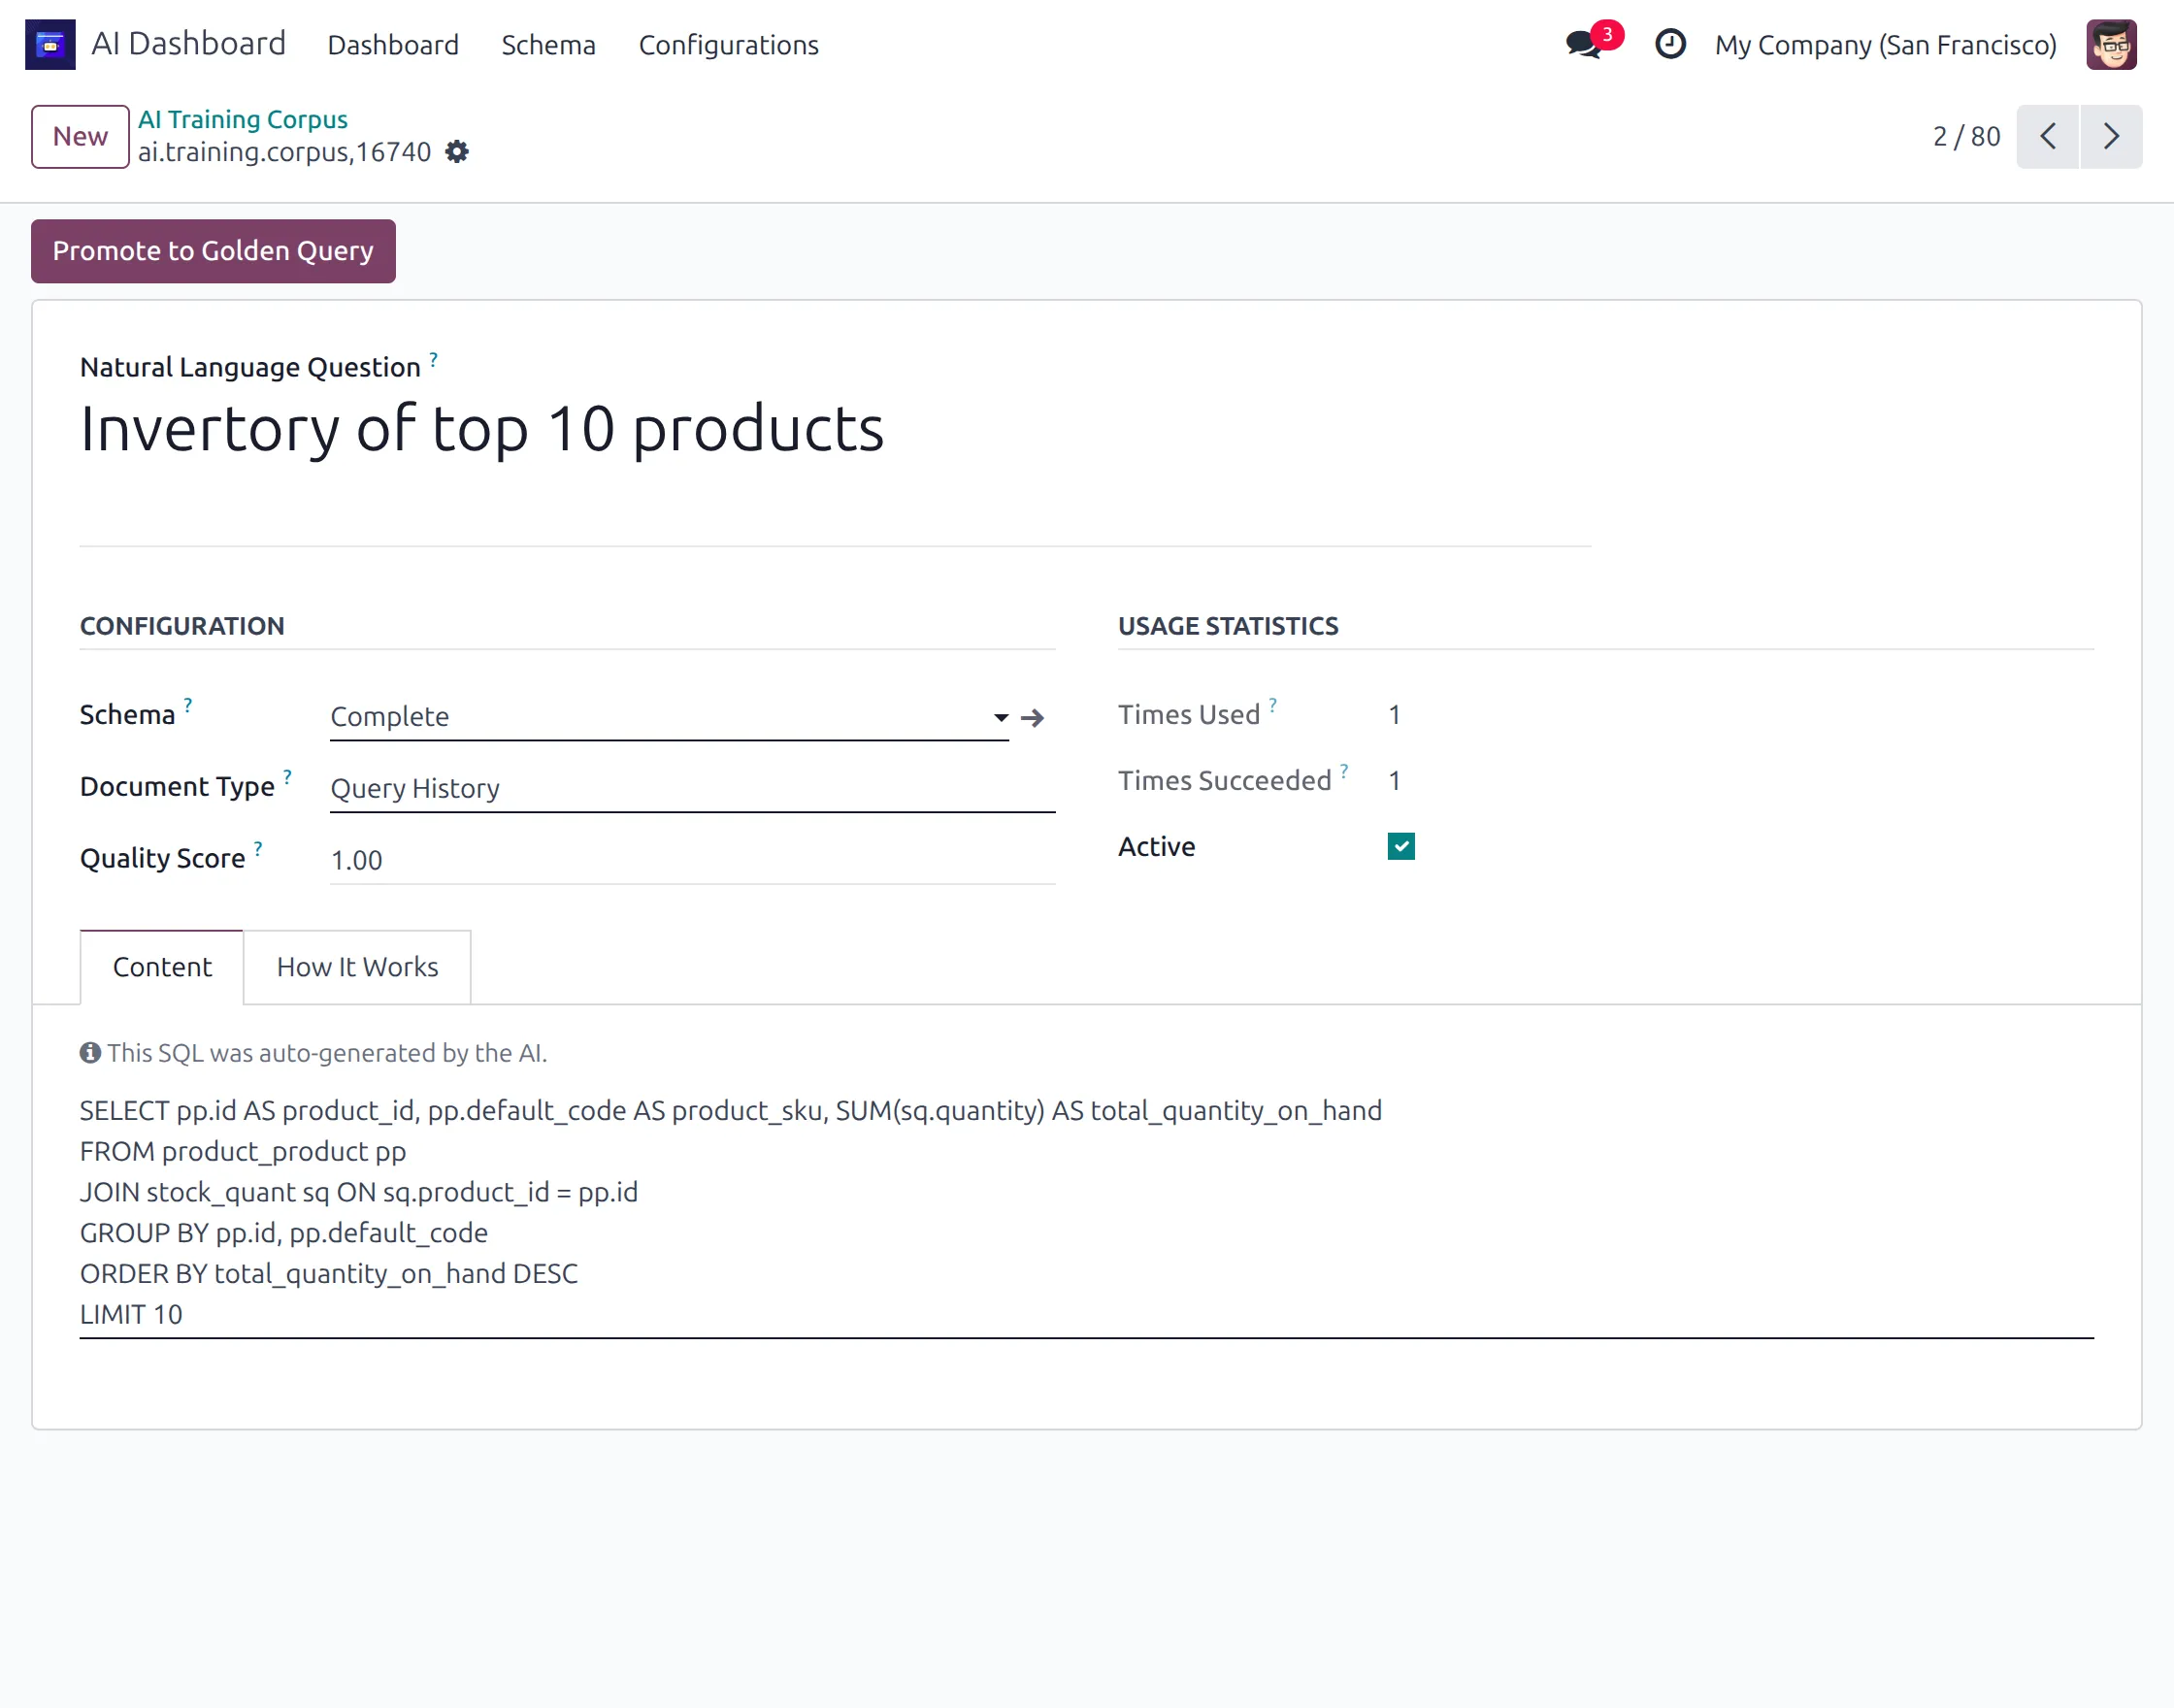
6. Odoo AI Dashboard keeps generated natural-language questions and their SQL queries in the Training Corpus.
You can review the question, generated SQL, usage statistics, success count, and quality score. A suitable query can then be promoted using Promote to Golden Query.
Create and Configure AI Dashboards
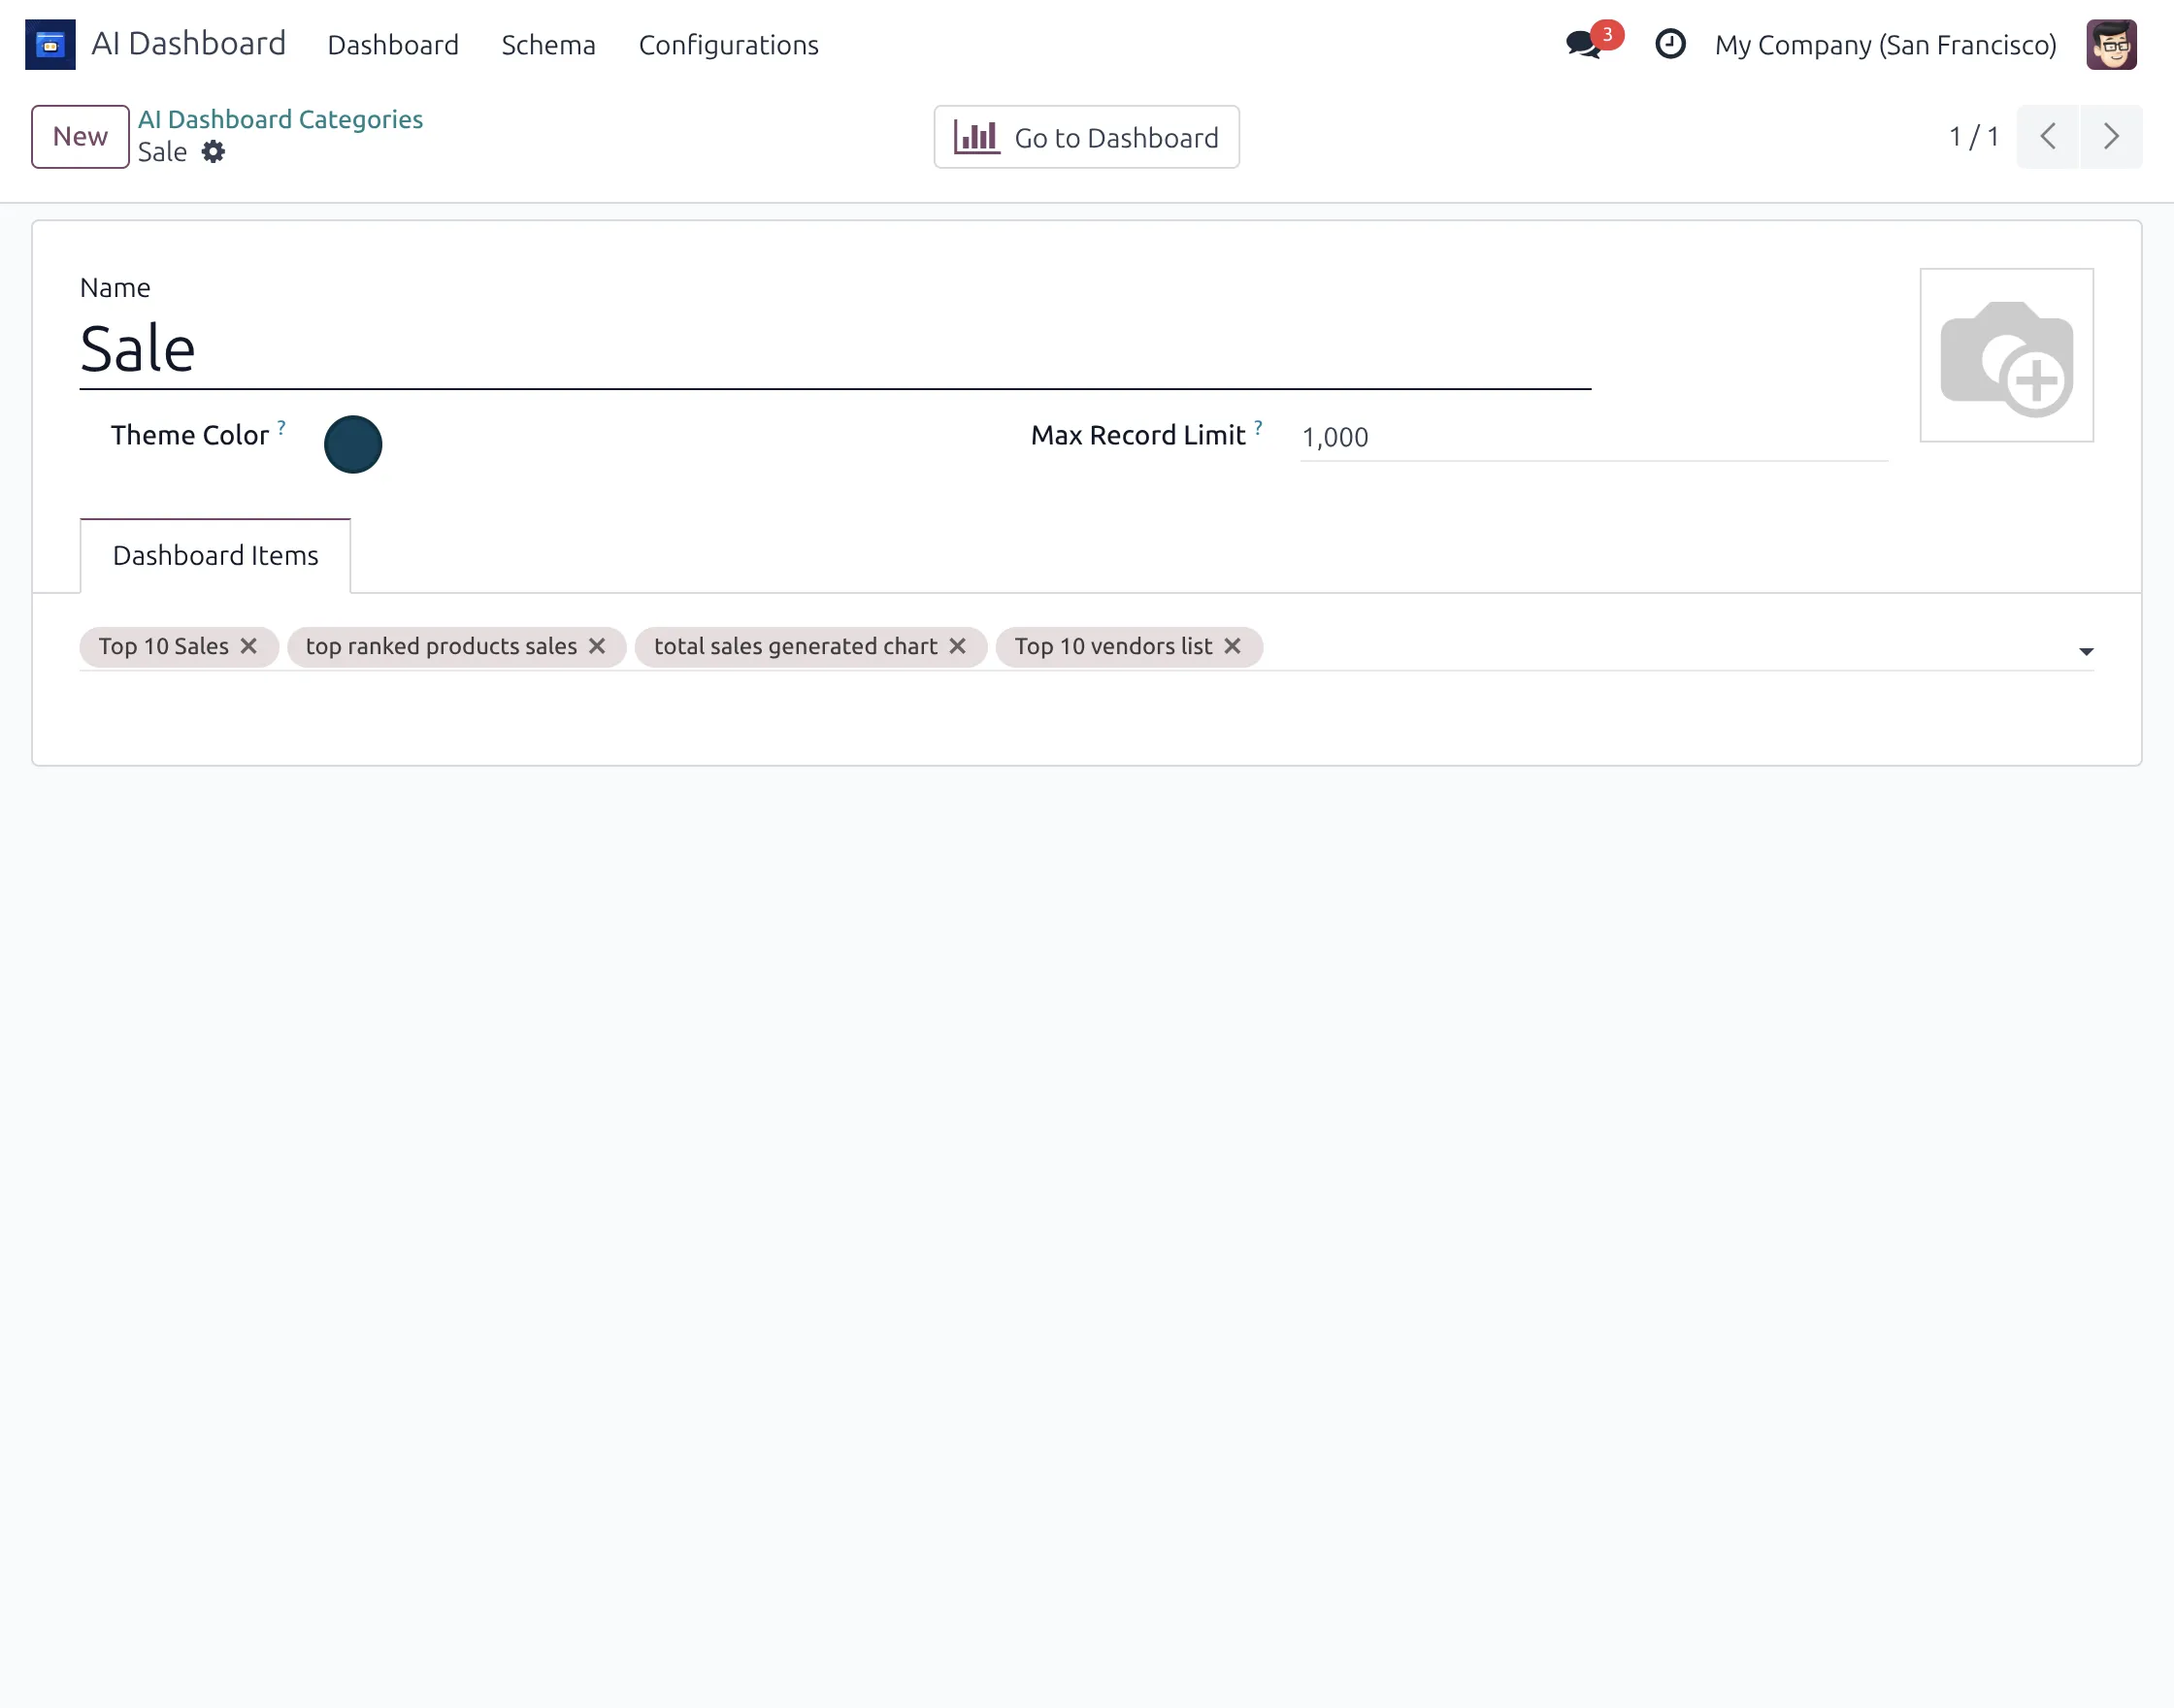
7. To create a separate reporting area, open the dashboard category configuration.
Enter the dashboard name, choose a Theme Color, set the Max Record Limit, and add the required dashboard items. This allows separate dashboards for sales, stock, vendors, or other business needs.
8. Users can ask business questions in simple language, and Odoo AI Dashboard converts the request into a database query through NLP2SQL.
Generated query records can be reviewed with the natural language question and SQL output before the information is used for reporting.
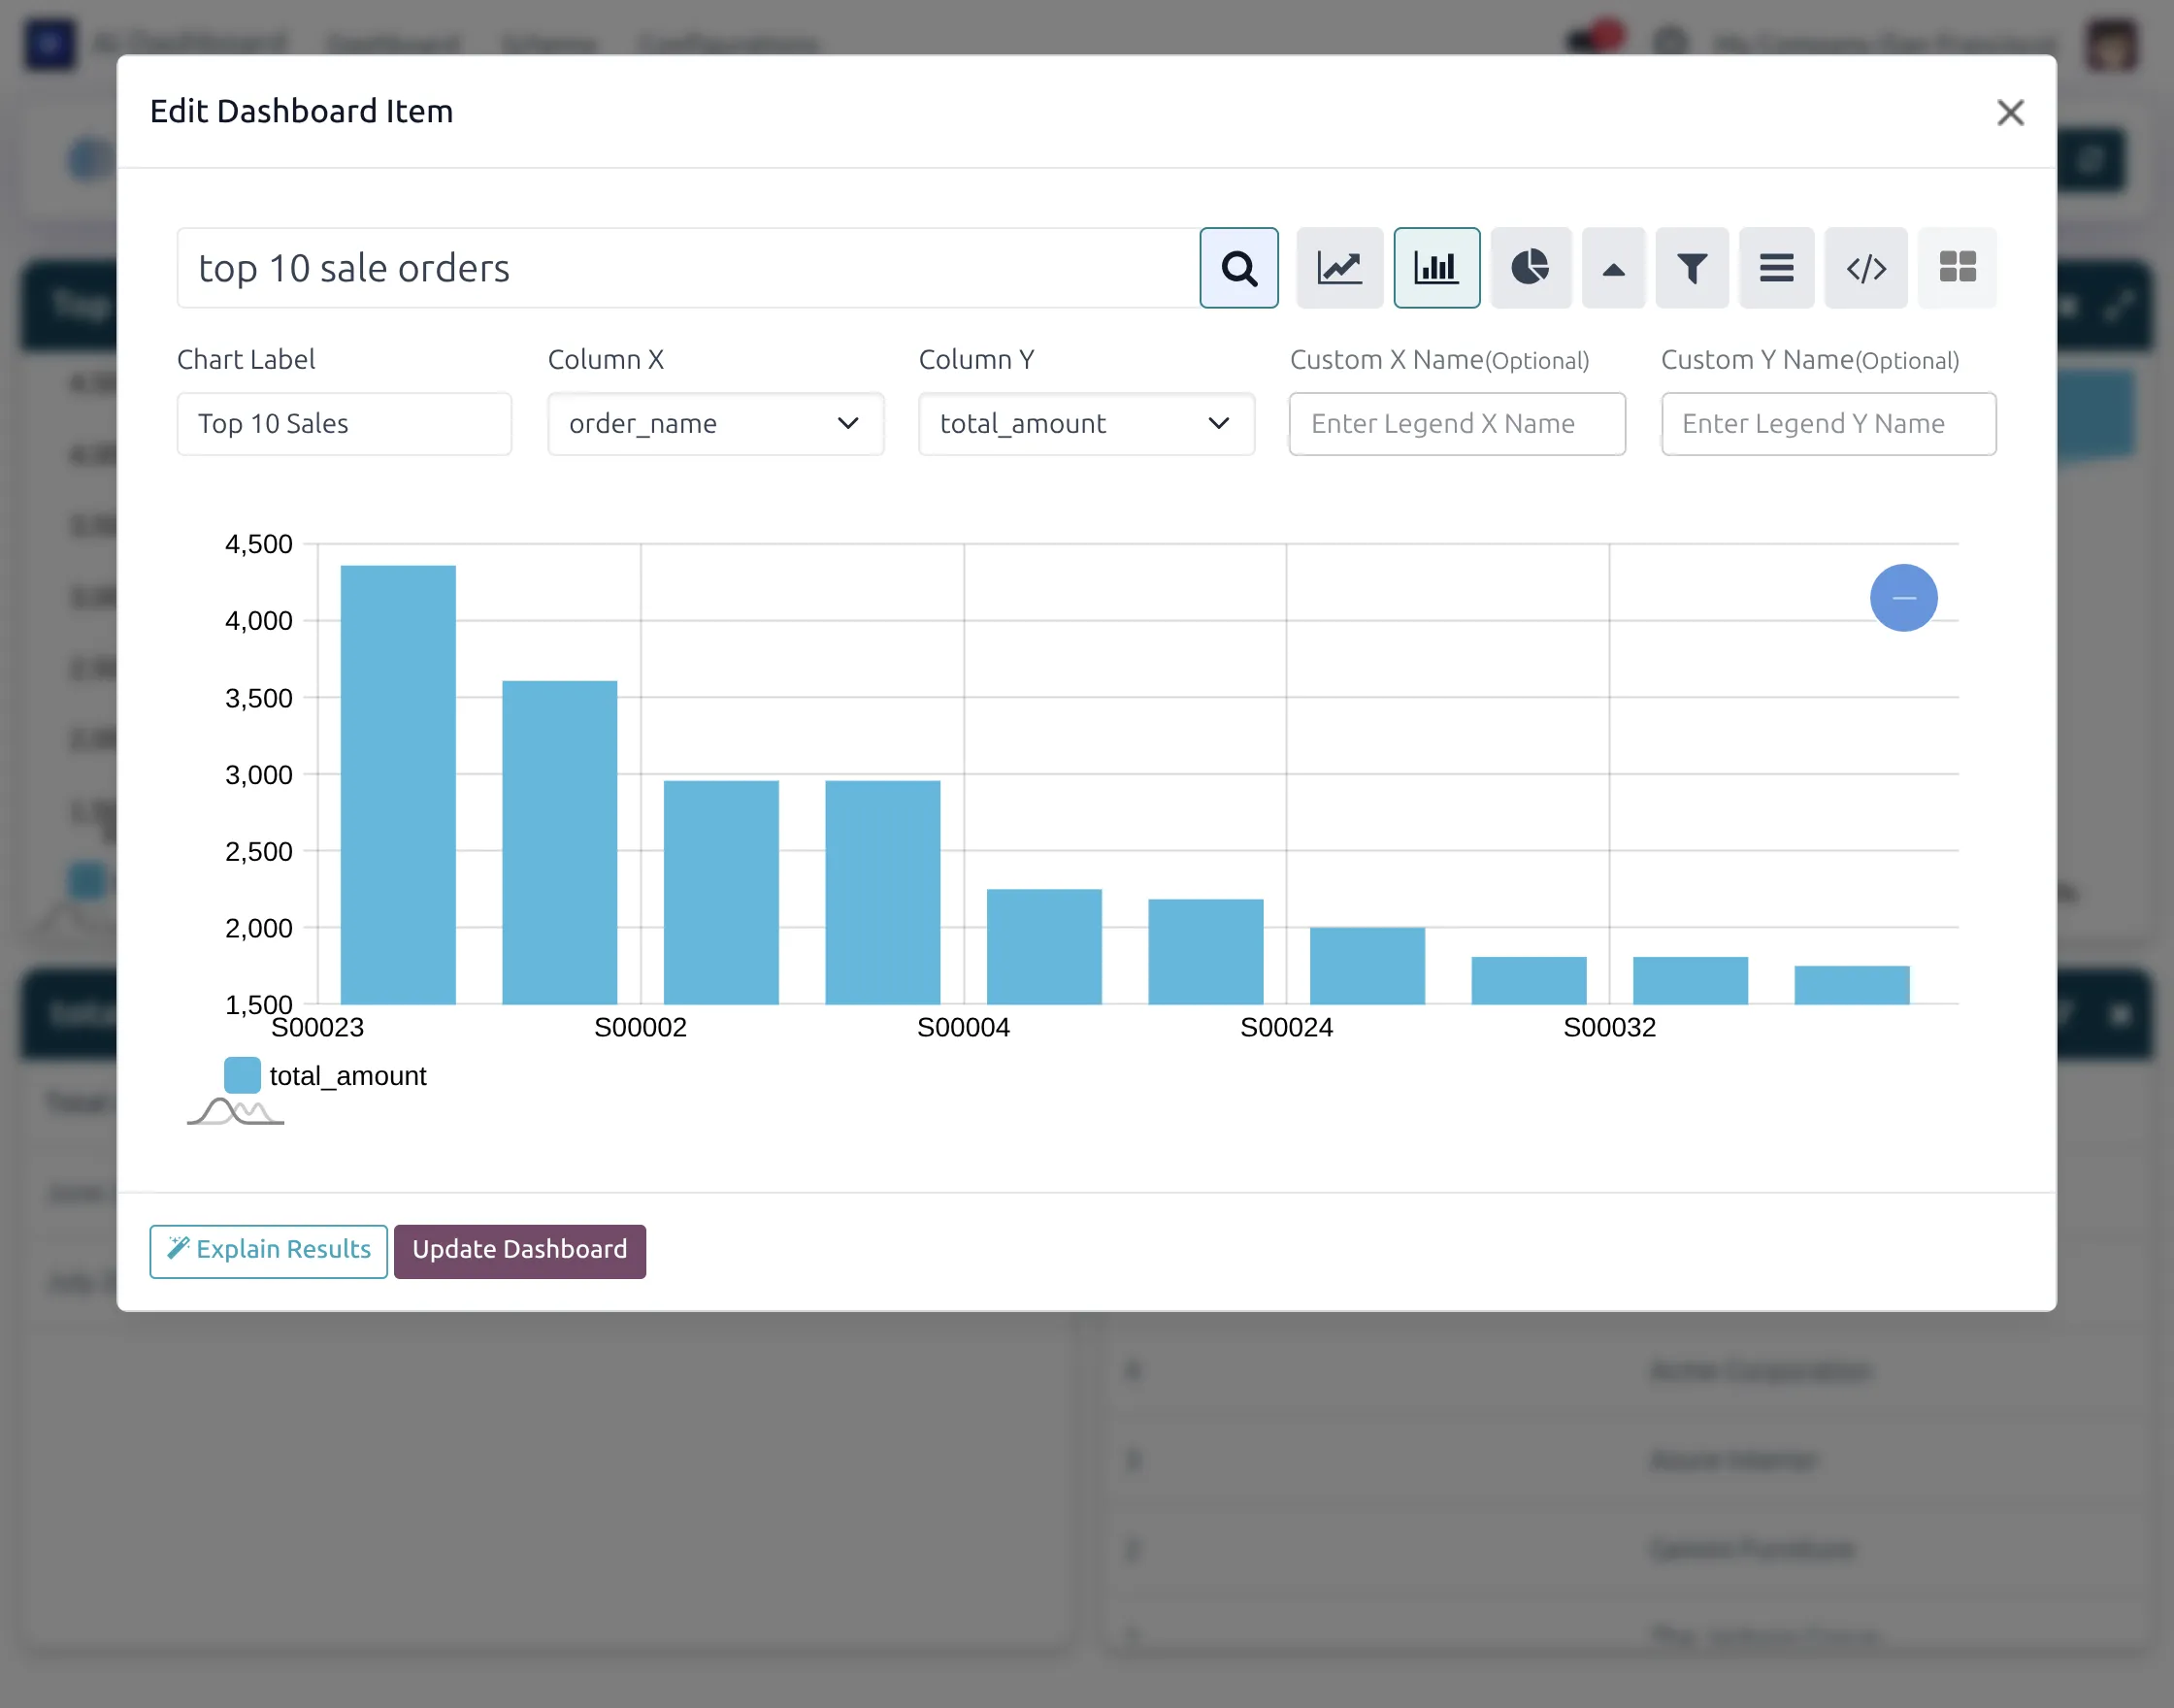
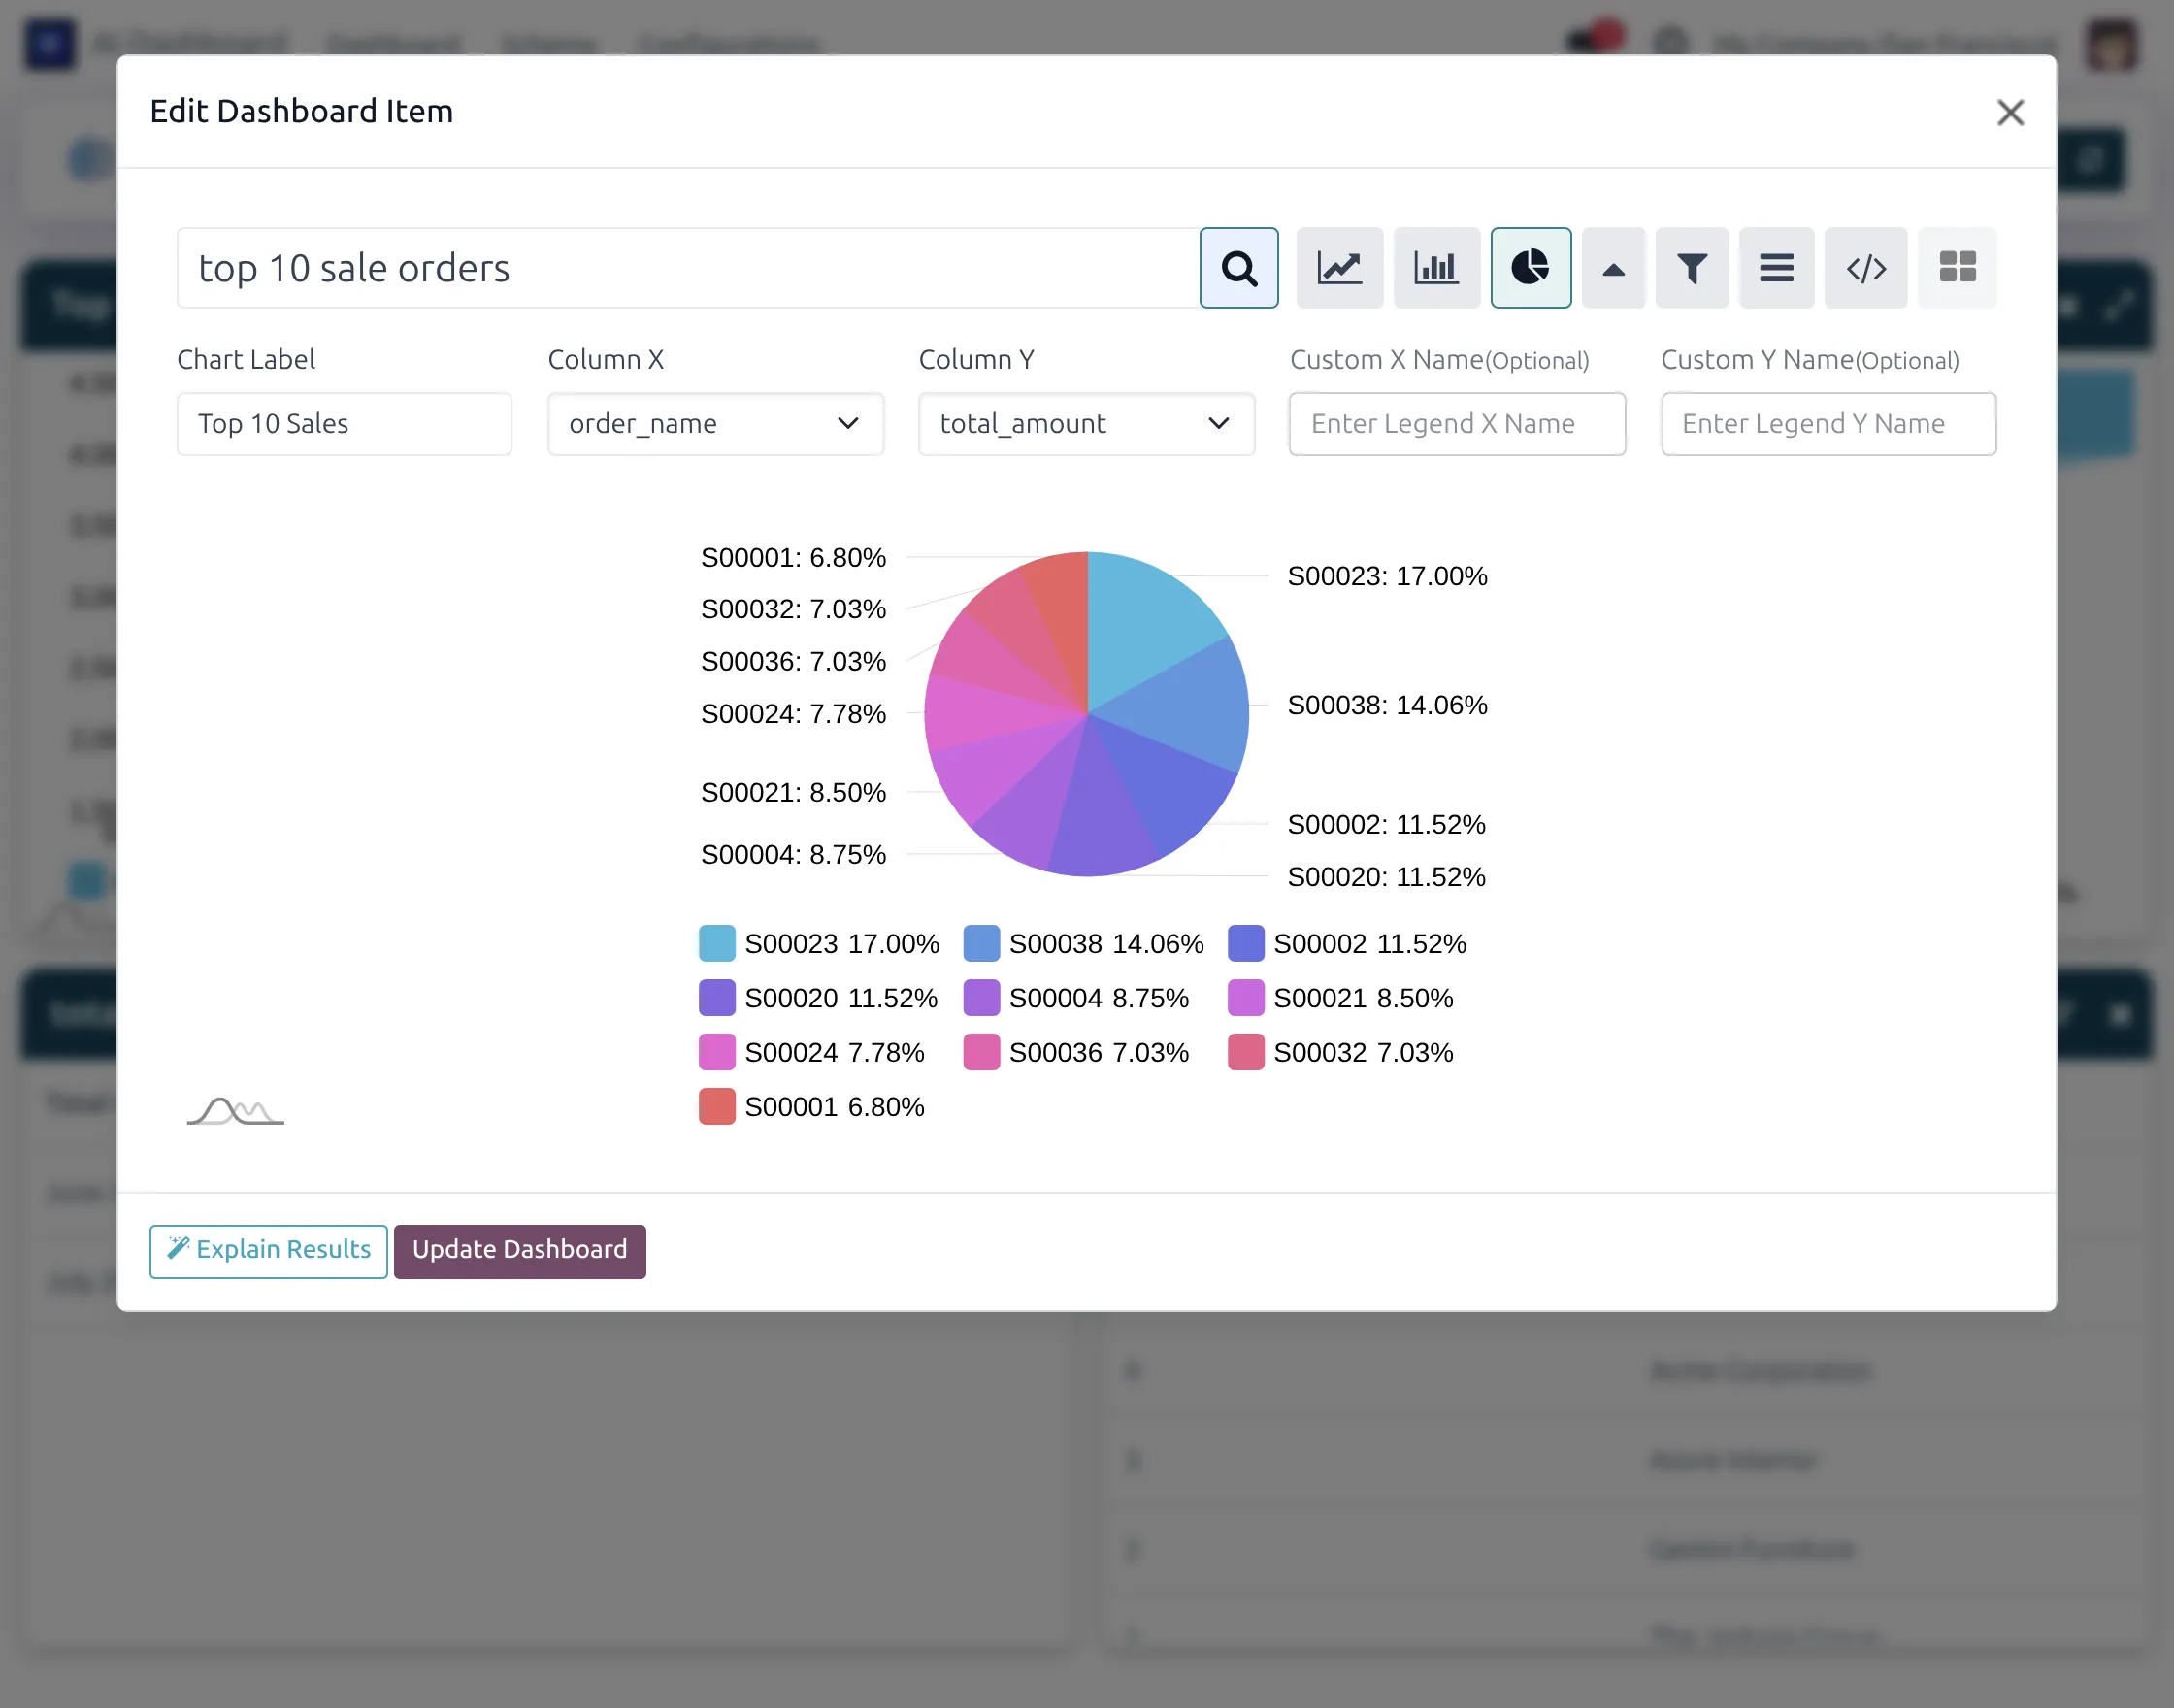
9. After generating a result, select the required dashboard visualization.
Odoo AI Dashboard supports different display formats. Users can select the required view, choose the X and Y columns, define chart labels, and preview the result before updating the dashboard.
Analyze AI Dashboard Results
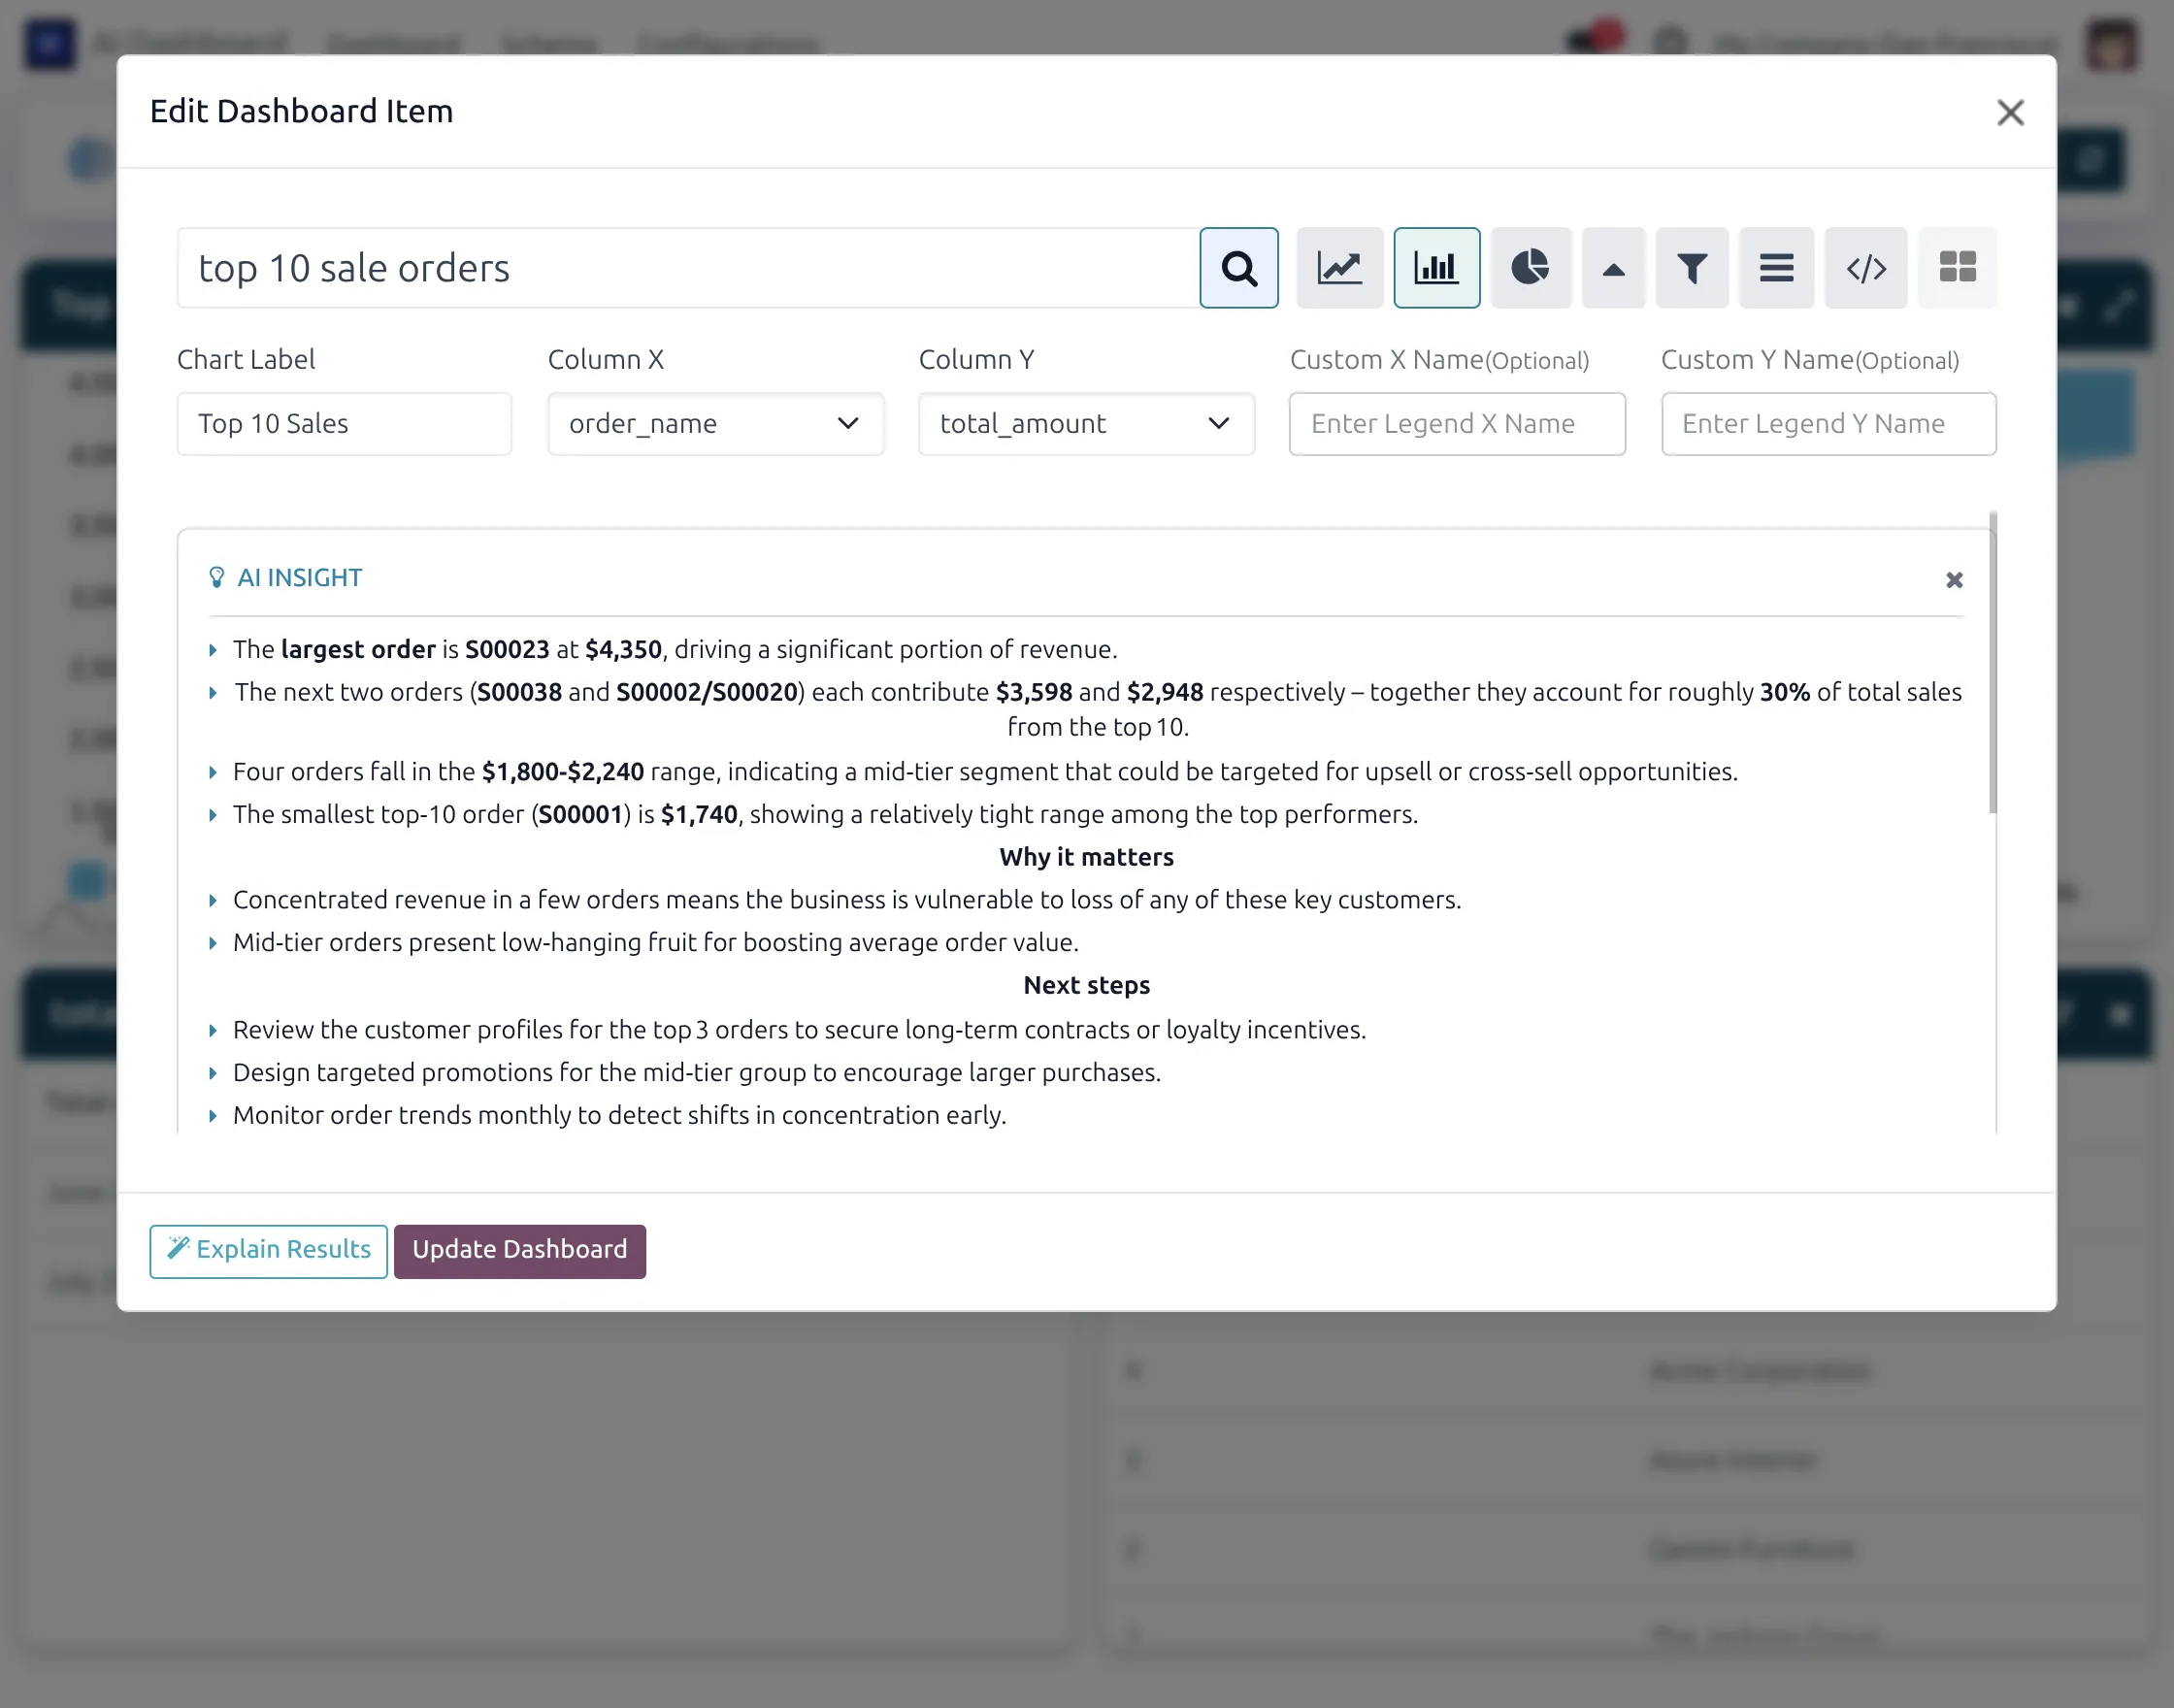
10. Click Explain Results when you want AI to analyze a generated dashboard item.
The module displays important observations from the result, explains why they may matter, and provides possible next steps based on the returned business data.
11. Once the required dashboard items are saved, users can review them together from the main AI Dashboard.
The dashboard can combine different reporting formats, such as bar charts, funnels, tables, and other visualizations, to provide a clear view of Odoo business data.
Share AI Dashboard Reports
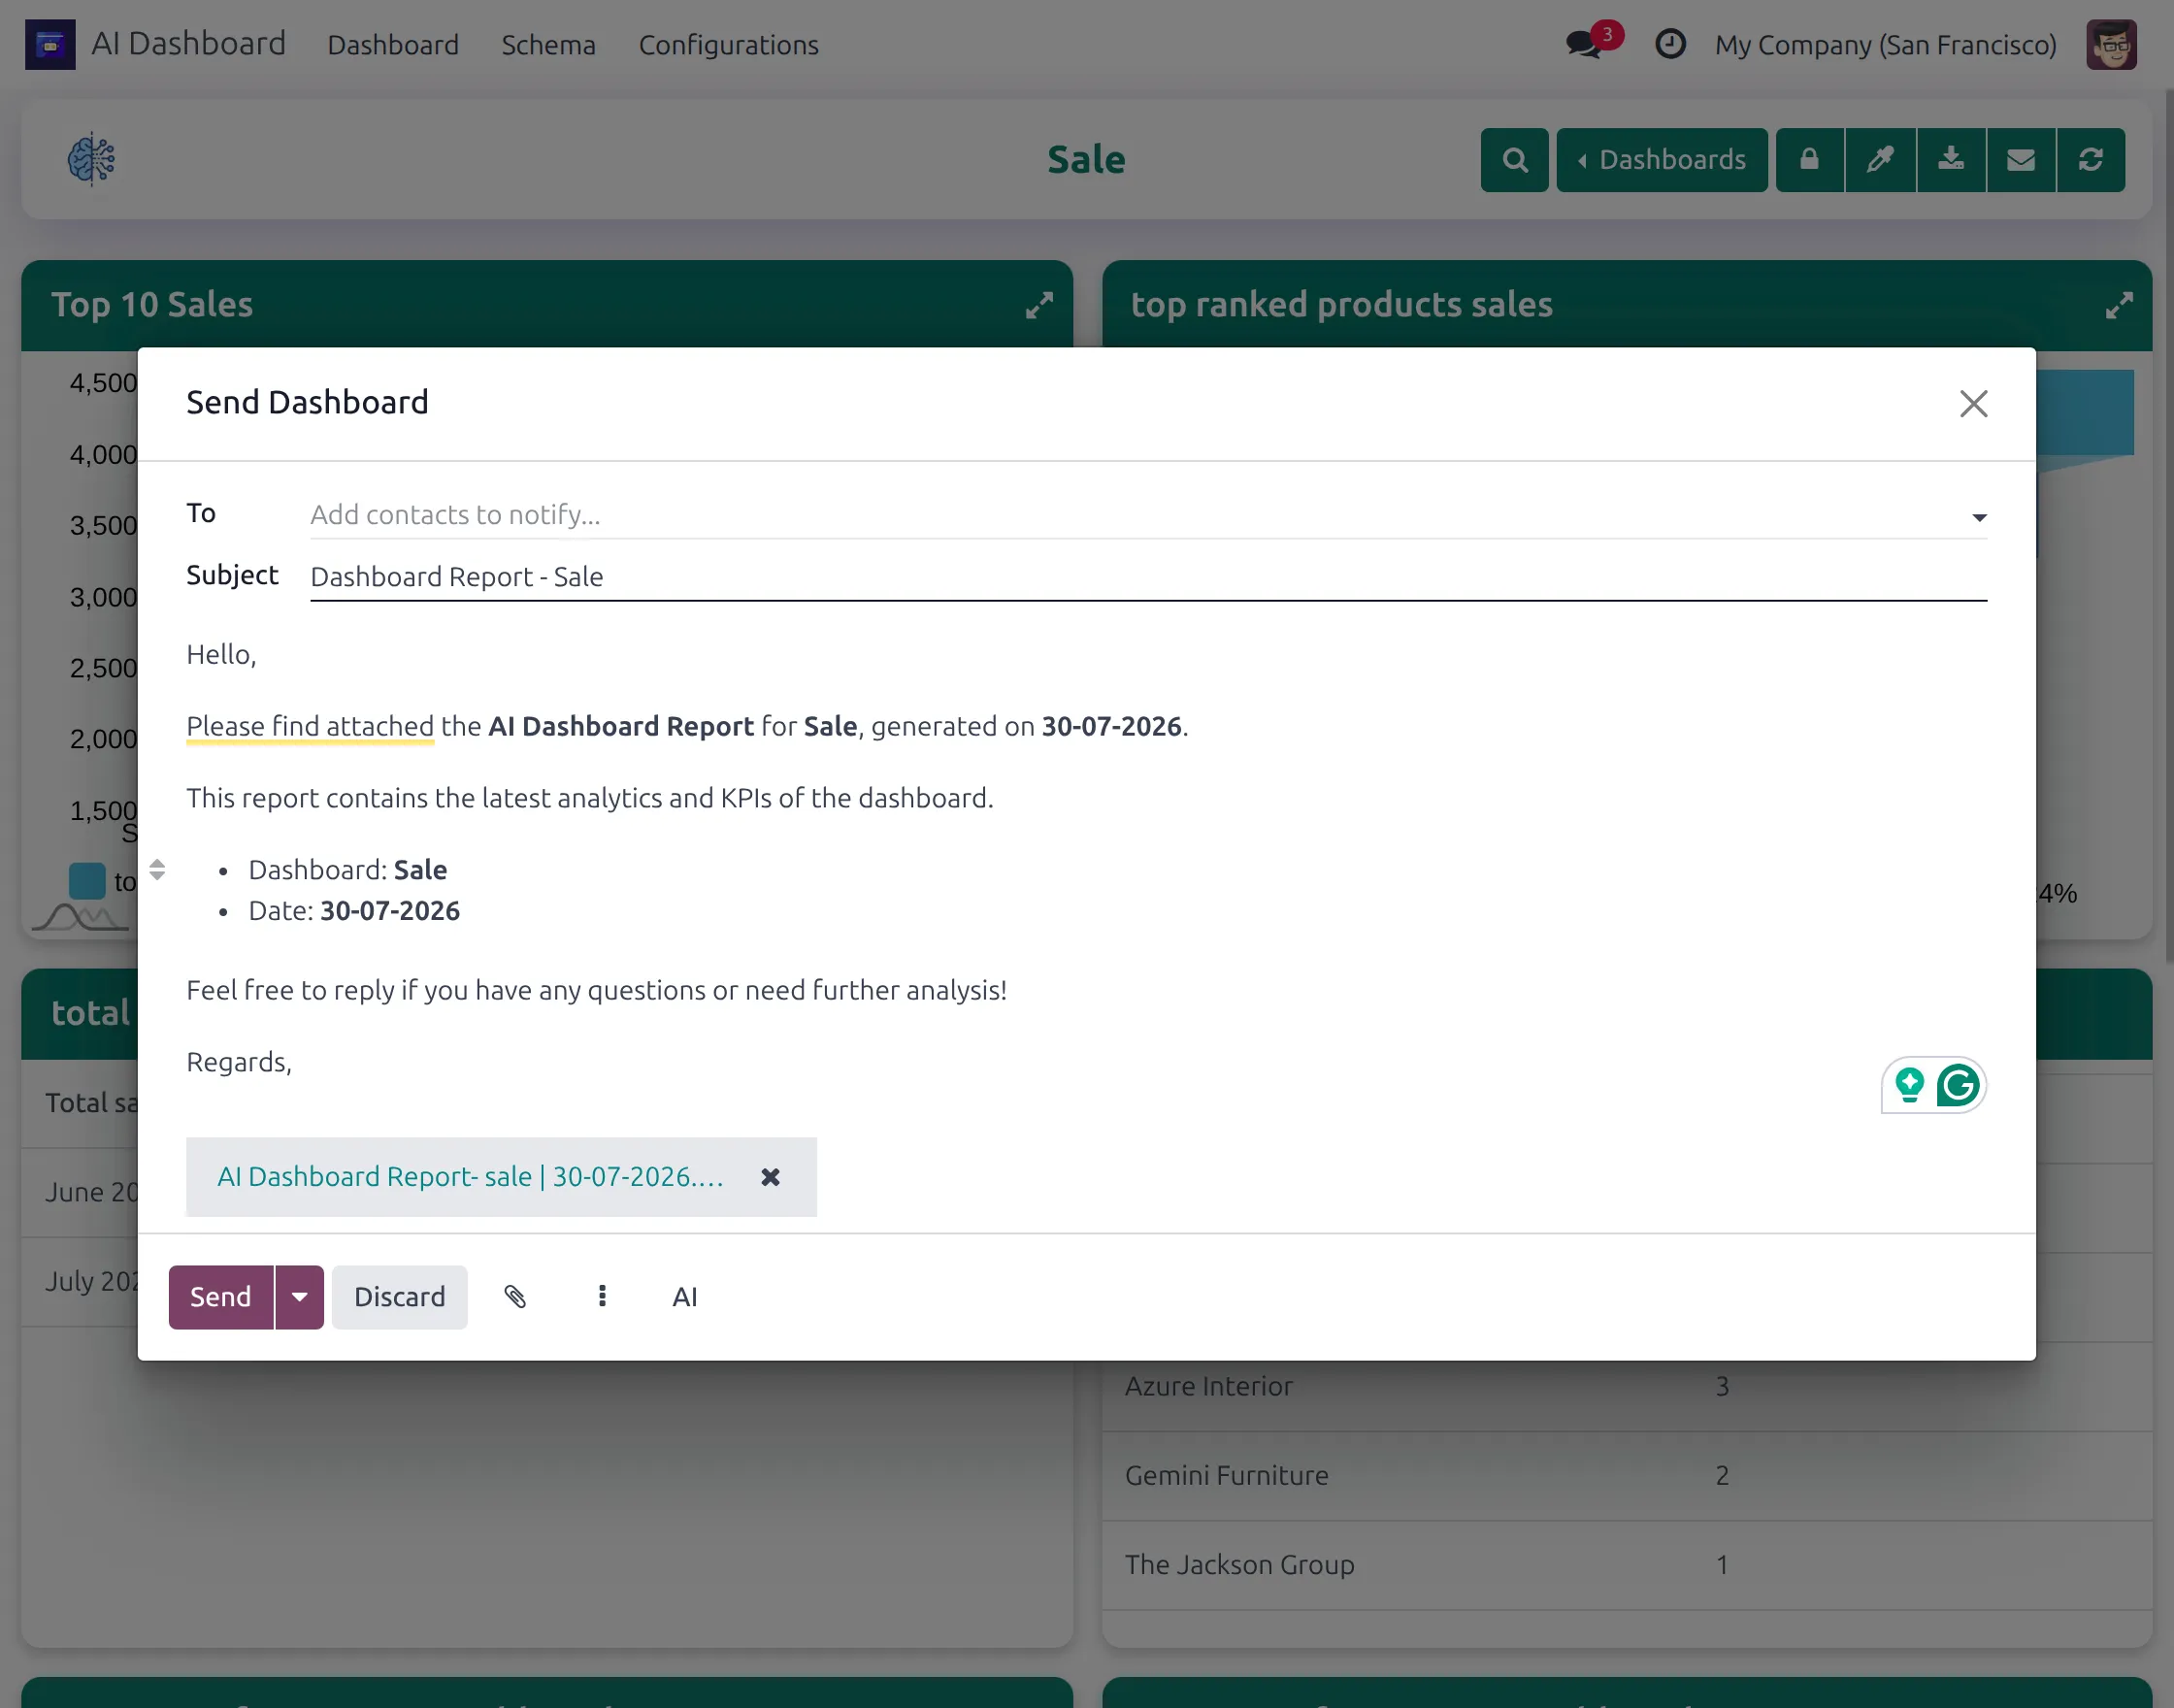
12. Odoo AI Dashboard also lets users share the current dashboard report through email.
Click the email option from the dashboard, select the required Odoo contacts, review the generated message, and send the attached dashboard report directly from Odoo.
Need Help?
Hope you find the guide helpful! Please feel free to share your feedback in the comments below.
If you still have any issues or queries regarding the same, please raise a ticket at the UV Desk.
I hope this helps. In case of any further queries, contact us at our support mail.
Thanks for paying attention!!