Laravel eCommerce Image Gallery
Introduction
The Image Gallery module adds a complete image gallery to your Bagisto store. The admin uploads images, collects them into galleries, and can group those galleries together too, all from the admin panel.
This is the best gallery module for the Bagisto platform and in Laravel eCommerce Image Gallery module, everything is configured by the admin.
Shoppers browse the galleries and groups on the storefront and open any image in a full view, with next and previous controls to move between images.
The admin also controls how the image viewer looks and behaves: the opening and closing style, caption, border, a slide show that auto-advances between images, and a limit on how large an uploaded image can be.
Installation of Laravel Image Gallery Module
Unzip the respective extension zip and then merge packages into project root directory.
Goto composer.json file and add the following line under psr-4
"Webkul\\ImageGallery\\": "packages/Webkul/ImageGallery/src"
Run the following command to regenerate Composer Autoloader
composer dump-autoload
Go to bootstrap/providers.php file and add the following line under providers.
use Webkul\ImageGallery\Providers\ImageGalleryServiceProvider;
Add inside return [ ];
return [
    ImageGalleryServiceProvider::class,
]
Then run the following command to install the module and optimize clear:-
php artisan image-gallery:install
php artisan optimize:clear
After following these steps, the Bagisto Laravel Image Gallery Extension should be successfully installed and ready for use in your Bagisto v2.4.x project.
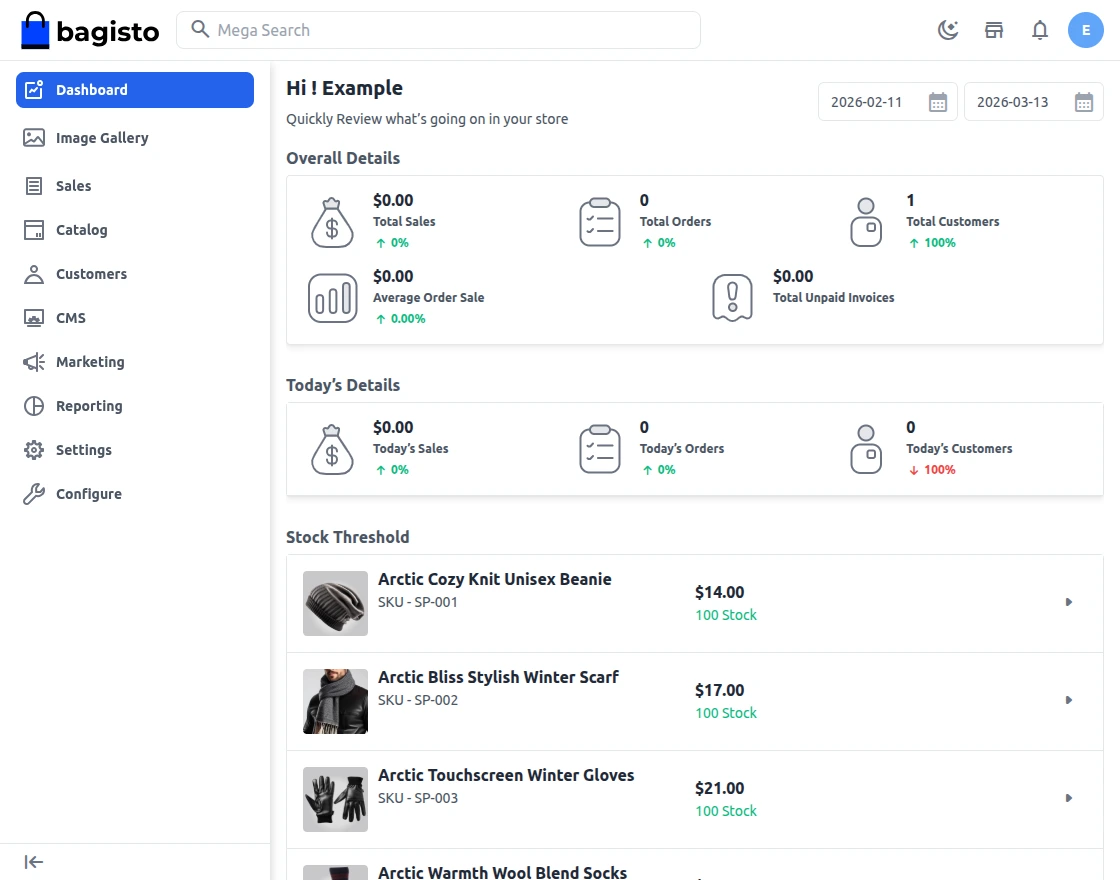
You will also see the Image Gallery section on the left-hand side in the menu bar.

Features
- Admin can manage images with title, description, sort order, status, and image upload.
- Admin can create galleries by selecting images and setting a thumbnail.
- Admin can bulk upload multiple images at once, apply a title prefix, description, sort base, and status, and attach them to a gallery.
- Admin can group galleries into gallery groups.
- Admin can enable/disable the module via configuration.
- Admin can configure gallery viewer options: caption, caption type, caption position, background, interval, border, slide count, and controls.
- Admin can turn the gallery viewer’s Slide Show on or off, and set the interval between slides while it’s on.
- Admin can restrict the maximum upload size for an image, in KB.
- Admin can enable, disable, or delete images, galleries, and groups in bulk from the listing page.
- Shop users can view the gallery list page and open any gallery or group to view its images.
- Shop users can navigate images with next/previous controls.
Image Gallery Configuration
After the successful installation of the module, the admin can configure the module under the admin panel. The admin needs to go to Configure > Image Gallery.


Here the admin can set various actions like Opening and Closing Effect, Slide Count, Controls.
The admin can also set caption type and caption position.
The admin can also enable and disable the Image Gallery from here.
Click on the Save button.
Slide Show
The gallery viewer can auto-advance between images on its own, on the storefront. A new Slide Show toggle in Configure > Image Gallery > Gallery Setting controls this:
-
- Off (default): the storefront viewer stays on the image the shopper opened, no auto-advance.
-
- On: an Interval field appears below the toggle. Enter the delay, in milliseconds, between one slide and the next (numeric, between 5000 and 99999).
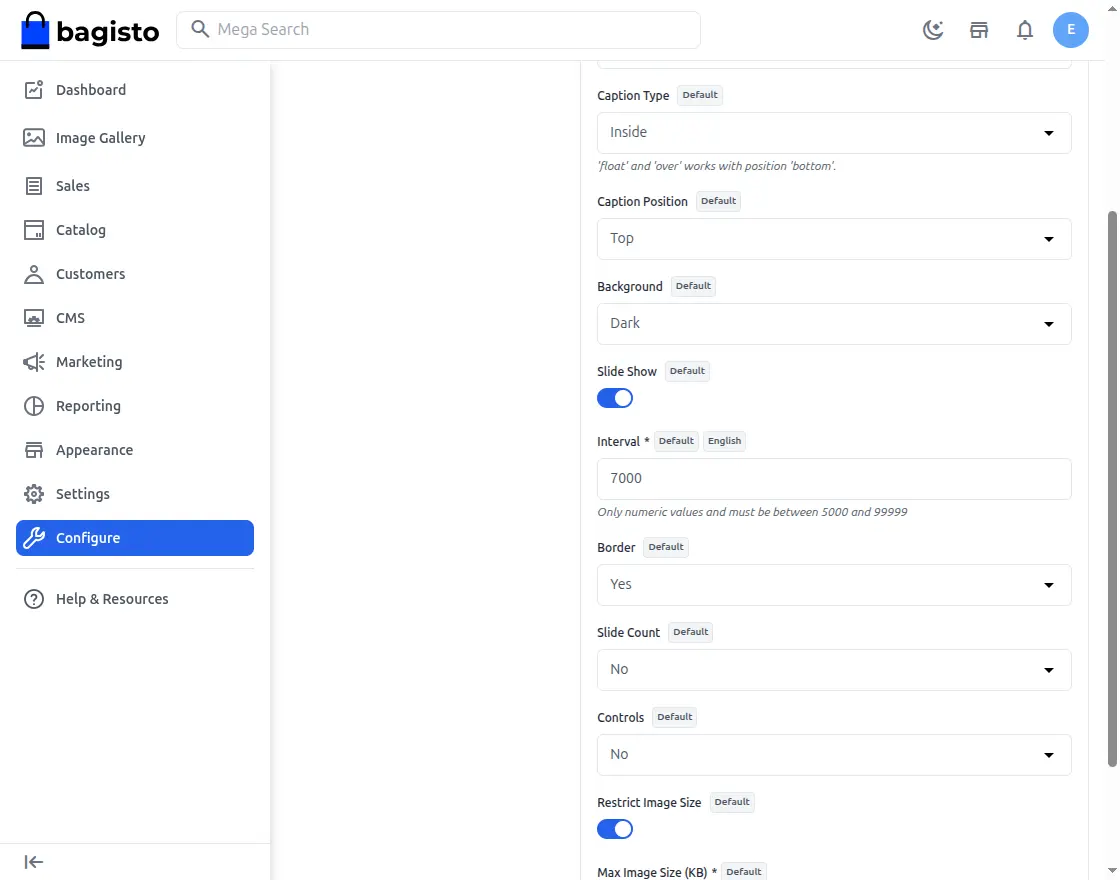
Click Save Configuration once Slide Show and Interval are set the way you want.
Restrict Image Size
The admin can also stop shopper-facing uploads from getting too large. In the same Gallery Setting screen, a Restrict Image Size toggle controls this:
-
- Off (default): no size limit is enforced on an uploaded image.
-
- On: a Max Image Size (KB) field appears. Enter the largest size, in KB, an uploaded image is allowed to be. The default is 2048 KB (2 MB).
An image uploaded through Manage Images, whether added one at a time or through bulk upload, must be a bmp, jpeg, jpg, png, or webp file, and must stay under this size once the restriction is on.
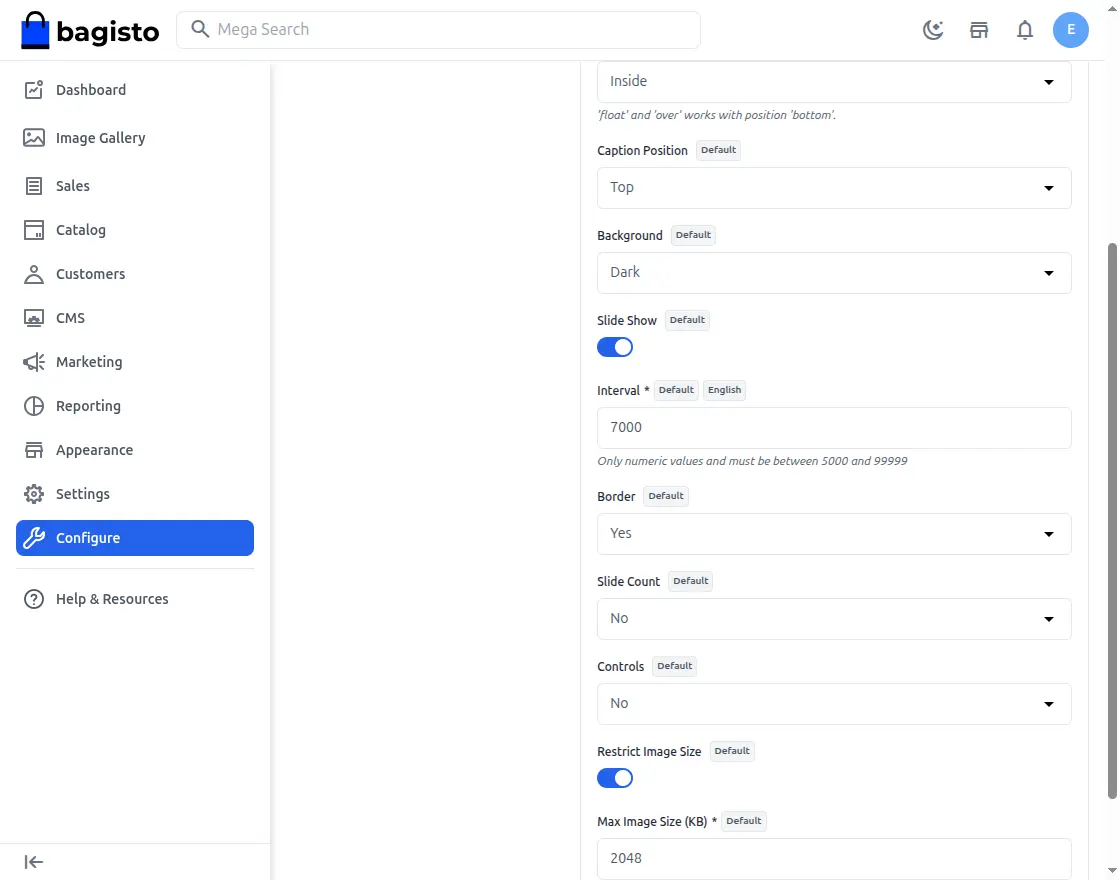
Click Save Configuration to apply the limit.
Add Images, Gallery and Groups
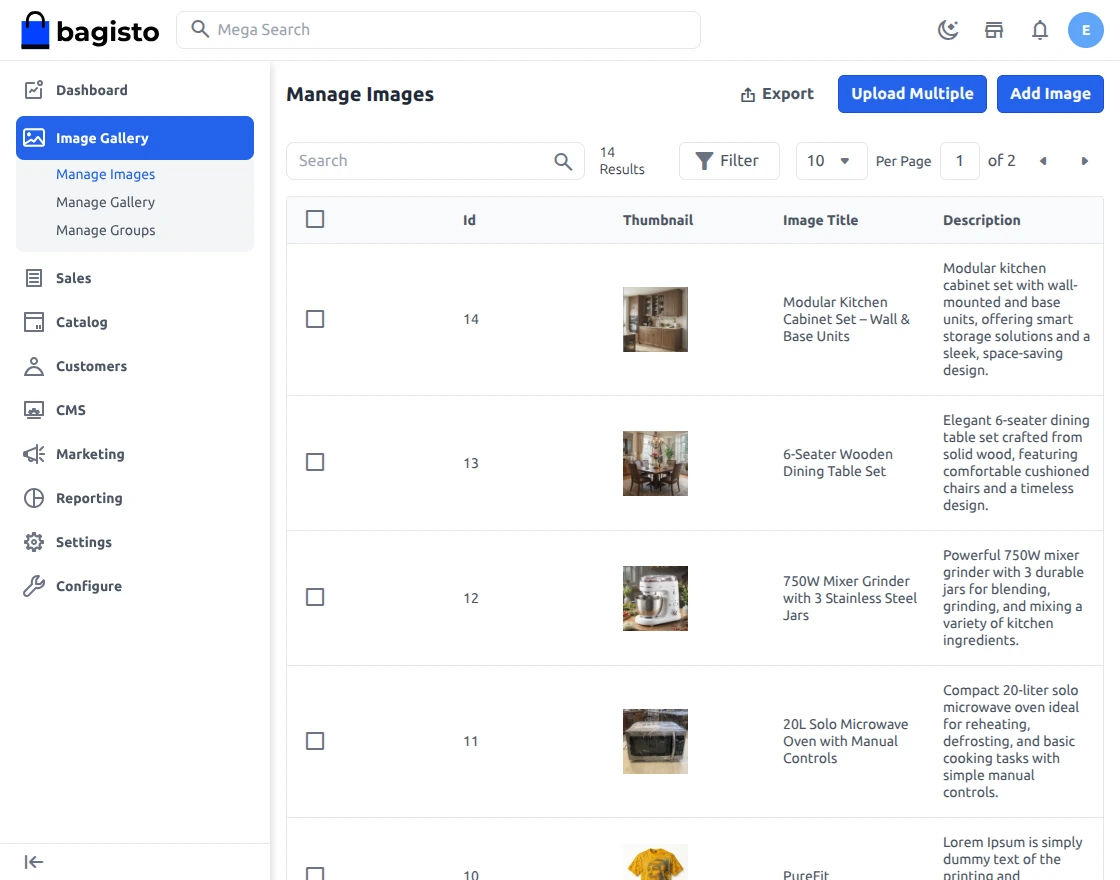
Now the admin needs to add the Images, Gallery and Group, for this the admin needs to configure to the Image Gallery button that is visible on the side menu bar as shown below:-
Manage Images
Under the Manage Images all the images that have been added are visible along with image title, description, sort order, select gallery and status.
To add a new image click on the Add Image button.
After clicking on the add image button a page will open that will look like shown below:-
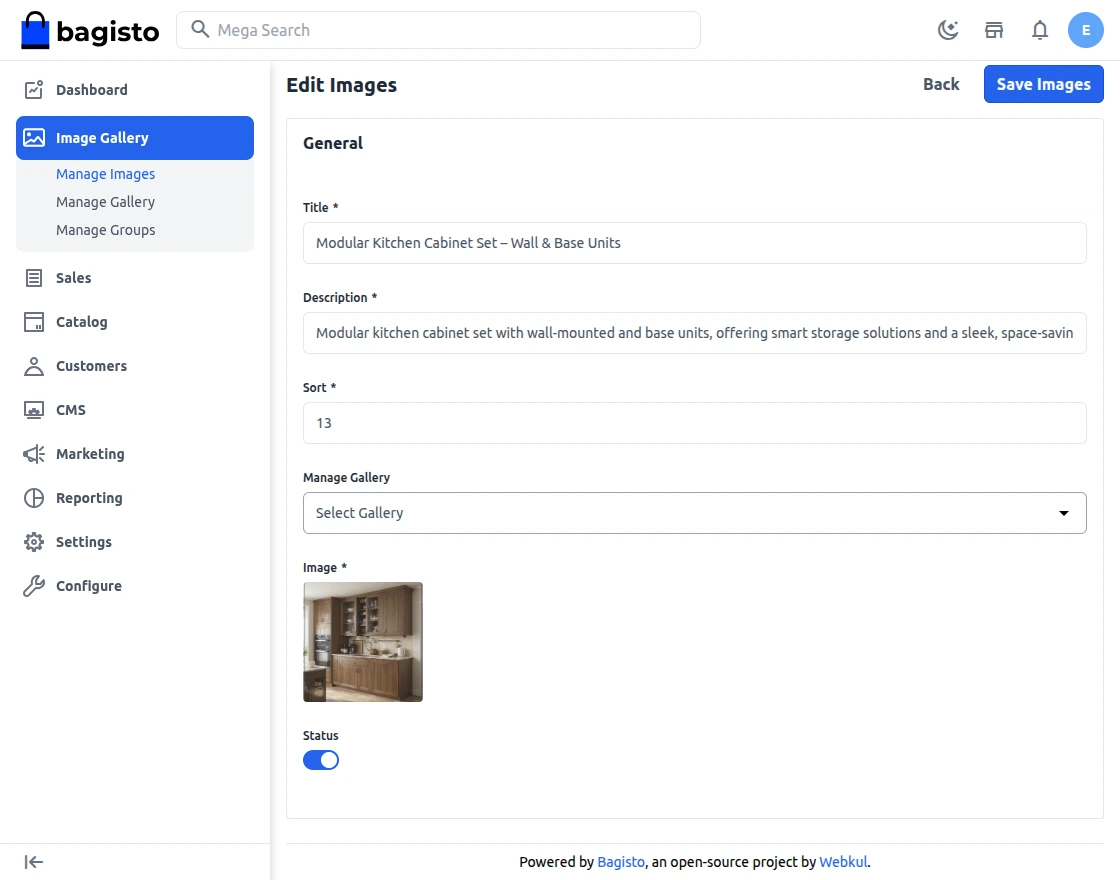
Here the admin needs to add image including description and title for the image.
Click on the Save Image button.
Manage Gallery
On clicking on the Manage Gallery all the galleries are visible as shown below:-
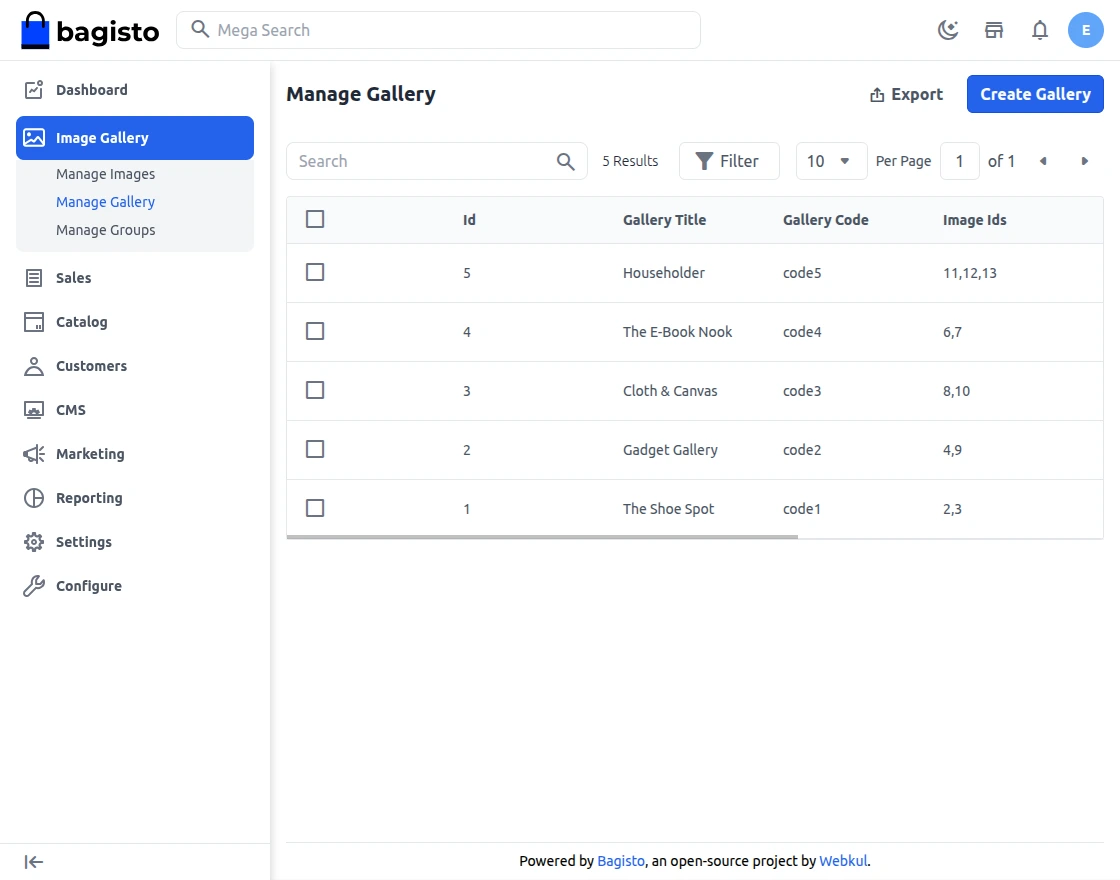
To add a new gallery the admin needs to click on the Add Gallery button, the page that opens will look like shown below:-
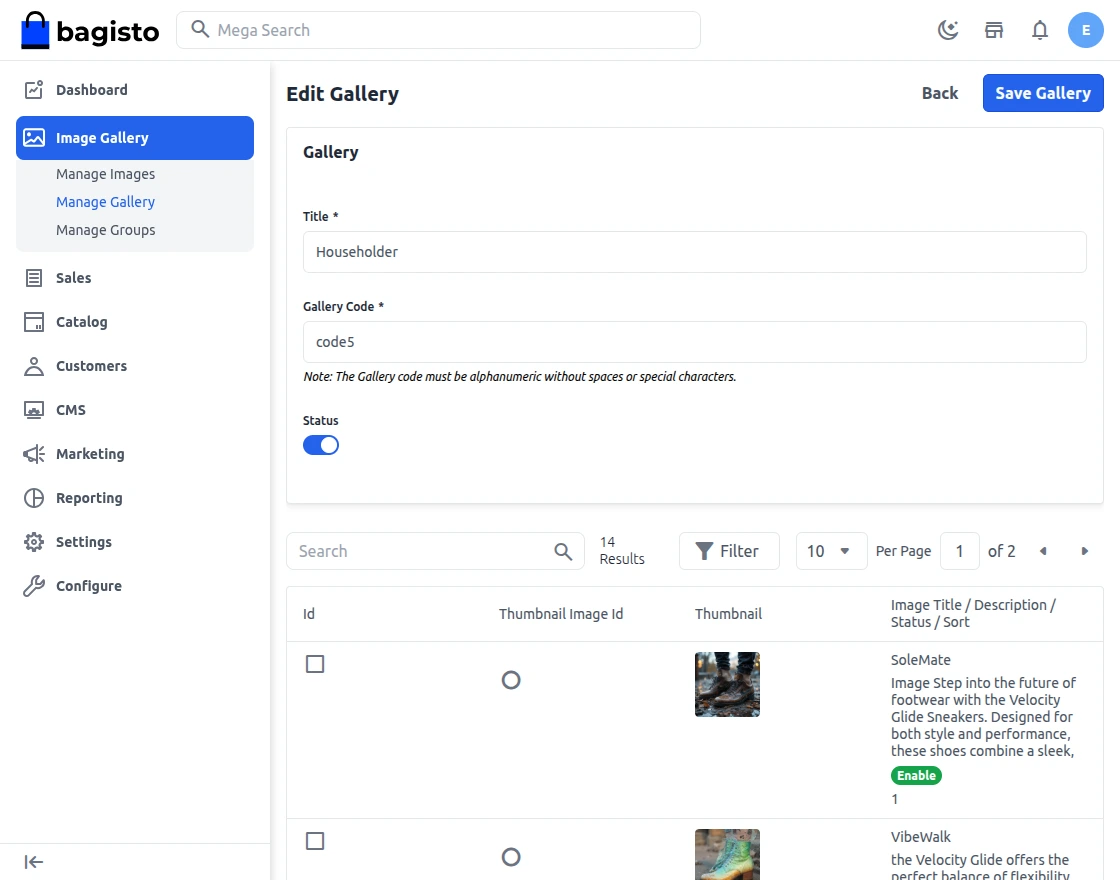
Here the admin can input the title and code for the gallery and also select the images for that gallery along with the thumbnail.
Click on the Save Gallery button.
Manage Group.
Under the Manage Groups all the groups that have been added are visible along with Group code , id, and status.

To add a new group click on the Add Group button.
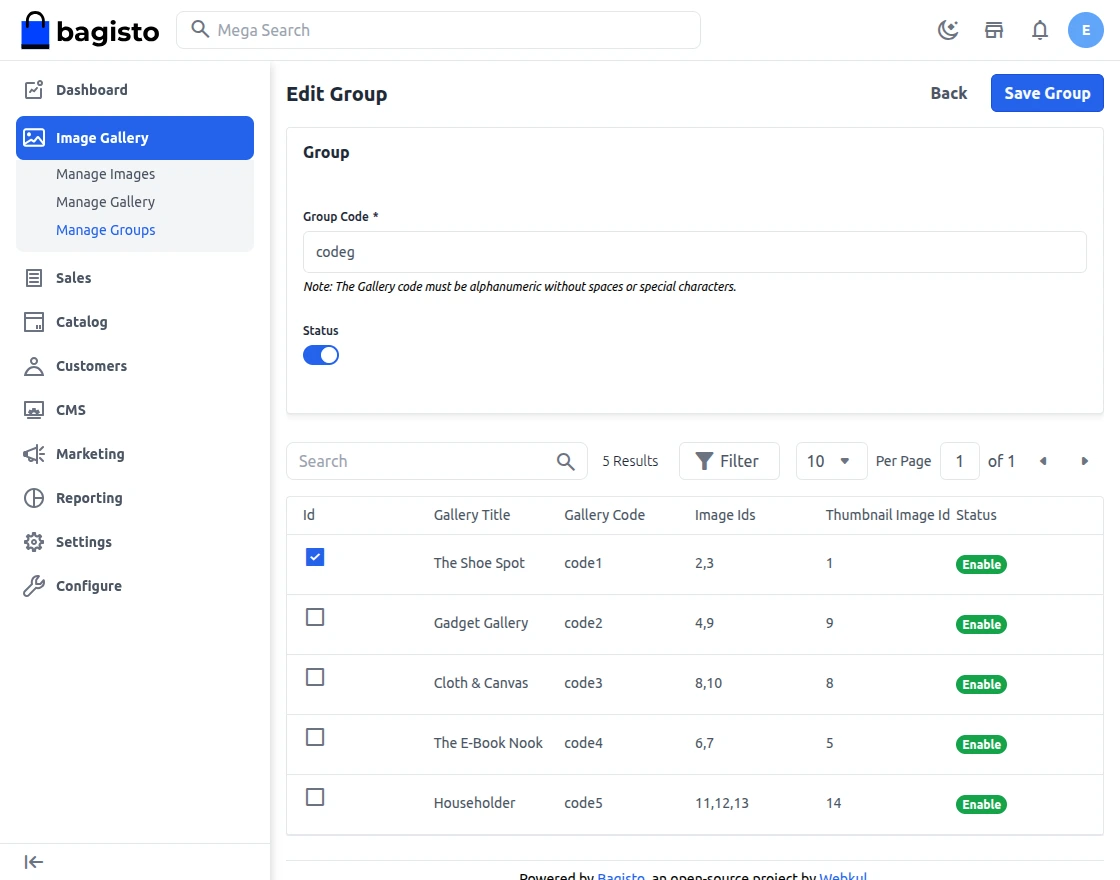
Here the admin can enter the group code and select the gallery for that group.
Click on the Save Group button.
Front End
In the front end the View Galleries button is visible as shown below:-

After clicking on the View Galleries button the user will is redirected to another page where all the galleries are visible:-

To view the images of the gallery click on any gallery.
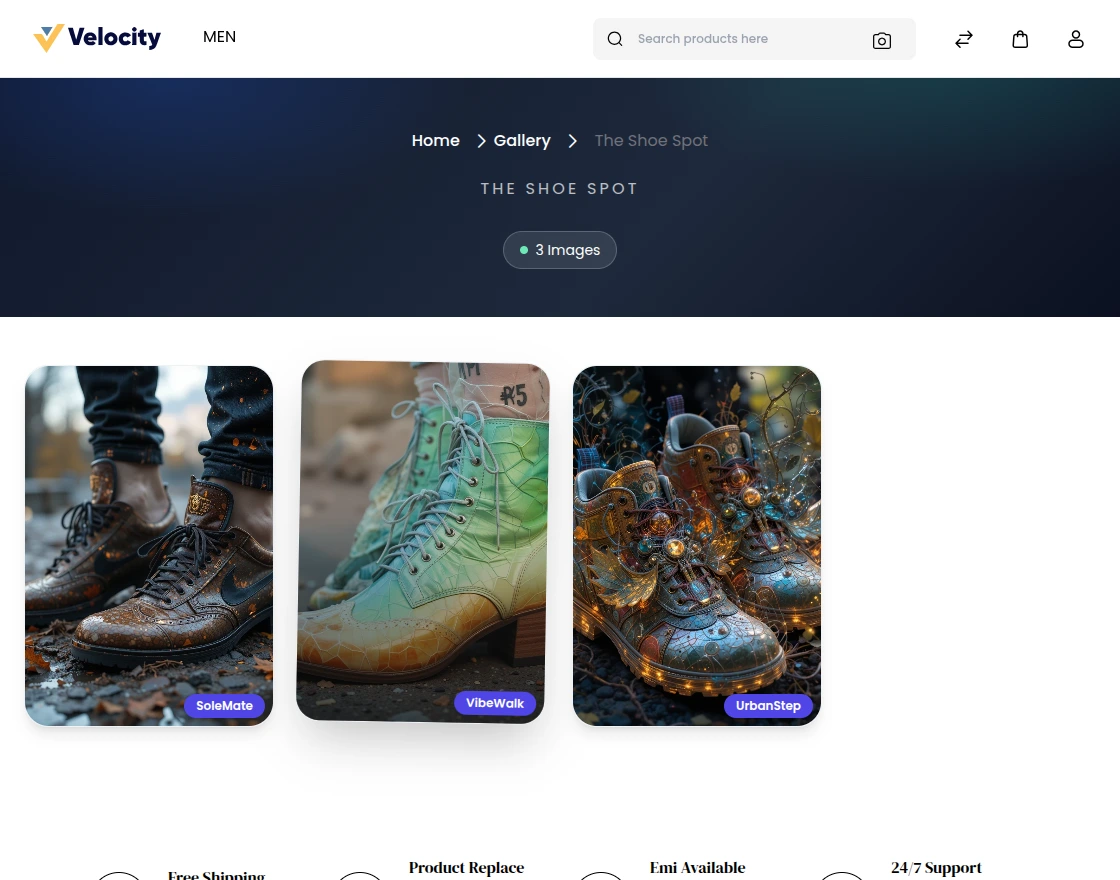
In the above page the all the images of the gallery are visible. When Slide Show is turned on in Configuration, this viewer also auto-advances through the images on its own, using the interval you set.
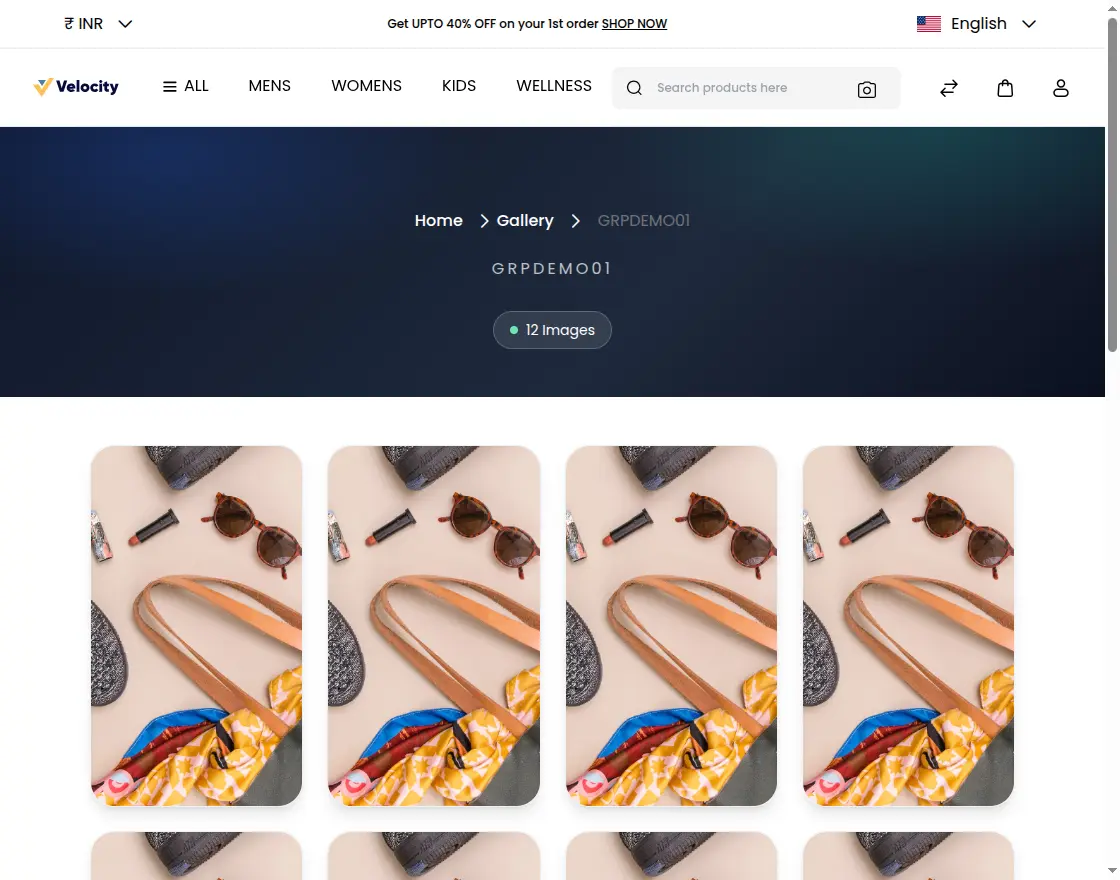
A group works the same way. Click a group on the gallery list page, and the shop shows every image from every gallery in that group on one page, with the group code as the page title.
So, that was much about the User Guide of Laravel eCommerce Image Gallery for any queries or doubts. reach out to us at support@webkul.com. You can also raise a ticket at our HelpDesk System.
Please explore our Laravel Development Services and Quality Bagisto Extensions.