Executing Jobs via Terminal in Unopim: A Step-by-Step Guide
Unopim is a Laravel-based open-source PIM system for efficient product data management.
It supports Executing Jobs via Terminal to handle background tasks easily.
With Executing Jobs via Terminal, users can automate imports, exports, and more.
This guide outlines how to execute jobs within the Unopim platform using the terminal. This method can be beneficial for automating tasks, integrating with other systems, and performing bulk operations.
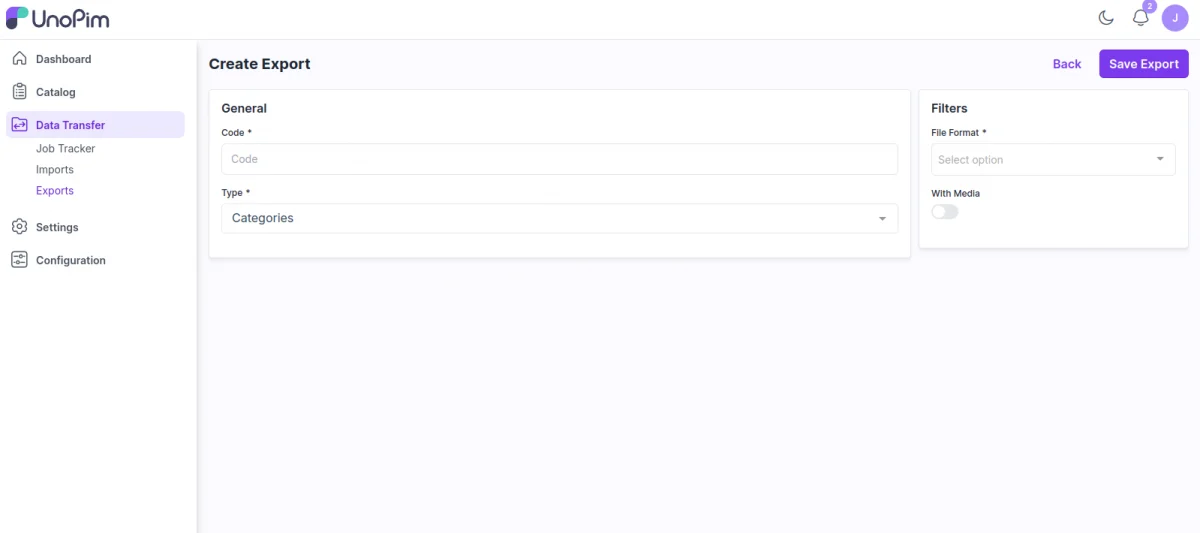
Step 1: Create and Configure a Job in Unopim
To execute jobs via the terminal in Unopim, the first step is to create a job.

Step 2: Get the Job ID and User Email for Terminal Execution
First, go to the job profile and copy the job ID. Next, navigate to the user profile to get the email ID.
Together, these details are required to run the terminal command successfully.
You can execute specific jobs directly using the php artisan unopim:queue:work command, along with parameters like the Job ID and user email ID. Here’s how it works:
php artisan unopim:queue:work {JobId} {userEmailId}
A Step-by-Step Guide to Setting Up Cron Jobs
Cron jobs automate tasks on Unix-based systems. You schedule commands using a specific time-based syntax in your crontab file, accessed via crontab -e. Remember to test thoroughly and redirect output for effective logging.
Step 1: Open the Crontab Configuration
To start setting up a cron job, open your crontab file using the following command: crontab -e. Upon execution, this command will launch your default text editor, providing an interface to add, modify, or remove scheduled tasks.
crontab -e
Step 2: Add a Cron Job
Let’s add a cron job that runs a Laravel command every hour. You can schedule tasks by specifying the appropriate interval in the crontab file.
To run a Laravel command every hour, add this line to your crontab:
0 * * * * /path/to/your/project/artisan unopim:queue:work {JobId} {userEmailId}
Step 3: Save and Exit the Crontab
Once you’ve added the necessary cron jobs, save and exit the crontab editor. If you’re using vi or vim, press Esc, then type :wq and hit Enter
Step 4: Verify Cron Jobs
To verify the cron jobs you’ve set up, use the following command: crontab -l. Executing this will display a list of all currently scheduled cron jobs for your user, allowing you to review and confirm your entries.
crontab -l
Webkul has developed UnoPim, an open-source Product Information Management (PIM) system built on Laravel. This system is designed to help businesses efficiently manage and organize their product data, ensuring consistency and streamlined operations across various sales channels.
It helps developers offload time-consuming operations to background jobs.
Check out our guide on setting up queues to get started. This resource will walk you through the initial configuration steps, enabling you to leverage UnoPim’s full capabilities for efficient data management.