How to build eCommerce in Next.js
Modern eCommerce websites need to be fast, responsive, and easy to find on search engines.
Next.js helps meet these requirements with built-in performance optimizations, strong SEO support, and flexible rendering options.
In this guide, you’ll build a headless eCommerce store using Next.js and Bagisto.
Next.js will power the storefront, while Bagisto will manage products, customers, orders, and other commerce features.
You’ll install Bagisto, connect it to Next.js using GraphQL, and display real product data in the storefront.


What is eCommerce in Next.js ?
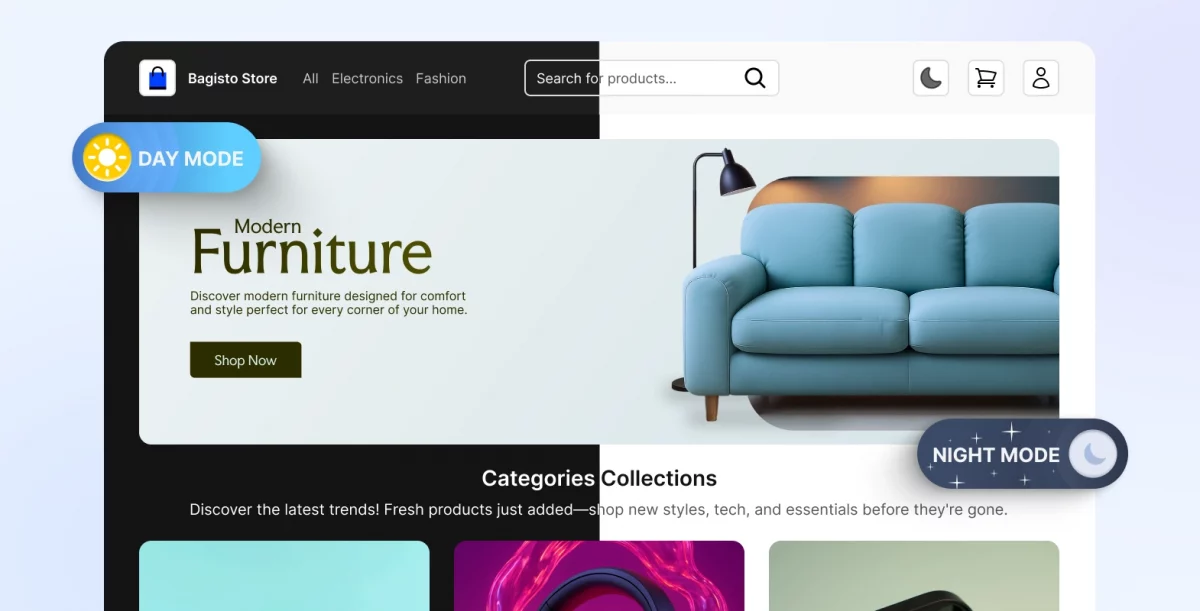
Next.js eCommerce uses Next.js to build the storefront—the part of your online store that customers interact with.
The backend manages products, prices, orders, customers, and other store data. The storefront retrieves this data through APIs.
This architecture is known as headless commerce, where the frontend and backend run independently.
The main advantage is flexibility. You can build a custom storefront without being tied to a traditional eCommerce theme or platform.
Why use Next.js for eCommerce?
Next.js provides the performance, SEO capabilities, and rendering flexibility needed for modern eCommerce applications.
Here are some of the key reasons developers choose it for online stores.
| Reason | What it means |
| Great SEO | Pages render on the server, so search engines can read them easily |
| Fast performance | Built-in optimizations keep load times low |
| Flexible rendering | Choose SSR, SSG, or ISR depending on the page |
| Headless-friendly | Connects cleanly to backends like Bagisto |
| Full design control | Build the storefront exactly how you want it |
A Quick Note on Rendering Modes
Next.js gives you three main ways to render a page, and each one fits a different situation.
SSR builds the page fresh on every request. It works well for things that change often, like a shopping cart.
SSG builds the page once, at build time. It’s a good fit for content that barely changes.
ISR sits in between. Pages stay static, but they refresh quietly in the background. That makes it a strong choice for product listing pages.
What is Bagisto ?
Bagisto is an open source eCommerce platform built on Laravel. It manages products, orders, customers, inventory, and other store operations.
In a headless setup, Bagisto acts as the backend and exposes store data through a GraphQL API.
Bagisto provides store data through its GraphQL API, allowing your Next.js storefront to fetch products, categories, customers, and other information whenever it’s needed.
Next.js eCommerce Tech Stack
A real storefront needs a few more tools beyond just Next.js. Here’s the stack we’ll be using.
| Tool | Role in the Storefront |
| Next.js | The core frontend framework |
| Apollo Client | Sends and caches GraphQL requests |
| Redux | Manages cart and global state |
| NextAuth.js | Handles customer login and sessions |
| TypeScript | Adds type safety to the code |
| ISR | Keeps product pages fast and fresh |
Prerequisites
Before you begin, install the required software for running Bagisto.
Since Bagisto is built on Laravel, it requires a standard Laravel development environment.
| Requirement | Version |
|---|---|
| PHP | 8.3 or higher |
| Composer | 2.5 or higher |
| MySQL | 8.0.32 or higher |
| Web Server | Apache 2 or NGINX |
One more thing worth knowing upfront: the GraphQL package we’ll install needs Bagisto 2.3 or later. If you’re working from an older Bagisto install, update it first.
Part 1: Install and Run Bagisto
Let’s start with the backend. We’ll install Bagisto using Composer.
This command creates a new Bagisto project inside a folder called my-store.
composer create-project bagisto/bagisto my-store
cd my-store
php artisan bagisto:install
php artisan serve
The install command walks you through an interactive setup. It configures your database and creates an admin account for you.
Once it’s done, your store will be running locally. You can refer to the official Bagisto documentation for more detailed setup steps.
Enable the GraphQL API
Install the GraphQL package to expose Bagisto’s APIs.
The installation registers the GraphQL routes and generates the required configuration. You can use the GraphQL Playground to test queries and explore the available operations.
composer require bagisto/graphql-api
php artisan optimize:clear
The install command registers the GraphQL routes and generates a few config values you’ll need in a moment.
Generate a Storefront API Key
Bagisto secures its headless API with an access key. Your Next.js application must include this key when sending API requests.
Run this command to create one.
php artisan bagisto-api:generate-key --name="My Storefront" --rate-limit=null
Save the generated key, as you’ll use it in your Next.js .env.local file in the next section.
Once configured, your storefront can securely access product, customer, and other store data through the GraphQL API.


Part 2: Set Up the Next.js Storefront
With the backend ready, it’s time to build the part your customers will actually use.
Step 1: Create the Next.js App
Start by generating a fresh Next.js project.
npx create-next-app@latest
Next, copy the example environment file. This is where your Bagisto backend URL and API key will go.
cp .env.example .env.local
Open .env.local and add these two values. Use the storefront key you generated in Part 1.
NEXT_PUBLIC_BAGISTO_ENDPOINT=https://your-bagisto-url.com
NEXT_PUBLIC_BAGISTO_STOREFRONT_KEY=your_storefront_key_here
Then start the dev server.
npm run dev
Visit your local storefront in the browser to confirm it’s running.

Step 2: Add a GraphQL Proxy Route
Create an API route (app/api/graphql/route.js ) to securely connect your Next.js application with Bagisto.
This route forwards GraphQL requests to Bagisto and attaches the storefront access key on the server before sending the request.
import { NextResponse } from 'next/server';

export async function POST(req) {
  const { query, variables } = await req.json();

  const response = await fetch(`${process.env.NEXT_PUBLIC_BAGISTO_ENDPOINT}/api/graphql`, {
    method: 'POST',
    headers: {
      'Content-Type': 'application/json',
      'X-STOREFRONT-KEY': process.env.NEXT_PUBLIC_BAGISTO_STOREFRONT_KEY,
    },
    body: JSON.stringify({ query, variables }),
  });

  const data = await response.json();
  return NextResponse.json(data);
}
Every GraphQL call from here on goes through this route instead of hitting Bagisto directly.
Step 3: Fetch Products with GraphQL
Now we connect the two sides. GraphQL acts as the bridge between Bagisto and Next.js.
The big advantage is that you fetch only the data you need. Nothing extra is sent over the wire.
Write the Query
Now we connect the two sides. GraphQL acts as the bridge between Bagisto and Next.js.
The nice part about GraphQL is that you only fetch the data you actually need. Nothing extra gets sent over the wire.
Create a graphql folder and add a queries.js file inside it. This query asks Bagisto for product details like ID, name, SKU, price, and images.
import { gql } from 'graphql-request';

export const GET_PRODUCTS = gql`
  query GetProducts {
    products(input: {}) {
      data {
        id
        name
        sku
        price
        description
        images {
          url
          path
        }
      }
    }
  }
`;
Check the Bagisto product GraphQL API
Fetch on the Server Side
The App Router lets us fetch data on the server. This means products load before the page reaches the browser.
The result is faster pages and better SEO out of the box.
This page component requests the products and renders them in a grid.
import { client } from '../../lib/bagisto';
import { GET_PRODUCTS } from '../../graphql/queries';

export default async function ProductsPage() {
  const data = await client.request(GET_PRODUCTS);
  const products = data.products.data;

  return (
    <div>
      <h1>Products</h1>
      <div className="product-grid">
        {products.map((product) => (
          <div key={product.id} className="product-card">
            <img
              src={product.images[0]?.url}
              alt={product.name}
            />
            <h2>{product.name}</h2>
            <p>SKU: {product.sku}</p>
            <p>${product.price}</p>
          </div>
        ))}
      </div>
    </div>
  );
}
The data is fetched on the server, so the browser receives a ready-made page.
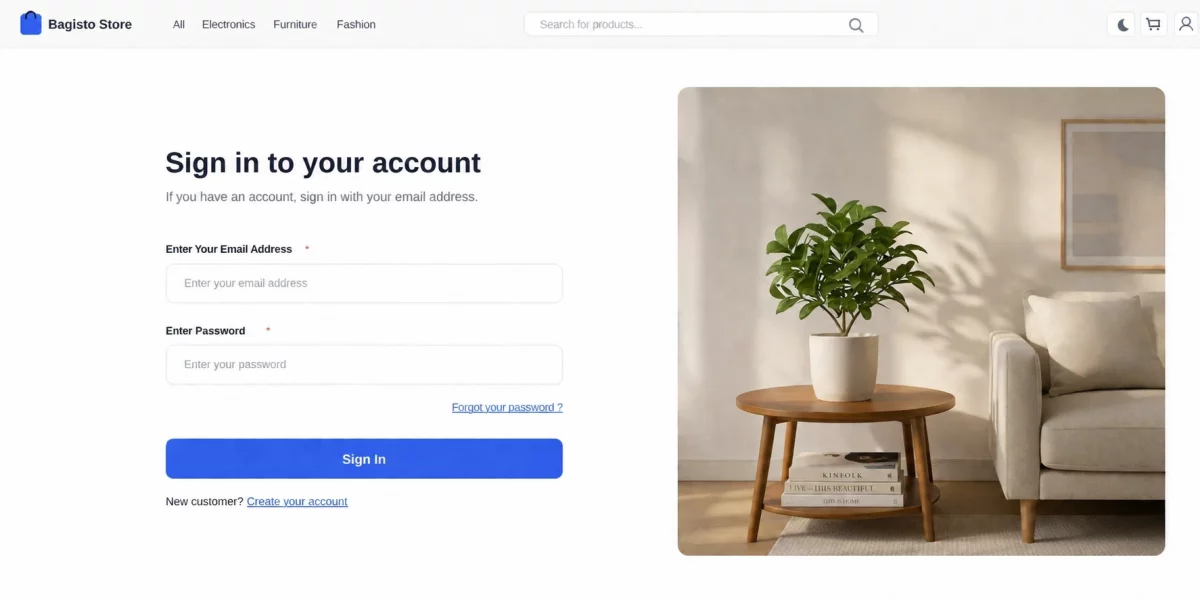
Part 3: Add Customer Sign Up
Every store needs customers, and customers need accounts. Sign-up is where that starts.
In a headless setup, the registration form lives inside Next.js. The actual account, though, gets created by Bagisto through a GraphQL mutation.
The flow is simple. The shopper fills out a form, Next.js passes the data along, and Bagisto creates the account and sends it back.

Step 1: Write the Registration Mutation
GraphQL uses mutations whenever you want to change data, not just read it.
Add a mutations.js file inside your graphql folder. This mutation sends the new customer’s details to Bagisto and asks for the saved account in return.
import { gql } from 'graphql-request';

export const CUSTOMER_REGISTRATION = gql`
  mutation registerCustomer($input: createCustomerInput!) {
    createCustomer(input: $input) {
      customer {
        id
        firstName
        lastName
        email
        status
        apiToken
        token
      }
    }
  }
`;
The apiToken and token fields matter here. They’re what keep the customer signed in right after they register.
One detail worth catching early: Bagisto’s API expects the confirmation field as confirmPassword, not passwordConfirmation.
It’s a small naming mismatch, but it’s the kind of thing that throws an unhelpful GraphQL error if you miss it.
Step 2: Build the Sign Up Form
Now let’s build the form itself. We’ll use react-hook-form to handle inputs and validation.
This form collects a name, email, and password. It also checks that both password fields match before submitting anything.
'use client';
import { useForm } from 'react-hook-form';
import { createUser } from '../../lib/actions';

export default function RegistrationForm() {
  const {
    register,
    handleSubmit,
    formState: { errors, isSubmitting },
  } = useForm();

  const onSubmit = async (data) => {
    if (data.password !== data.passwordConfirmation) {
      alert('The passwords do not match.');
      return;
    }
    const res = await createUser(data);
    if (res?.success) {
      window.location.href = '/customer/login';
    } else {
      alert(res?.error?.message || 'Failed to create user');
    }
  };

  return (
    <form onSubmit={handleSubmit(onSubmit)} noValidate>
      <input
        placeholder="First name"
        {...register('firstName', { required: 'First name is required' })}
      />
      <input
        placeholder="Last name"
        {...register('lastName', { required: 'Last name is required' })}
      />
      <input
        placeholder="Email"
        {...register('email', { required: 'Email is required' })}
      />
      <input
        type="password"
        placeholder="Password"
        {...register('password', {
          required: 'Password is required',
          minLength: { value: 8, message: 'Must be at least 8 characters' },
        })}
      />
      <input
        type="password"
        placeholder="Confirm password"
        {...register('passwordConfirmation', { required: 'Please confirm password' })}
      />
      <button type="submit" disabled={isSubmitting}>
        Sign Up
      </button>
    </form>
  );
}
Each field has its own validation rule. If something’s missing or wrong, the shopper sees a clear message right away.
Step 3: Send the Data to Bagisto
The form doesn’t talk to GraphQL directly. Instead, it calls a server action that handles the request for us.
Keeping this logic on the server is safer. Your API details never get exposed to the browser.
'use server';
import { client } from './bagisto';
import { CUSTOMER_REGISTRATION } from '../graphql/mutations';

export async function createUser(formData) {
  try {
    const { firstName, lastName, email, password, passwordConfirmation } = formData;
    const data = await client.request(CUSTOMER_REGISTRATION, {
      input: {
        firstName,
        lastName,
        email,
        password,
        confirmPassword: passwordConfirmation,
      },
    });
    return { success: true, customer: data.createCustomer.customer };
  } catch (err) {
    return { success: false, error: { message: err?.message || 'An error occurred' } };
  }
}
Notice the form still collects passwordConfirmation, but we map it to confirmPassword right before sending it to Bagisto.
That keeps the form code readable while still matching what the API actually expects.
If Bagisto accepts the data, it sends back the new customer. If something goes wrong, the error comes back too, so the form can show it.
How the Sign-Up Flow Works
It helps to see the whole journey laid out step by step.
1. The customer fills out the sign-up form in Next.js.
2. react-hook-form checks the fields on the client side.
3. The form calls the createUser server action.
4. The server action sends a GraphQL mutation to Bagisto.
5. Bagisto creates the account and sends back the customer with a token.
6. The customer lands on the login page, ready to sign in.
The frontend handles the experience. Bagisto handles the account. That split is really the whole idea behind headless commerce.

Key Features of eCommerce in Next.js Storefront
A storefront built with Next.js and Bagisto delivers a fast, scalable shopping experience while giving developers the flexibility to build modern eCommerce applications.
Product & Shopping Experience
Create engaging product pages with support for multiple product types, while secure customer accounts, carts, and checkout ensure a smooth buying journey.

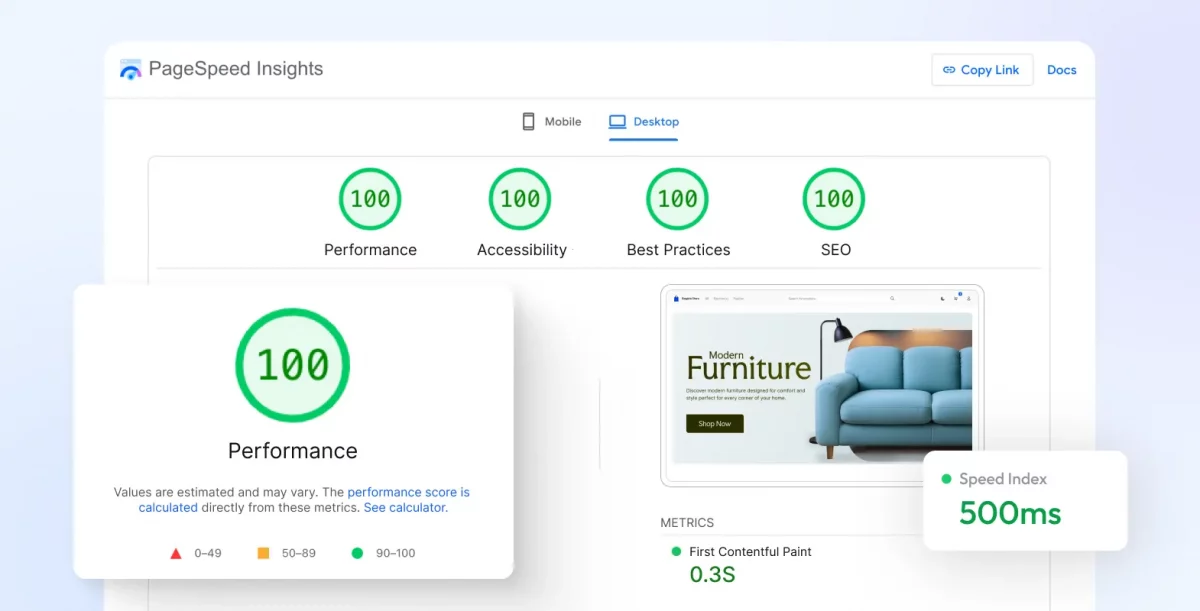
High Performance
Built-in server-side rendering, incremental static regeneration (ISR), and intelligent caching keep pages fast and responsive, improving the shopping experience on every device.
SEO & Accessibility
Generate search engine-friendly pages with server-rendered content, responsive layouts, and accessible interfaces that help your store reach more customers.
Conclusion
Next.js and Bagisto provide a solid foundation for building headless eCommerce applications. Next.js delivers a fast, flexible storefront, while Bagisto handles products, orders, customers, and the rest of your commerce operations.
You now have a working setup with GraphQL connecting both applications. From here, you can continue building your storefront by adding features such as product search, shopping carts, user authentication, and checkout.