Prestashop Odoo Bridge (POB)
If you have an e-commerce store and you want your e-commerce store based on Prestashop to synchronize with Odoo and also from Odoo to Prestashop, then Prestashop Odoo Bridge (POB) is the product what all you need.
Click here to see the documentation of Prestashop Odoo Bridge (POB) for Odoo Version 10.
Main Features:
- Bi-Directional Export/Update of products.
- Bi-Directional Export/Update of product’s categories.
- Export/Update customers and their address.
- Real time export of orders from Prestashop to Odoo.
- Export old order placed before module installation.
- Real time update of order status like cancellation, payment accepted, delivered.
- Real time update of product’s stock.
Installation Process:
Once you extract the zip file which you will receive after buying this product, you will get three folders named “pob”, “pob_extension_stock” and “bridge_skeleton” which are the module for Odoo end and a zip file named “prestaerp.zip” which is the module for Prestashop end. All of our modules support standard procedure of module installation for both Odoo and Prestashop.
Installation on Odoo:
For the installation of module on Odoo, you just need to copy the three modules to your Odoo addons directory. Then login to your Odoo account and update the module list”. After updating the module list click on “Local Modules” with ‘Apps’ filter removed and you will get the two new modules in the module list, and then you can install all of them.
Installation on Prestashop:
To install the module on Prestashop, Go to ‘modules’ menu and click on ‘add a new module’, upload the ‘prestaerp’ module and install it.
Using the Module:
Once the installation is done you need to configure the module on both Prestashop and Odoo, before using it.
From Odoo:
Configuring the module:
Before you can start the export or update process, you need to configure the module to communicate with Prestashop. To configure the module go to ‘PrestaShop-Bridge’ menu and click on ‘Prestashop Login Info’ and create a new connection record.
In configuration there are few fields to be selected those are:
Sales Person : Here you can select the default sales person for prestashop at Odoo end, if salesperson is selected all the orders created by prestashop will have the default sales person selected in configuration.
Payment Term : If you need a specific payment term to be added on all orders coming from prestashop only, then it could be selected here in configuration page. The selected payment term in configuration page will be automatically selected on every orders coming from Prestashop.
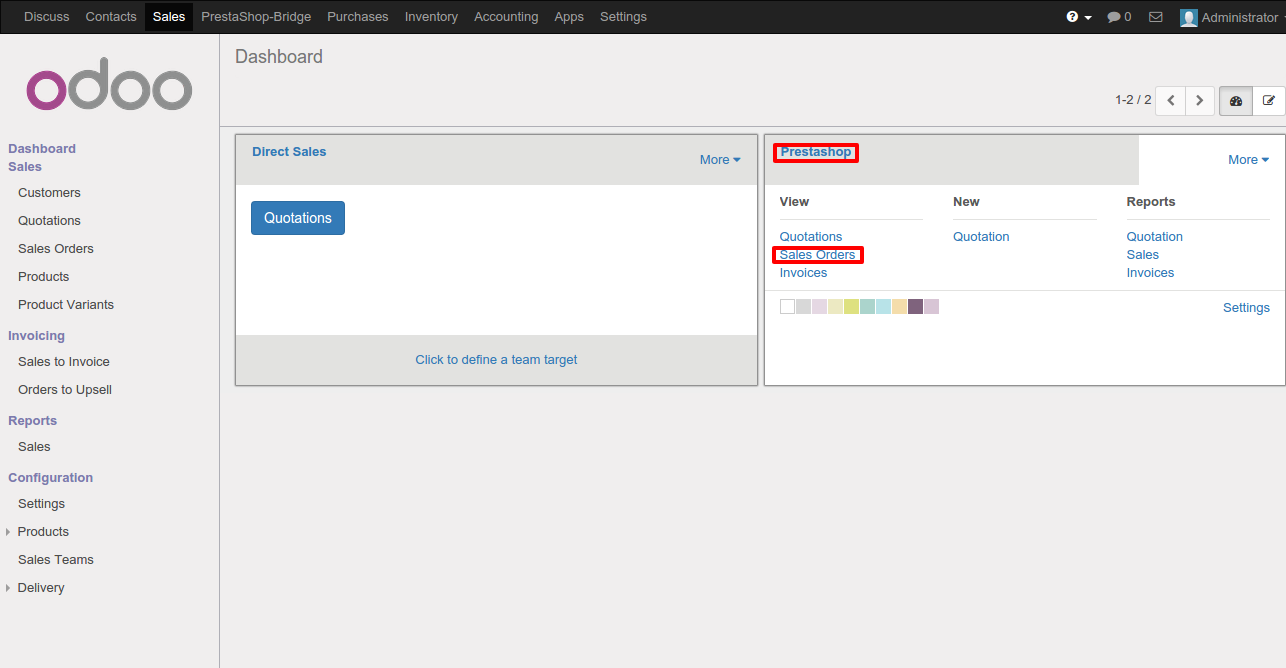
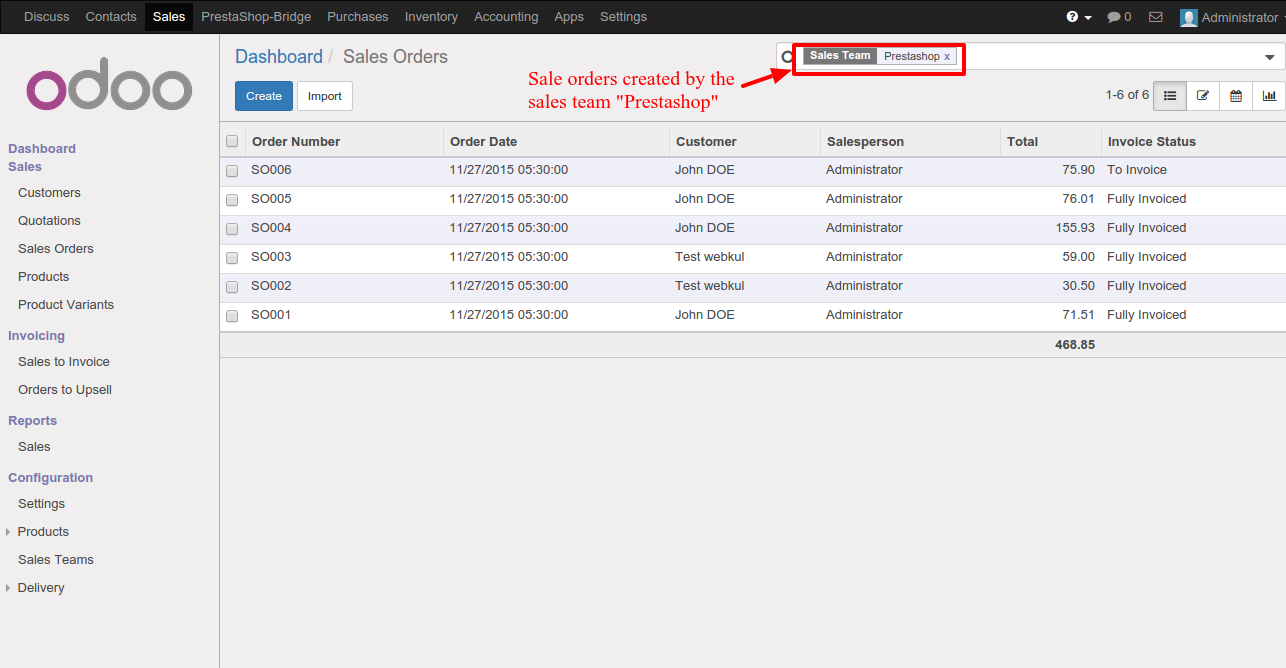
Sales Team : As shown above there is a default selection menu “Sales Team”. By default Prestashop is selected in this menu, this improves the reporting in Odoo. You can select a dedicated sales team for all the sale orders coming from Prestashop, this will distinguish all the Prestashop sale orders from other sale orders. It also simplifies the reporting, In Dashboard you can get all the sale orders from prestashop by selecting the sales team dedicated for prestashop as shown below:
Order Status : One more feature added in POB 9 is the control over the Order status synchronization. Now in “Order’s configuration” page you can select the Order status whose synchronization is to be maintained between Odoo and prestashop (Example : Delivery status, Invoicing status, Cancelled orders).
The selected order status will updated automatically on both end whenever it is updated from either Prestashop or Odoo.
Synchronization:
To synchronize with Prestashop, click on ‘Synchronize Now’ menu and you will get different buttons to export and update products, categories, customers to Prestashop.
You can also export a single product,category to Prestashop. For this open the form view of the product, click on ‘More’ and then on ‘Synchronize with Prestashop’ button. See the screenshot below:
Extra Categories:
In POB 9 you can also maintain multiple Prestashop category from both end. In product a page “Prestashop category” is added where you can select multiple categories to be used in Prestashop. When the product is exported to Prestashop the all selected categories are arranged in their parent-child hierarchy as shown below:


From Prestashop’s Backend:
Configuring the module:
To configure the module go to ‘Odoo Mapping’ menu and click on ‘Odoo Configuration’. Fill the required fields and click on save to save settings.
Product and Category Synchronization:
You have two options for exporting products to Odoo. you can export only the product templates or you can export the product variants along with product template. To export/update Products to Odoo, go to “Odoo Mapping” and click on “Product`s Combination” and then click on ‘Synchronize’ button and and you will successfully export all the product variant along with product template. Similarly you can export product categories. Exporting Products will automatically export categories to Odoo. You should see a page like this:
Customer and Address Synchronization:
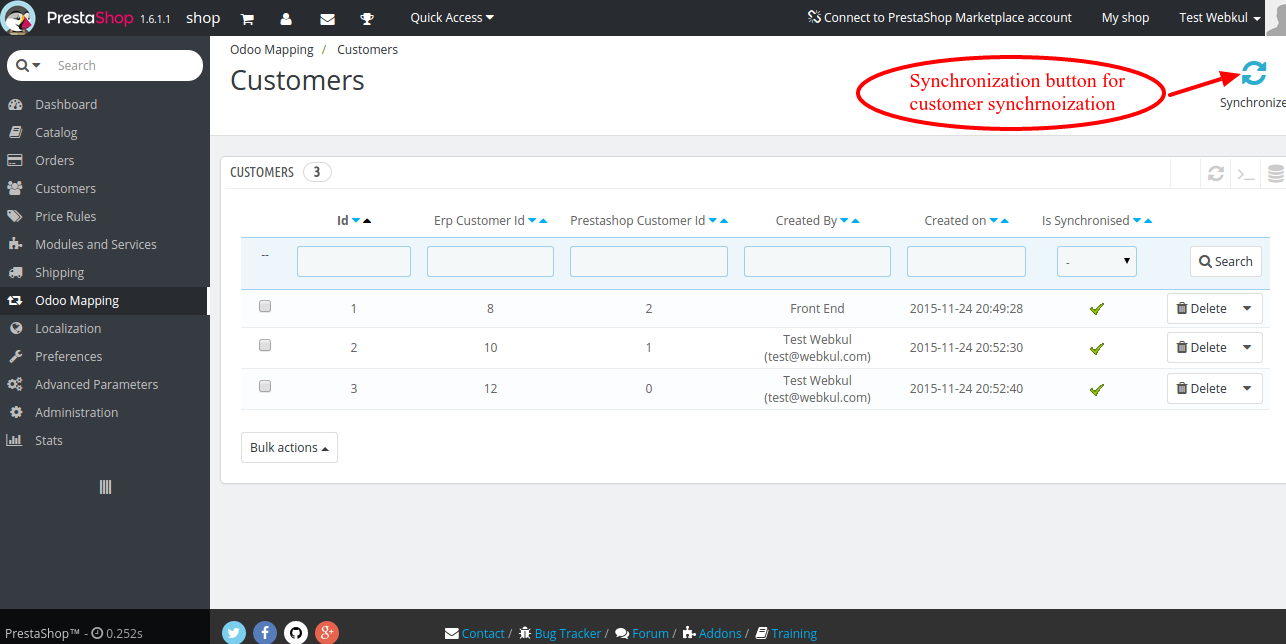
To synchronize customers go to ‘Odoo Mapping’ menu then click on ‘Customers’. Here also you just need to click ‘Synchronize’ button to export customers to Odoo. Please note that only customers will be exported to Odoo. You can also export the addresses in the same manner. On exporting addresses directly corresponding customers will automatically be exported.
Order Synchronization and Export old Orders:
Our Prestahsop Odoo Bridge(POB) module provides real time export of orders from Prestashop to Odoo, Orders are automatically exported to Odoo, there is no need of manual interference in this.
Prestahsop Odoo Bridge(POB) module also provides option to export old orders which were placed before installation of Prestahsop Odoo Bridge(POB) module or in any case if your Odoo server was down and orders did not get exported in real time. To export go to ‘Orders’ menu will will find a new button and a new field added to the list of orders.
In this way you can also synchronize “Taxes”, ‘Carriers’ and ‘Payment Methods’. For ‘Taxes’ we highly recommend you to manually map the them rather than simple. To manually map the taxes go to ‘Odoo Mapping’ , then click on ‘Taxes’ and shall see add new button, click on it and map the taxes of Prestashop with Odoo taxes.
Conclusion:
Using this Module, you can use Odoo to handle following task –
- Manage stock of every product from Odoo itself, no need to manually update stock on your E-Commerce, i.e on increasing/decreasing stocks of any product in Odoo , automatic update in stock will be done on corresponding product in Prestashop in Real time.
- Manage your Orders from Odoo itself, no need to manually update Orders on your E-Commerce, i.e On adding/updating status of any Order in Odoo , automatic update will be done on corresponding order of Prestashop`s in Real time.
- Easily track delivery and other related information using Odoo.
For any further assistance or query, please raise a ticket at our Ticket Support System.
Current Product Version - 4.1.1


Be the first to comment.